

Thanksgiving has come and gone. The leaves are turning vibrant colours and pumpkins are in abundance!
Carving pumpkins is the norm of course, but I’d rather paint them! It’s less mess that way.
What you need:
masking tape, white acrylic paint, coloured acrylic paint, glitter, paint brush, round sponge
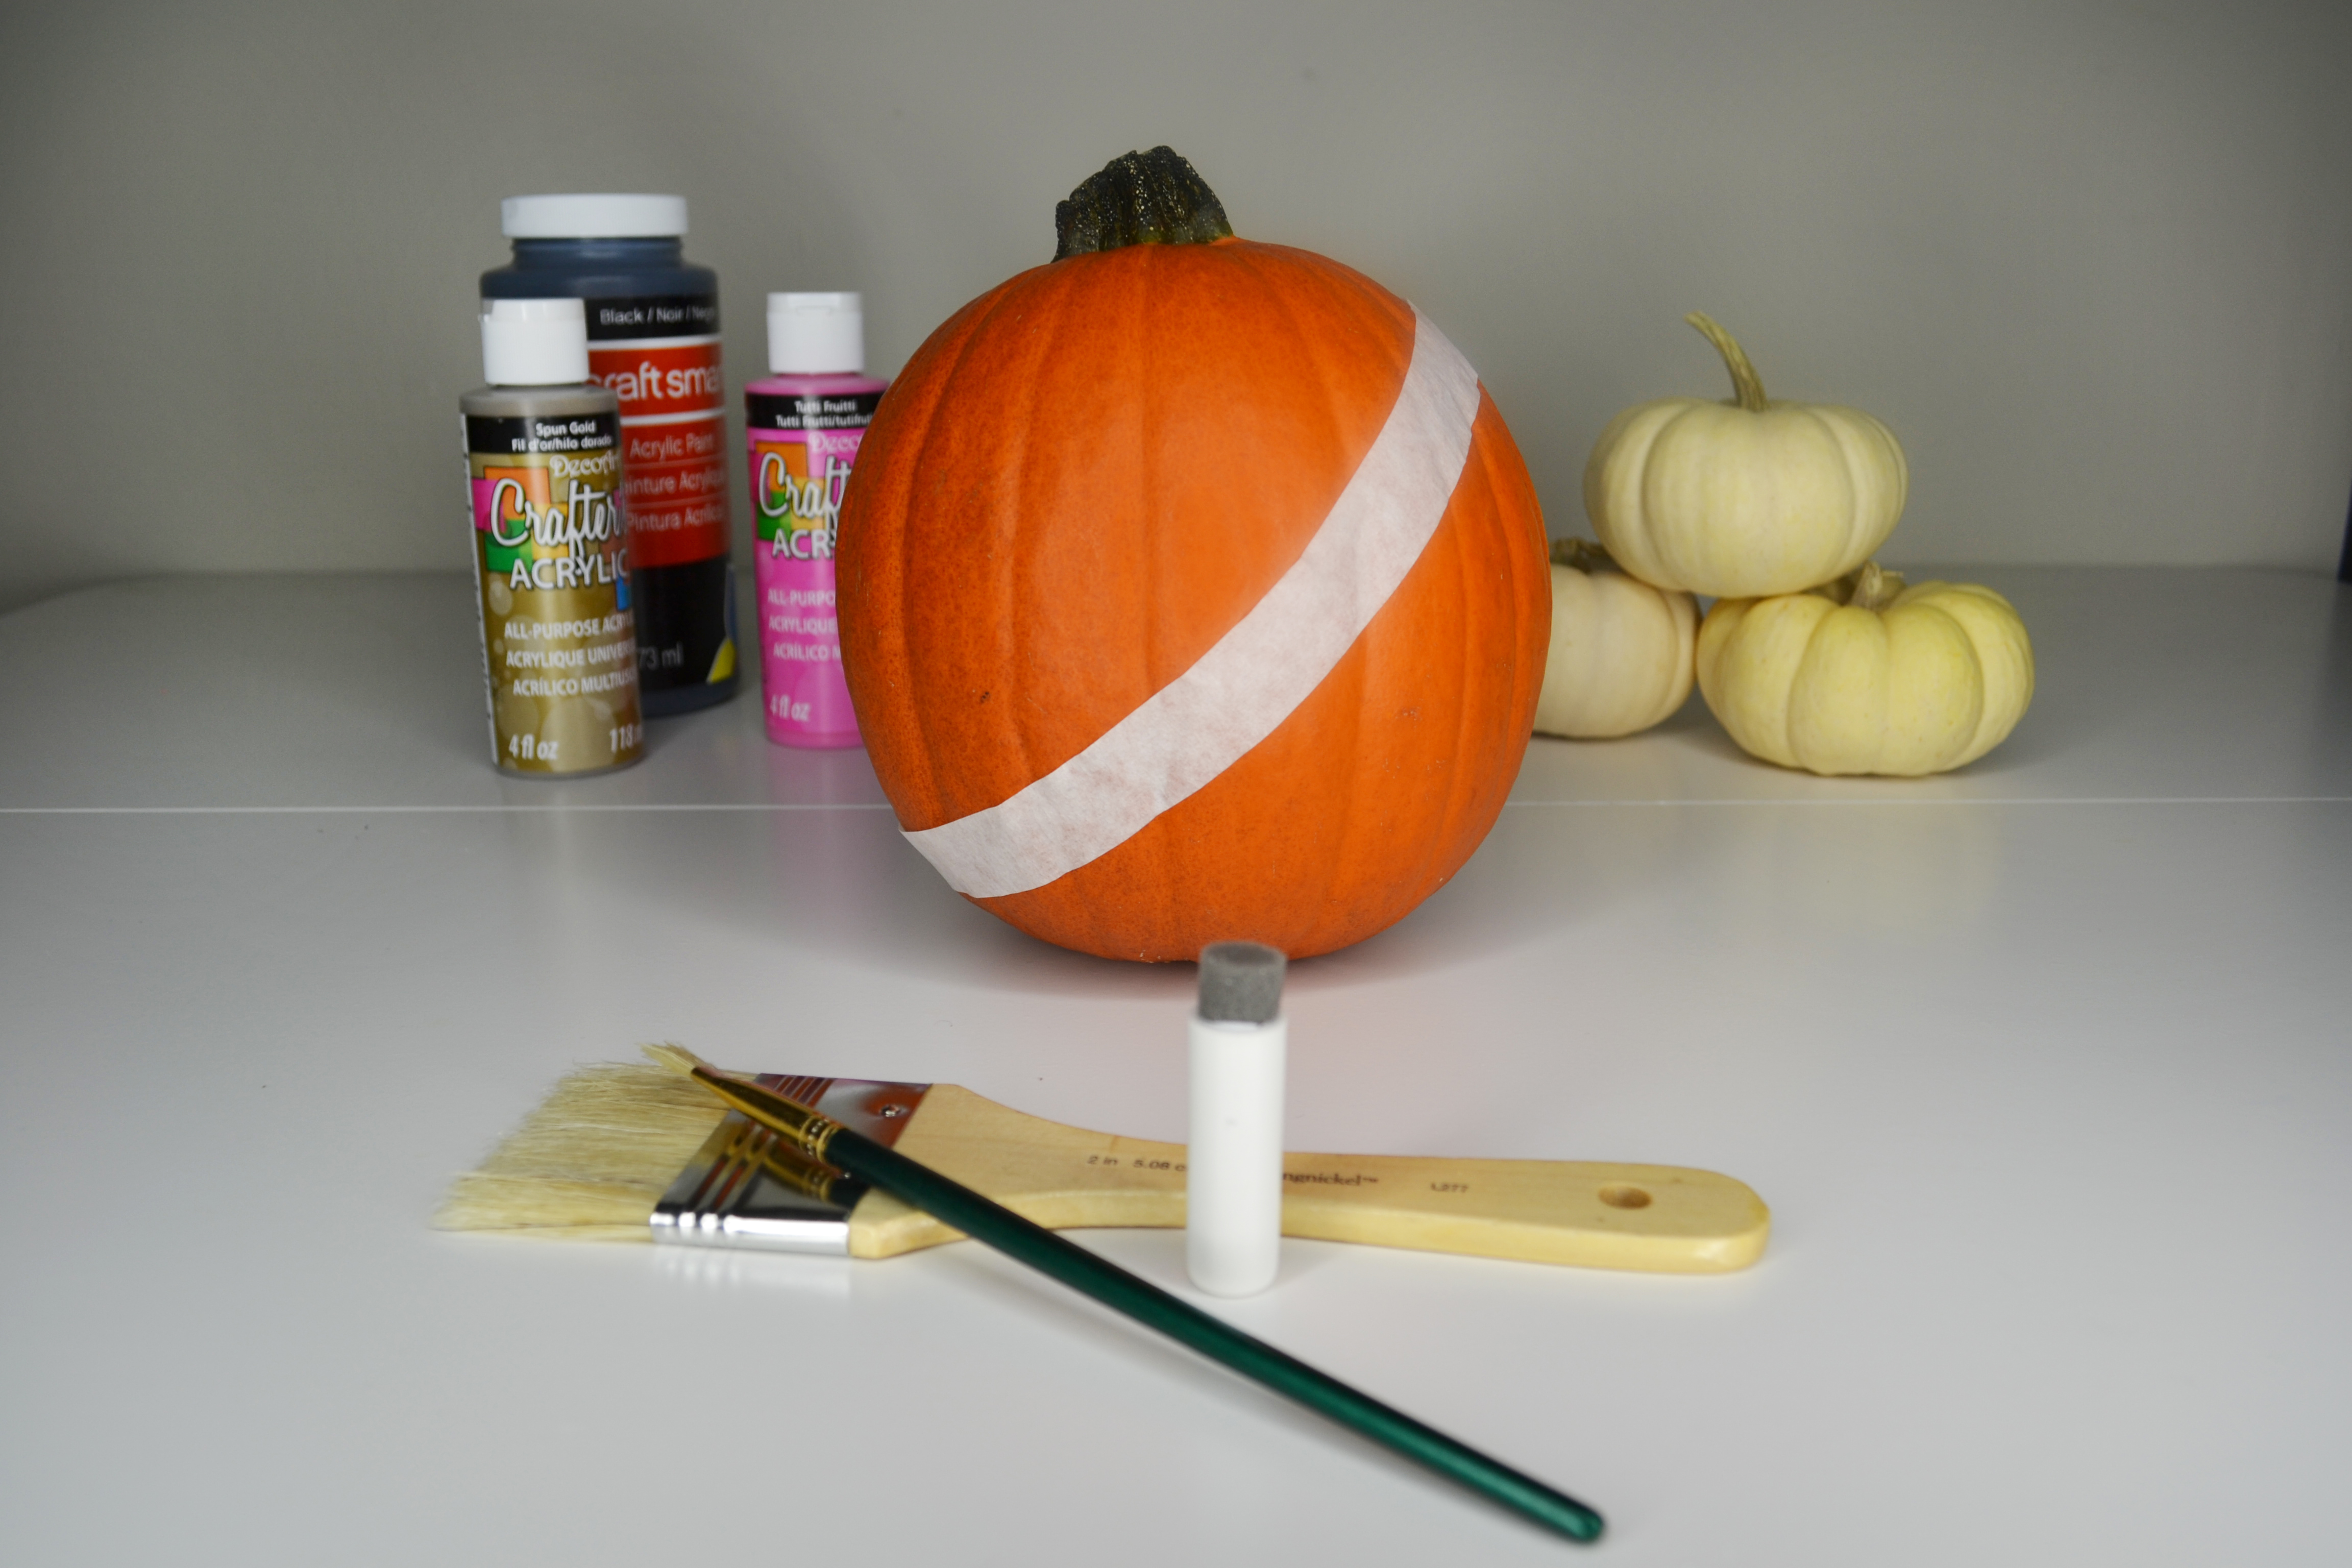
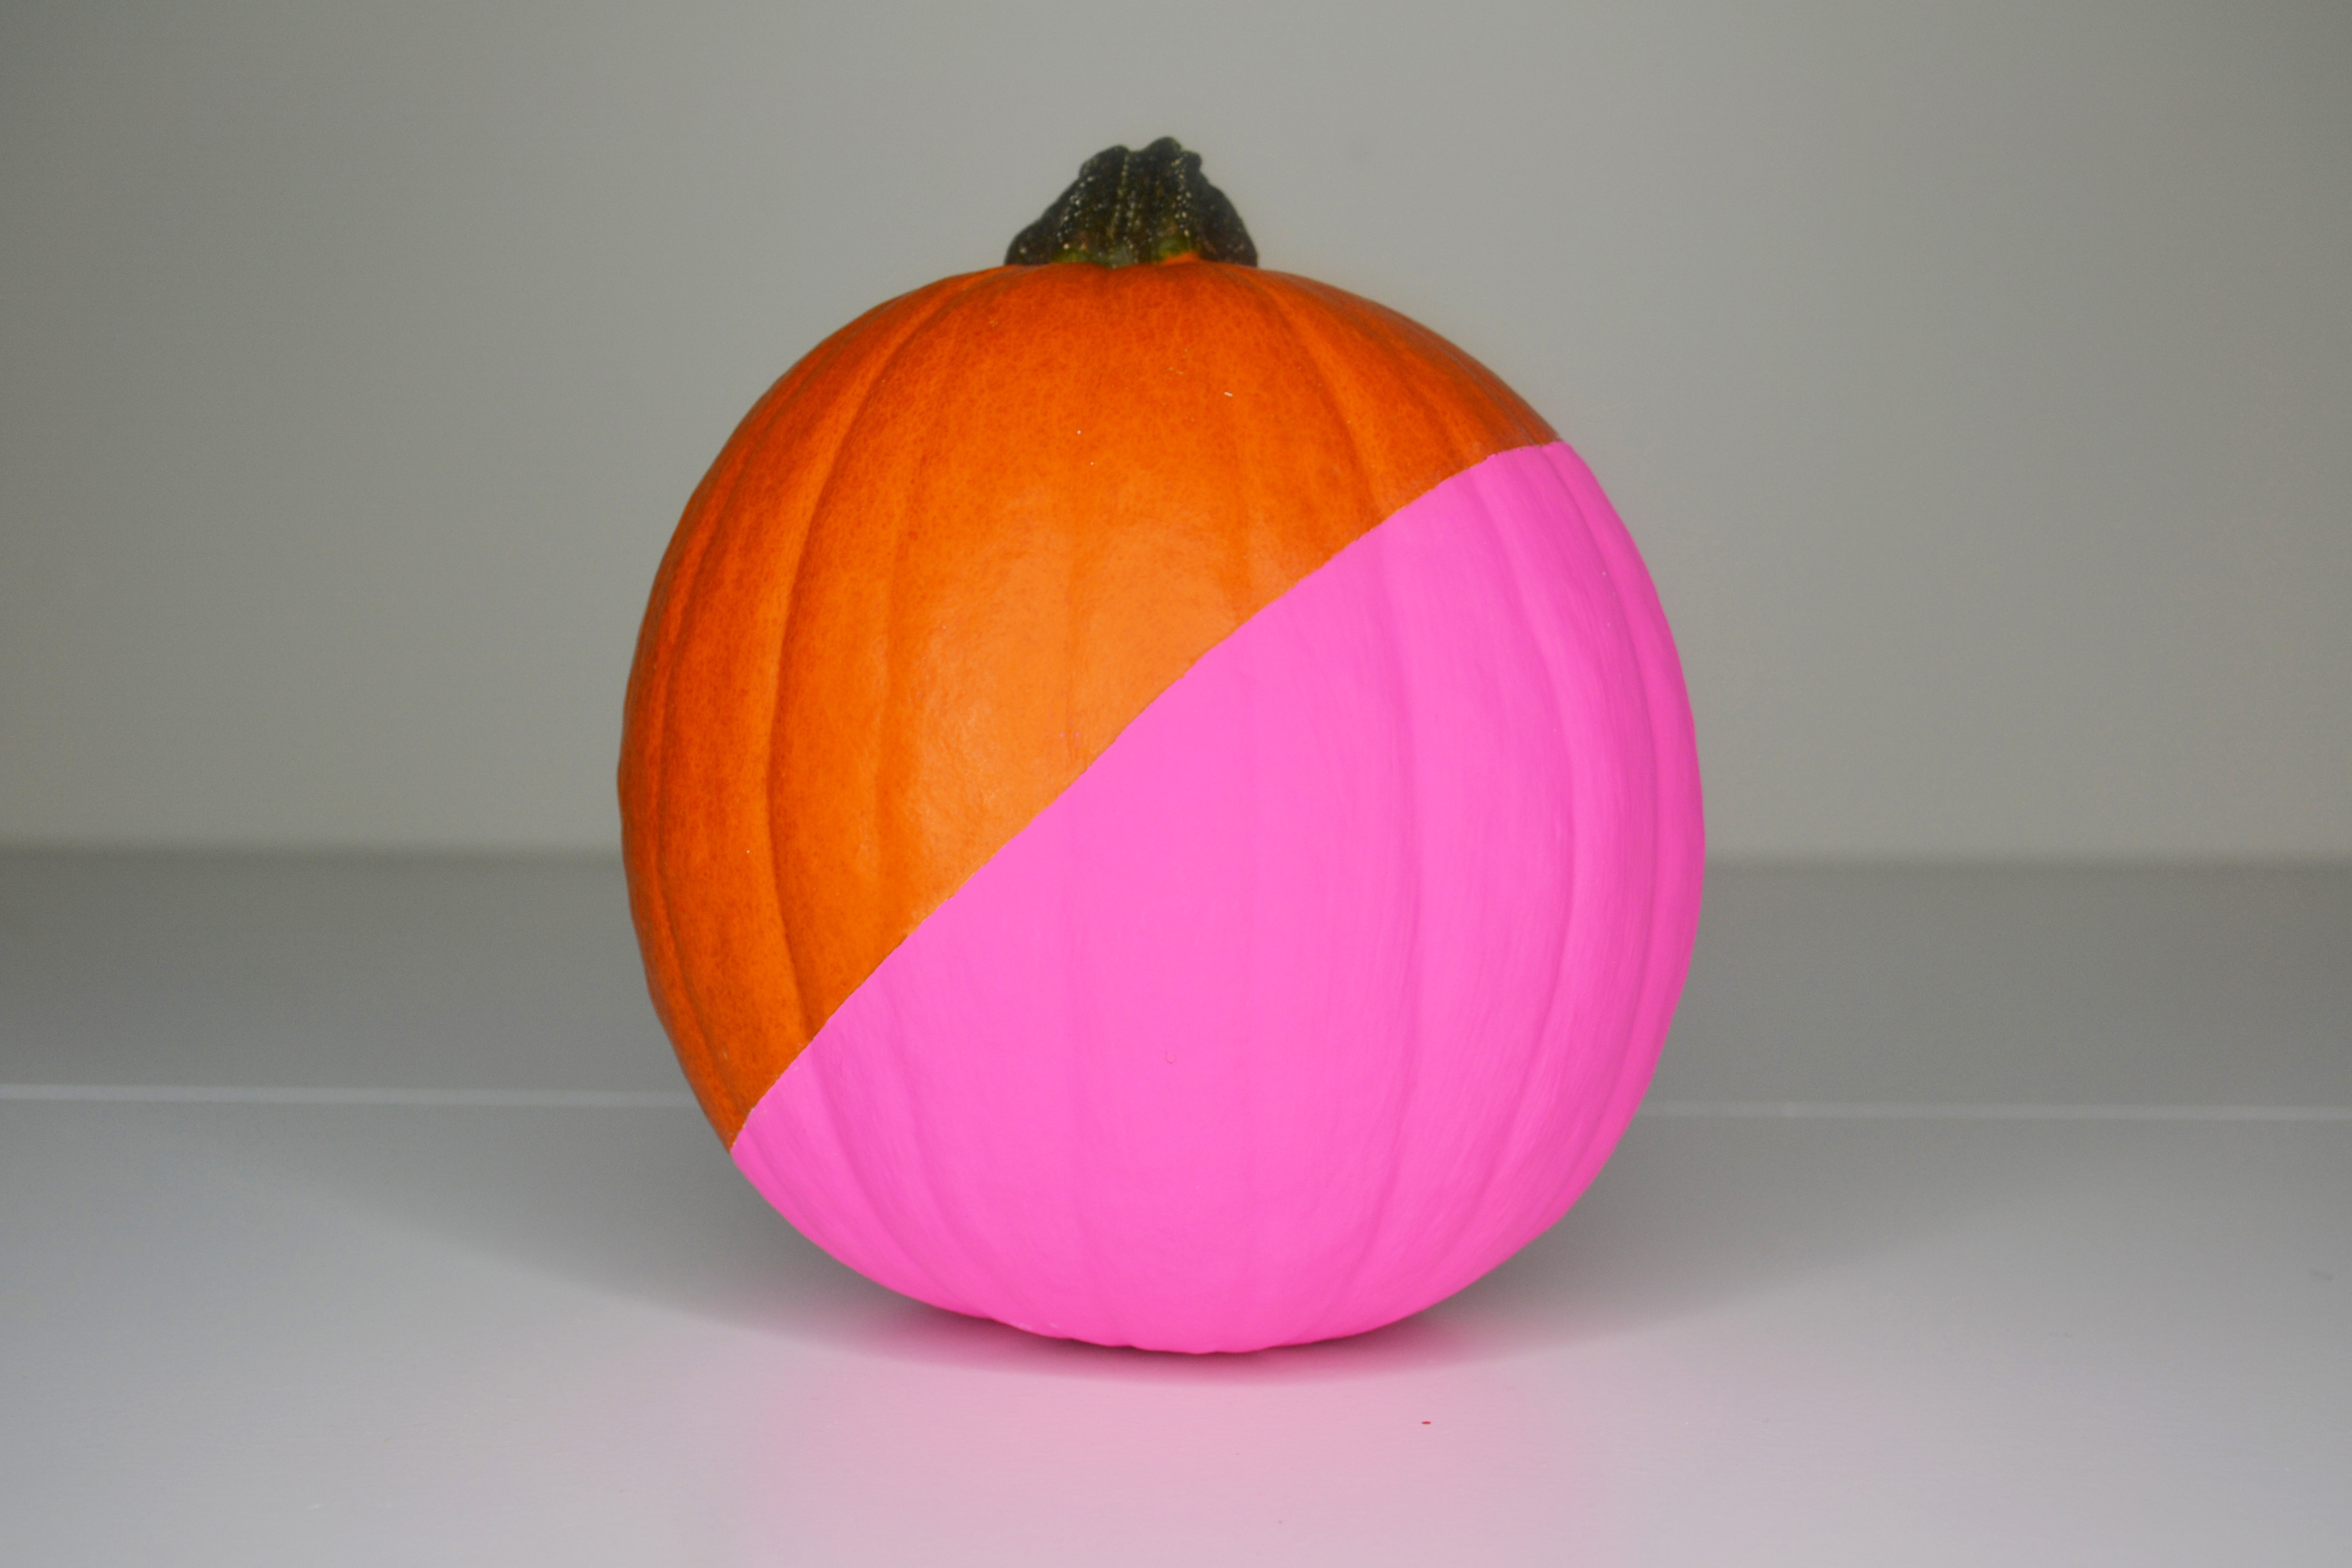
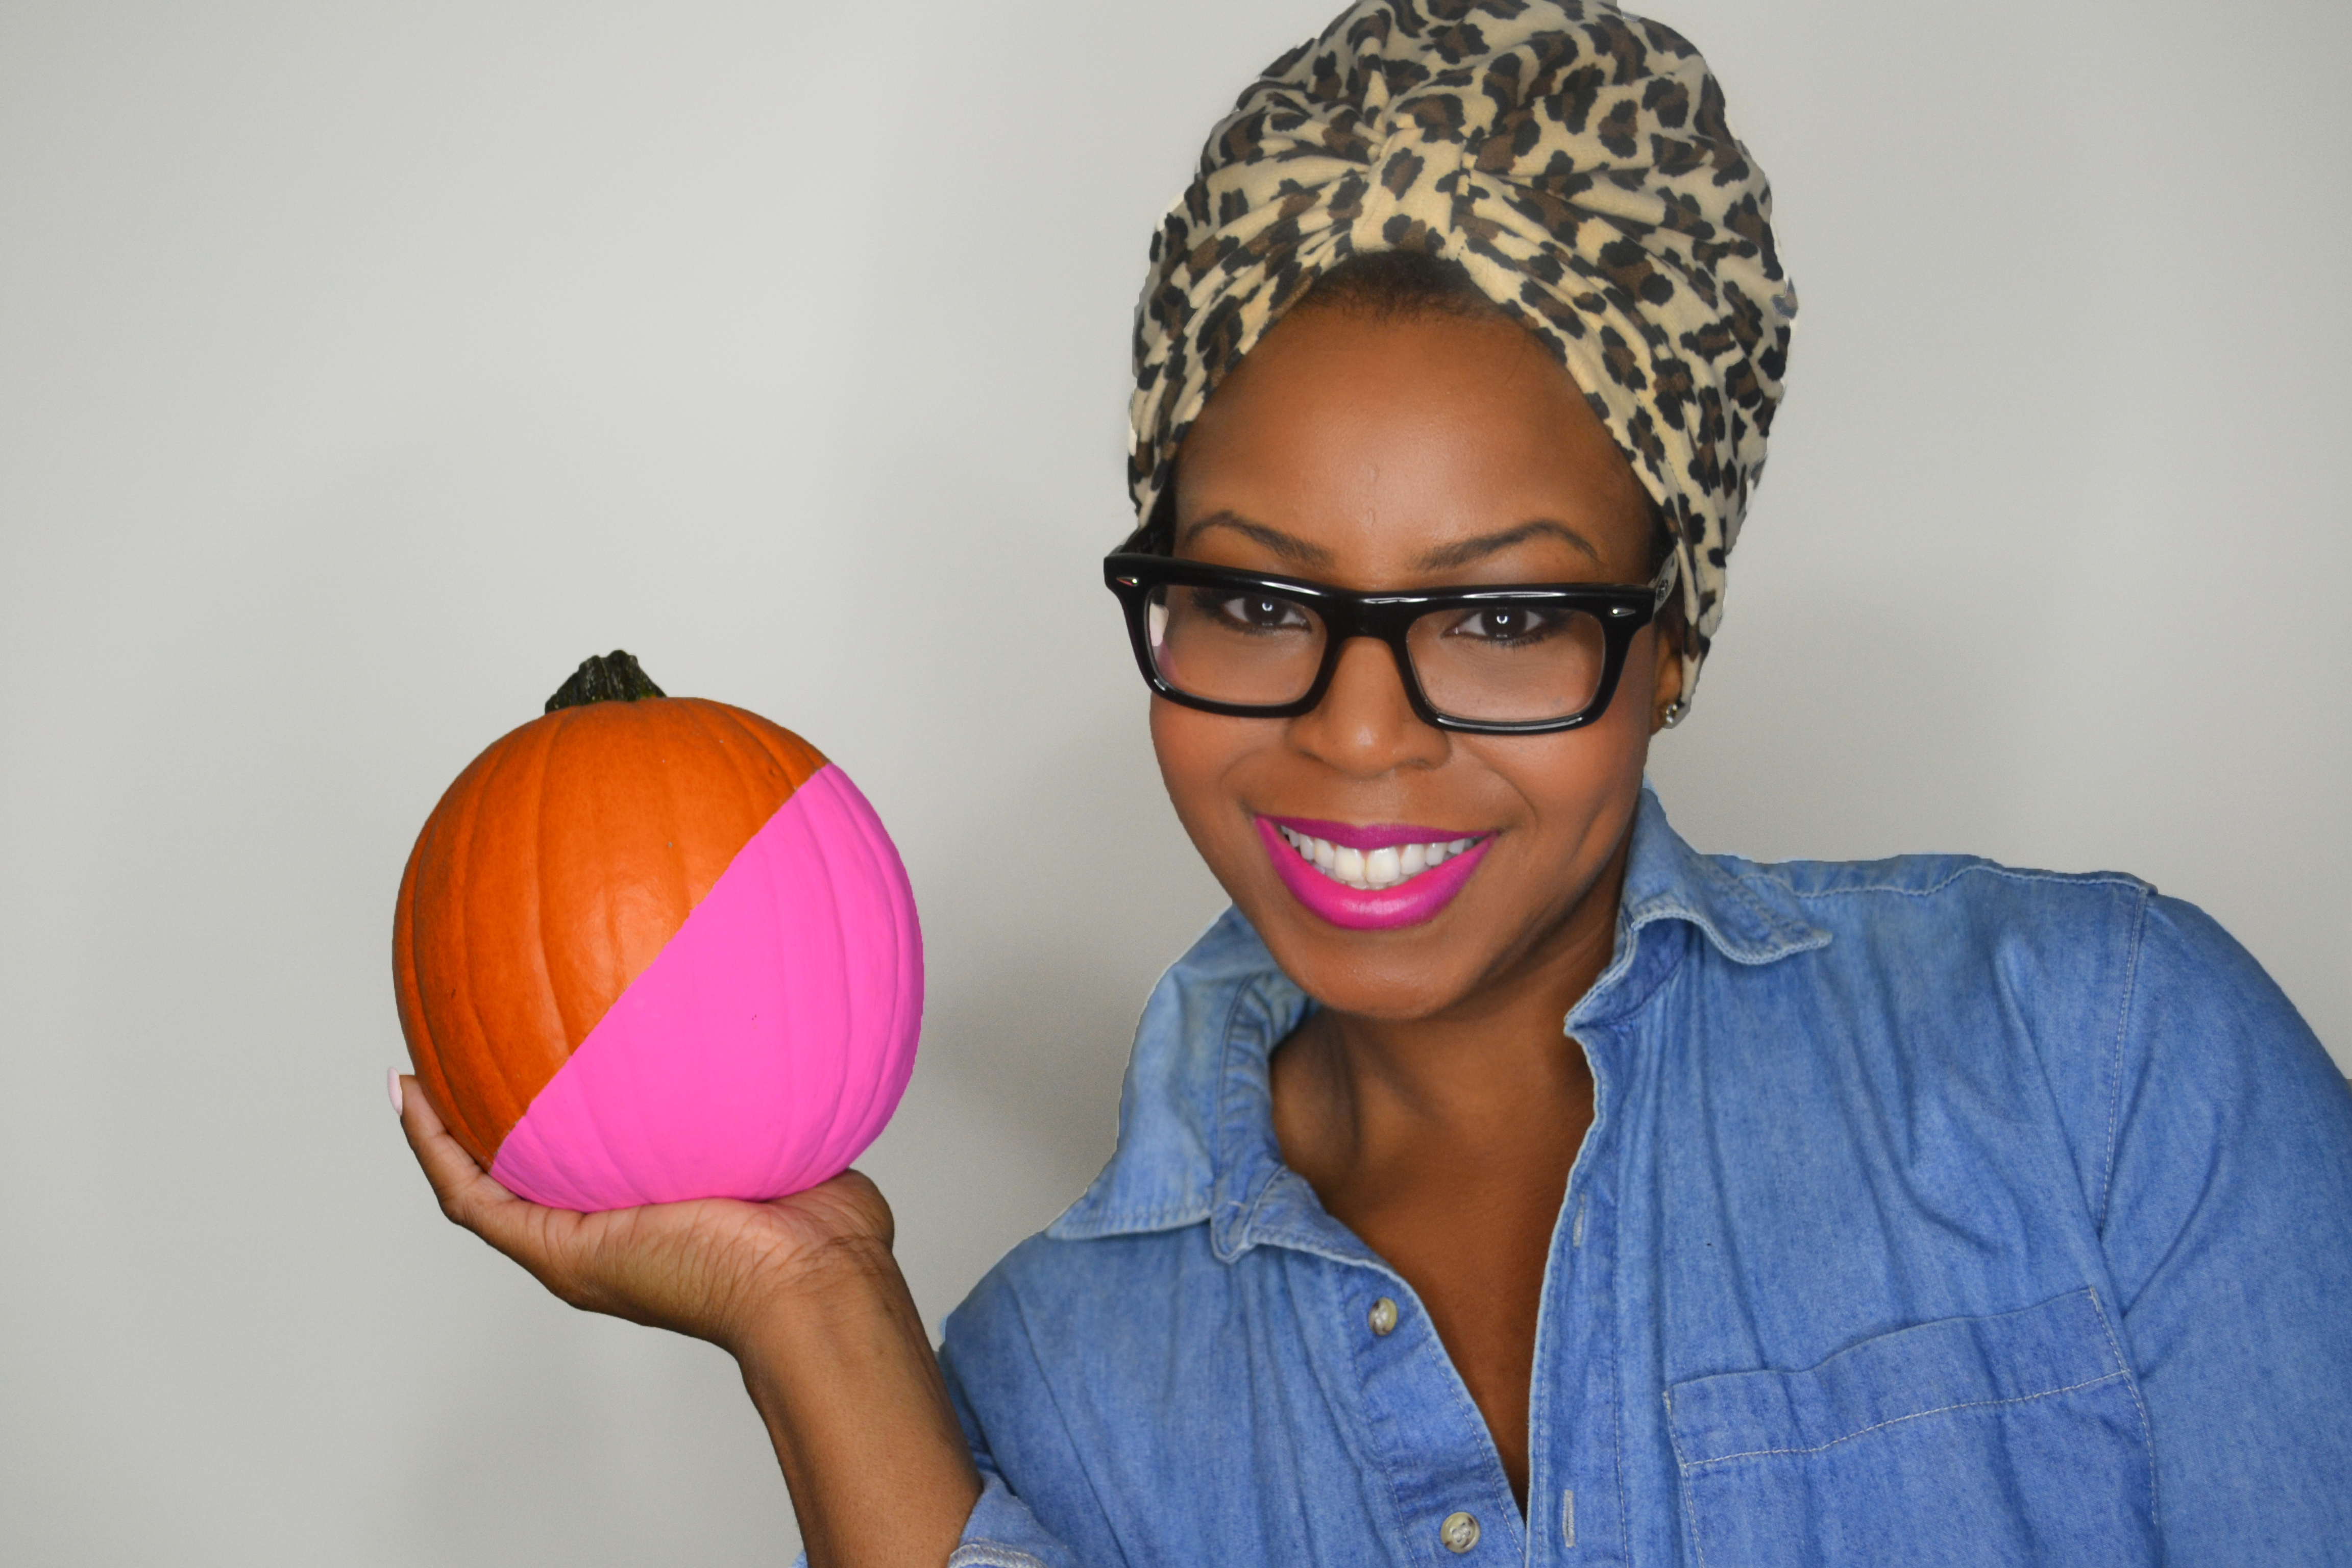
I decided to paint the first pumpkin with hot pink paint on an angle but feel free to do any design you’d like. I used masking tape so that I’d have a clean line so be sure if you want a funky design to use that and press down firmly. Think of it as painter’s tape when paining your home…same principle.
In order to really get that vibrant pink, I primed the pumpkin with white acrylic paint:
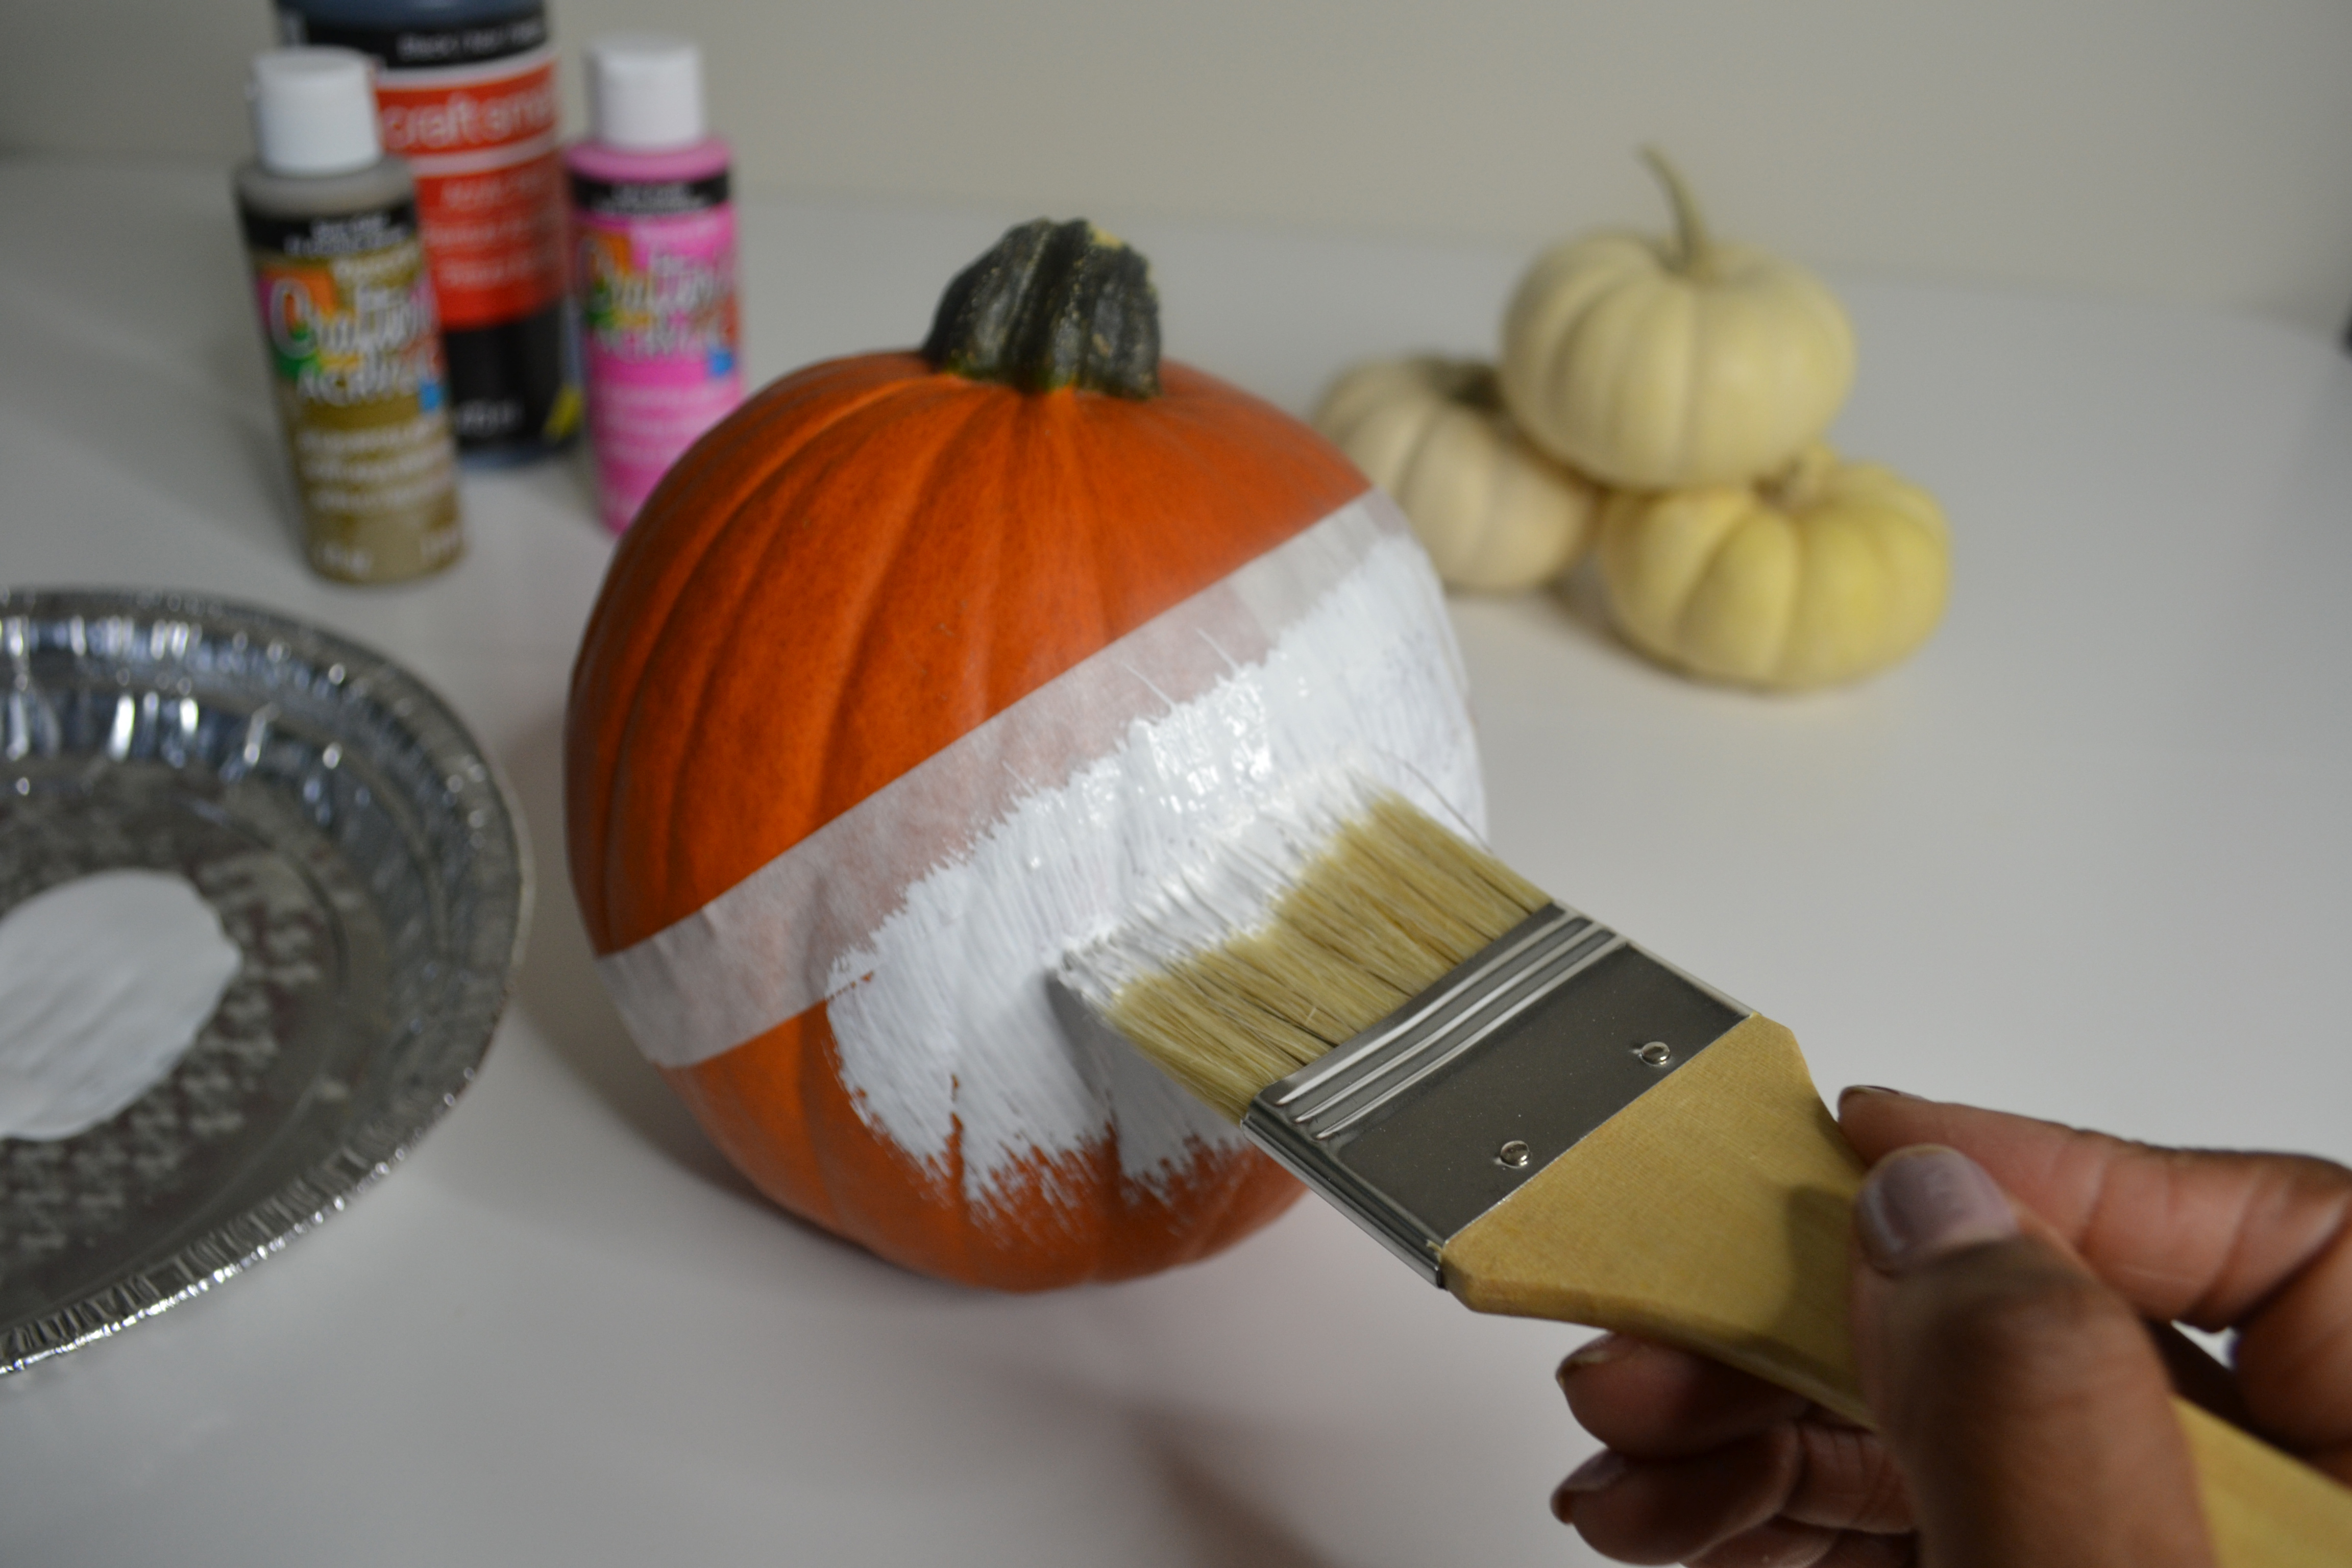
After letting that dry for about an hour I (with a little help from my two year old) painted two coats of pink paint. I allowed a bit over an hour of drying time between coats.

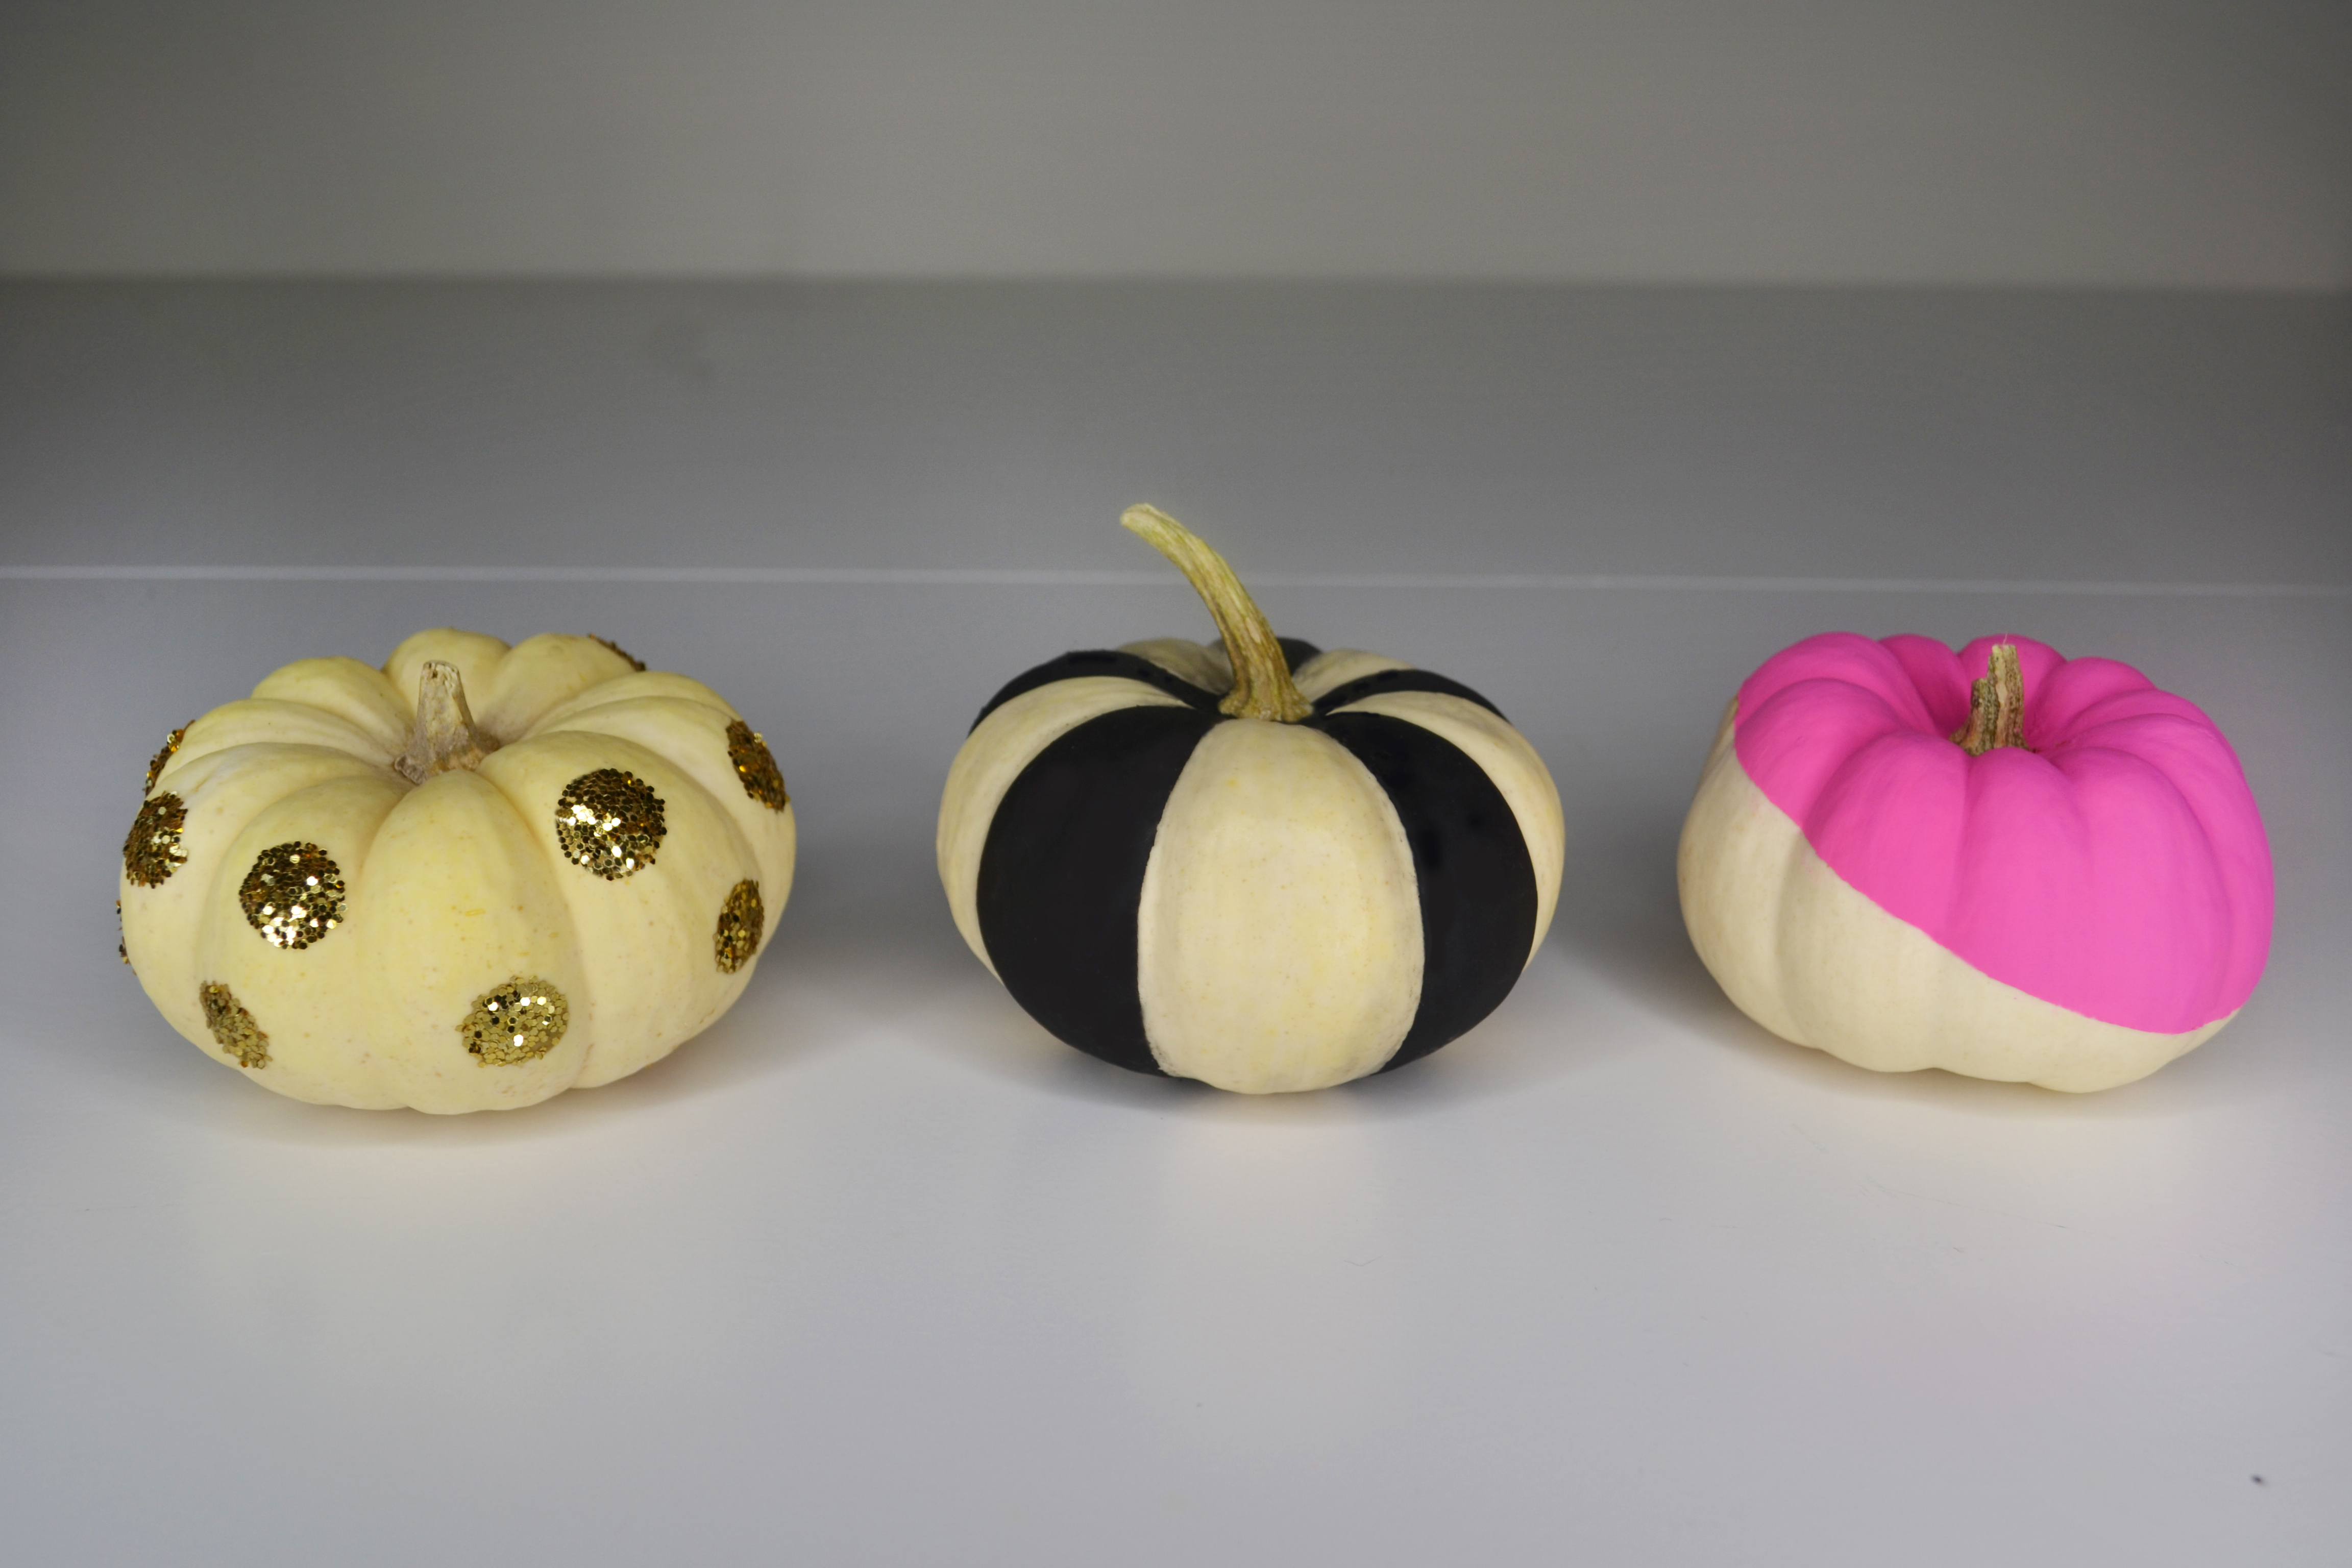
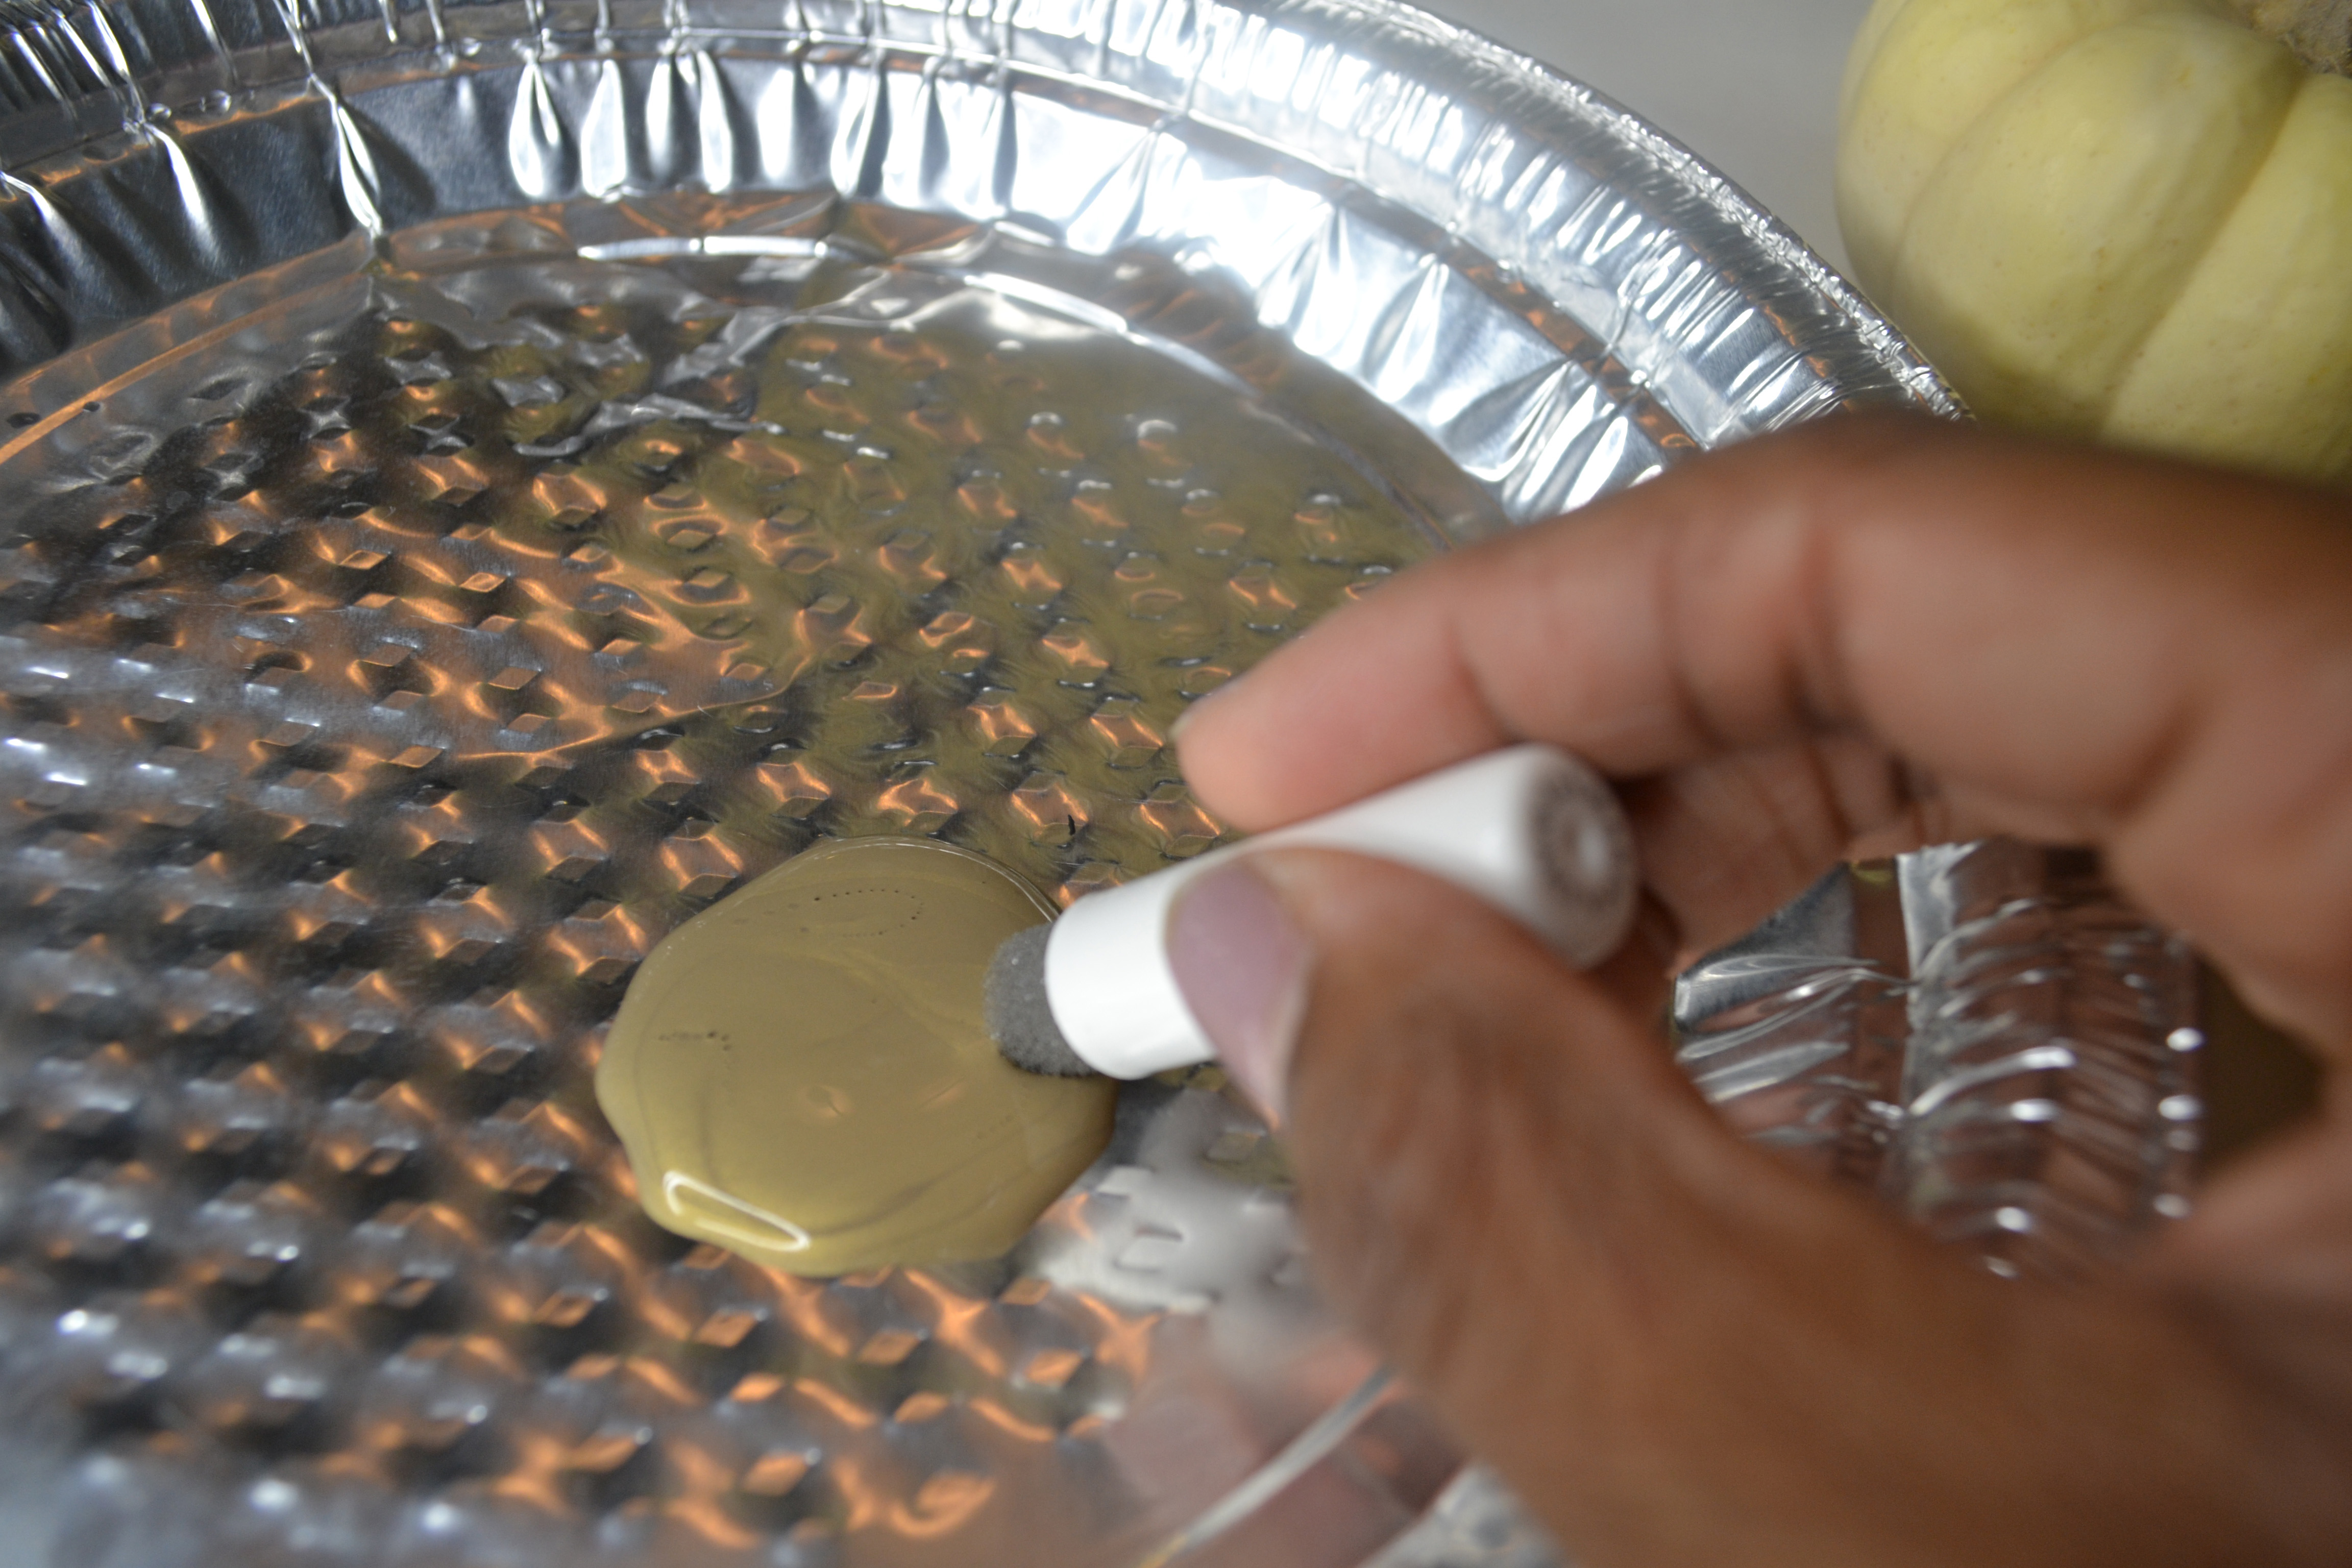
I also decided to do a glittery polka dotted pumpkin and to achieve that look, I dipped my small circle sponge in gold paint and dotted the paint randomly on the pumpkin.
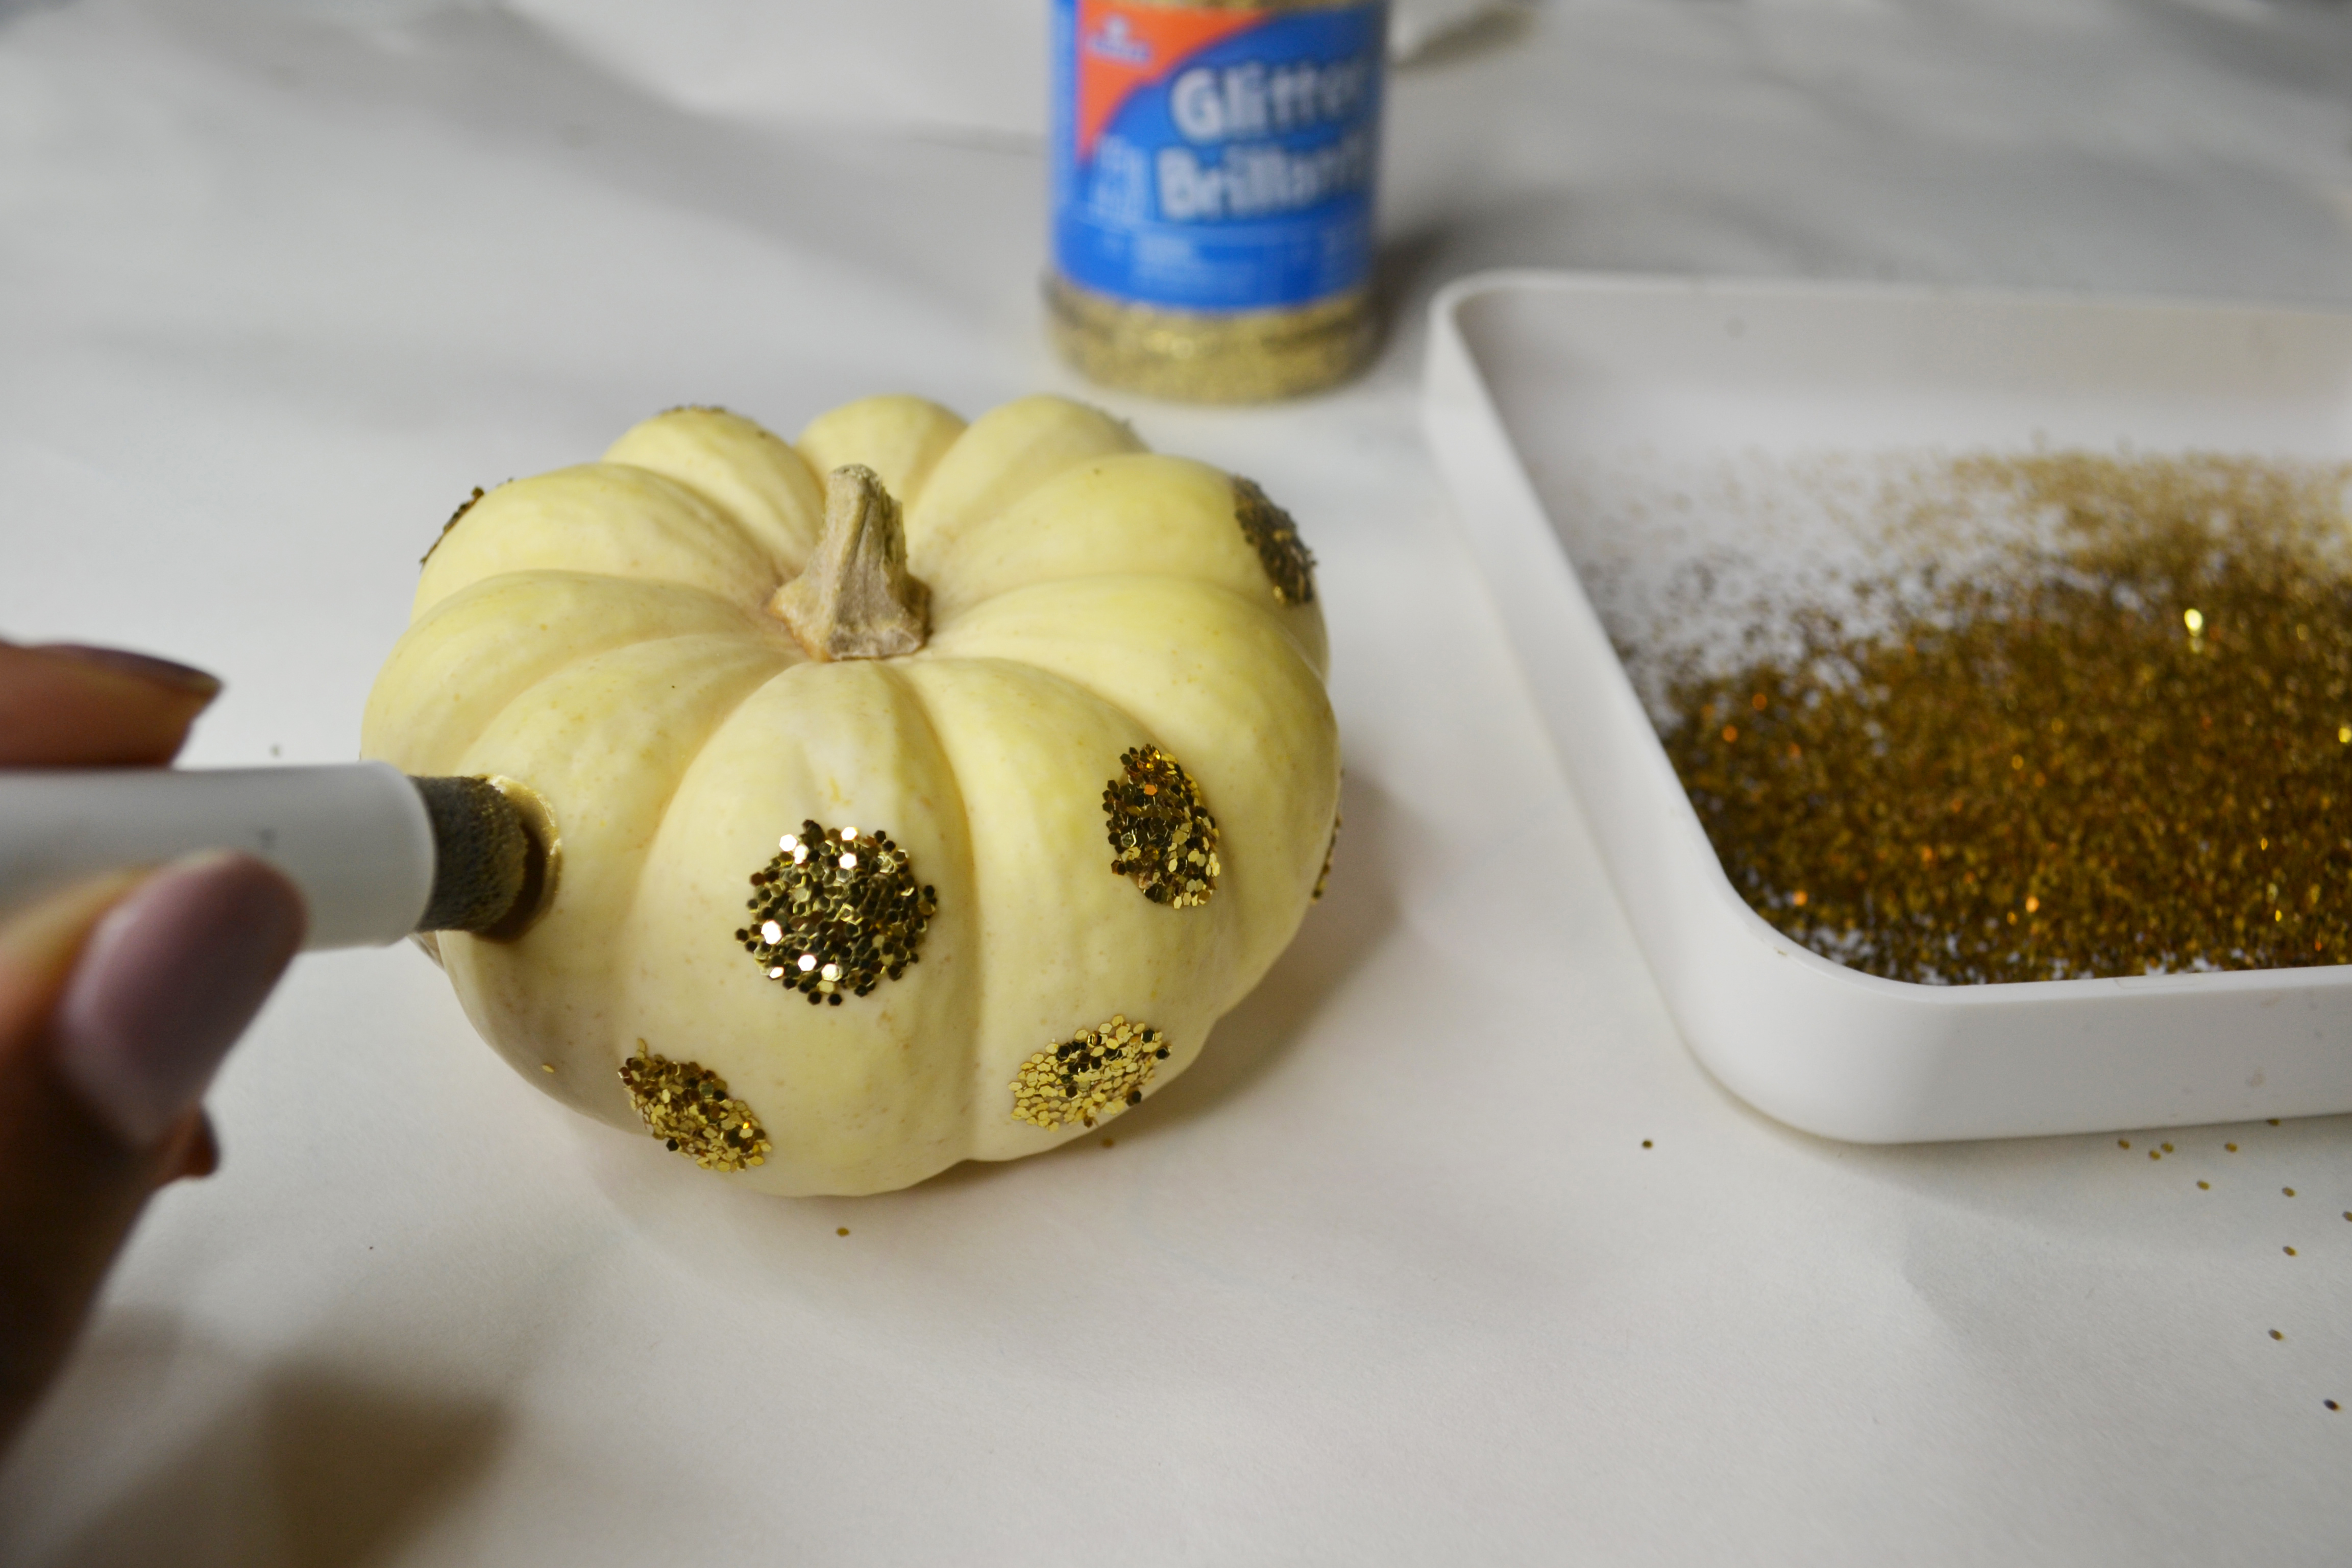
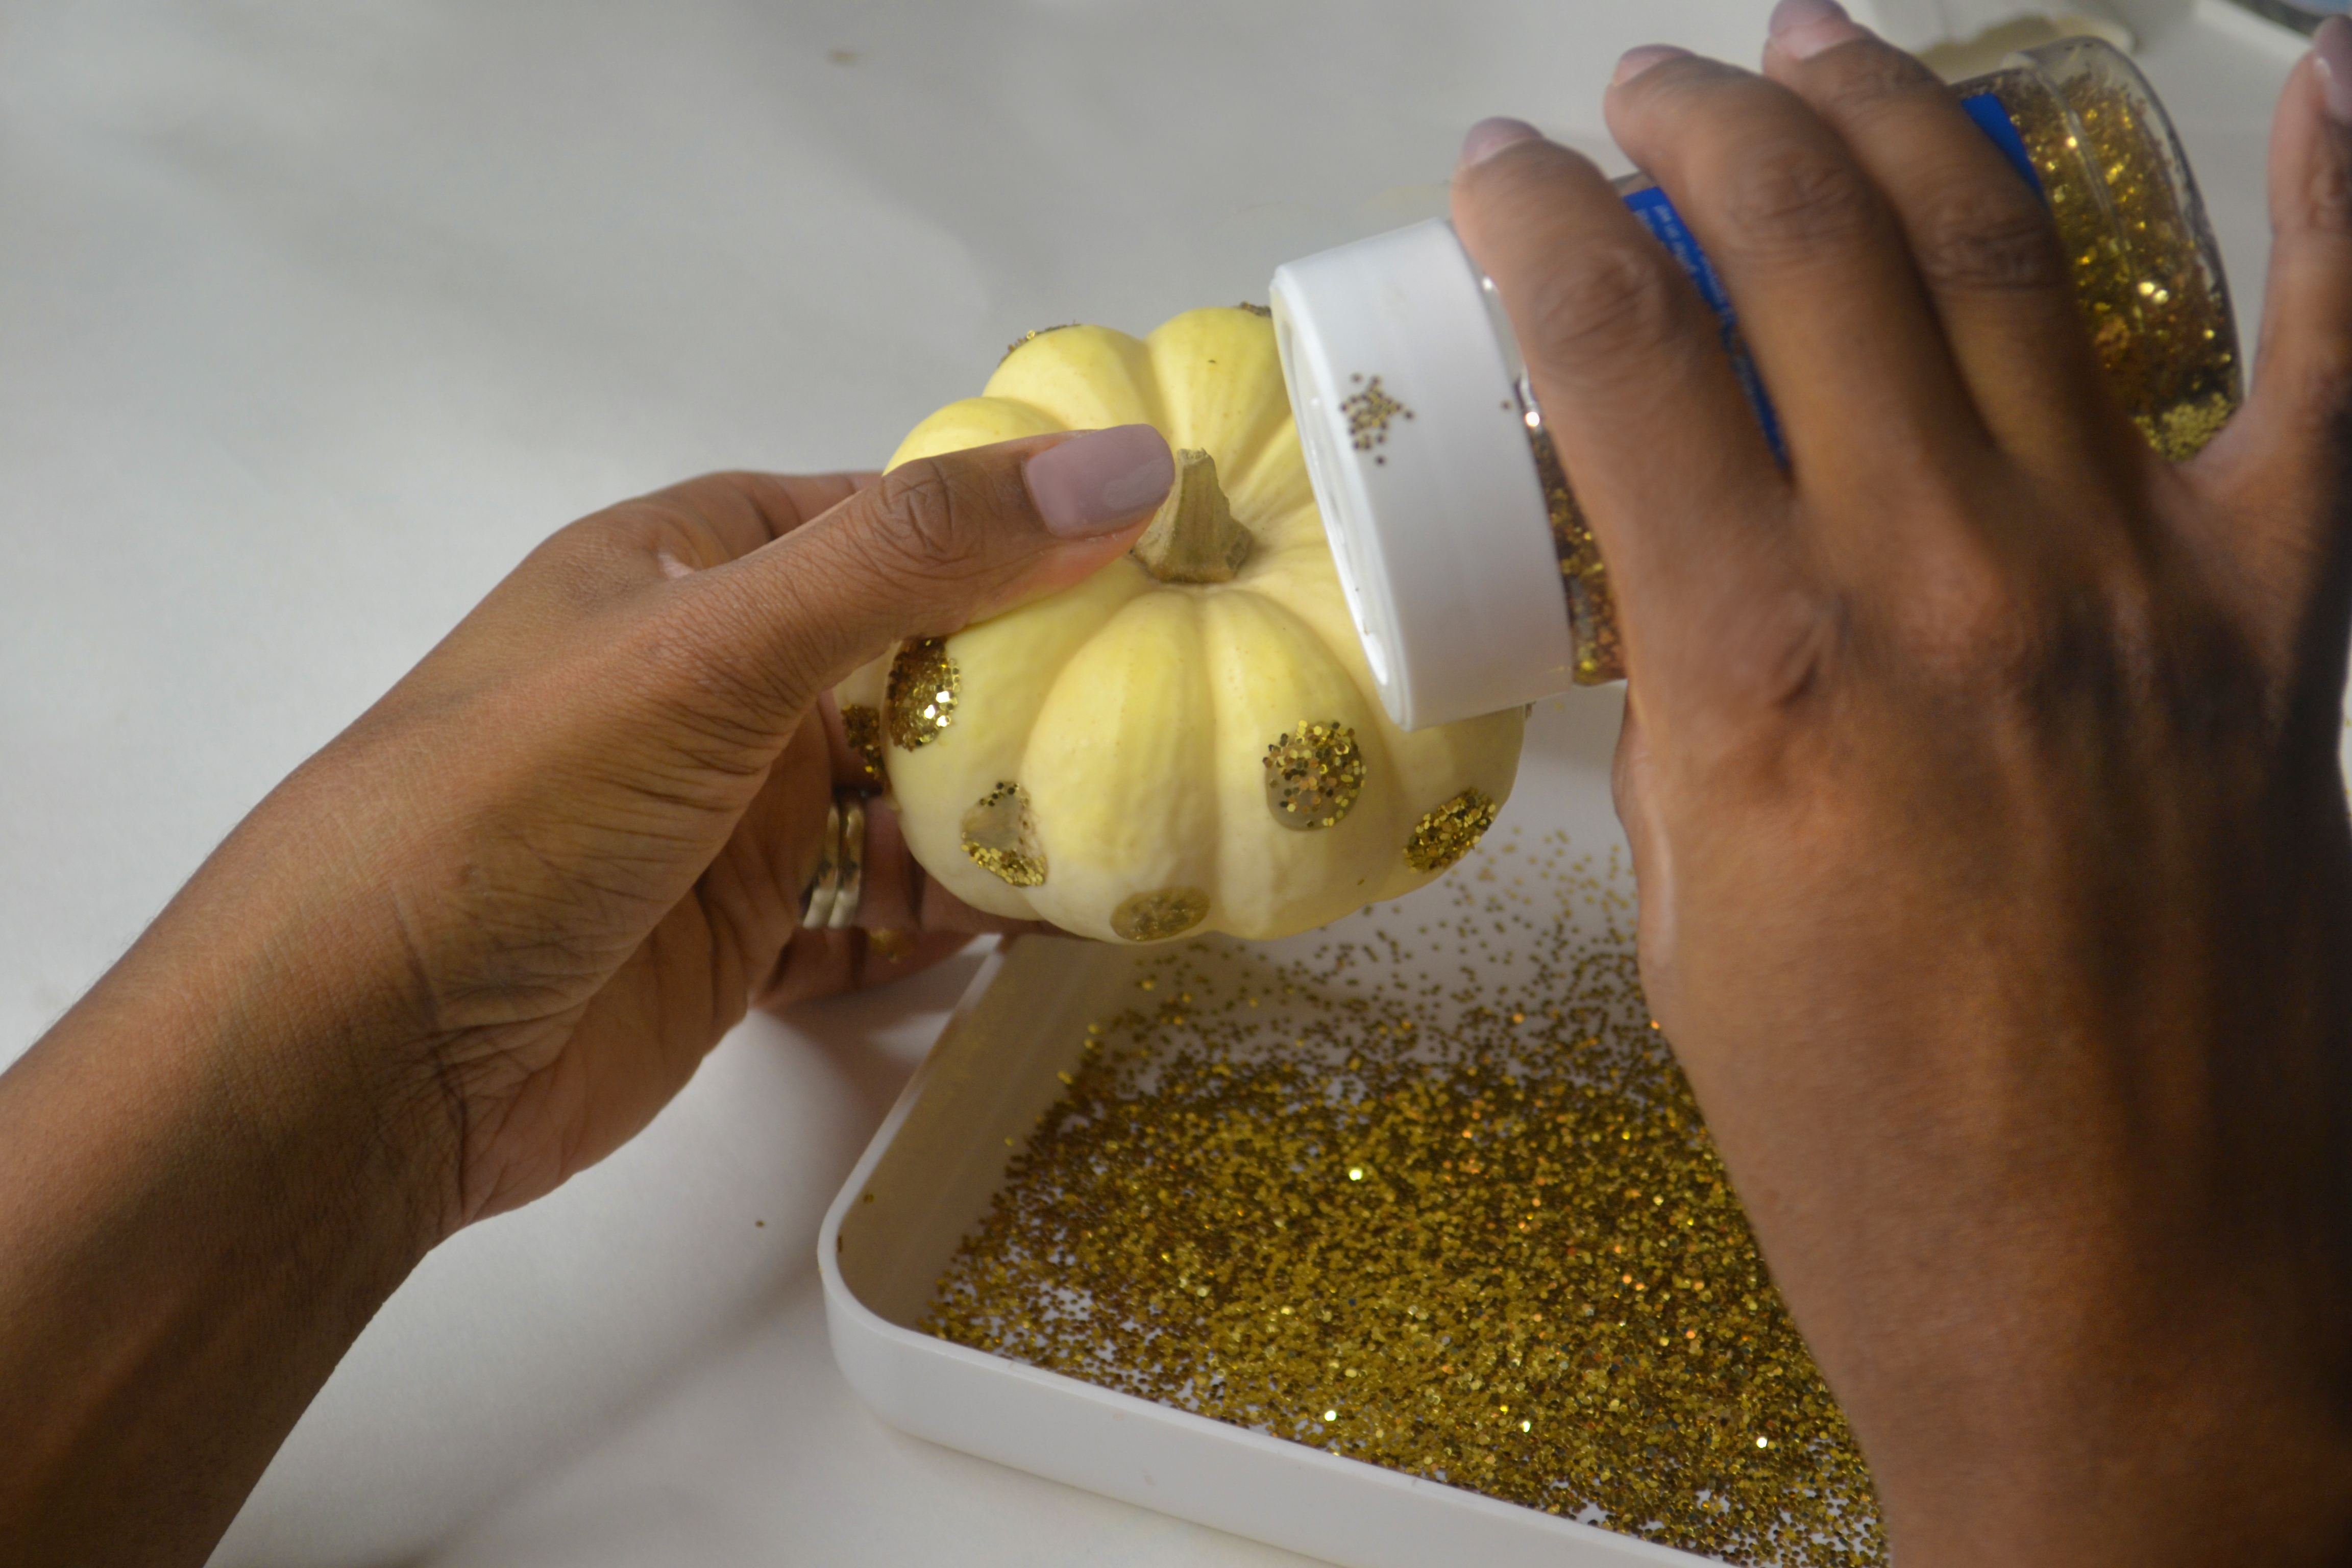
I then dusted the glitter on the wet pain before it dried:
And there you have it! Beautifully painted pumpkins!
~M
There's more where this came from!
Subscribe for more mini moments, foodie fixes, DIY crafts and a touch of fashion inspiration.
No Comments