

So you’re thinking of what to give the loved ones and friends for valentines day? Cookies of course! I featured these cookies on my recent Cityline segment and they are the and most tasty gift you can give as a Valentines day gift!
On a scale from 1 to 10 in difficulty, I would give these a 5 – not overly difficult, but not a breeze either!
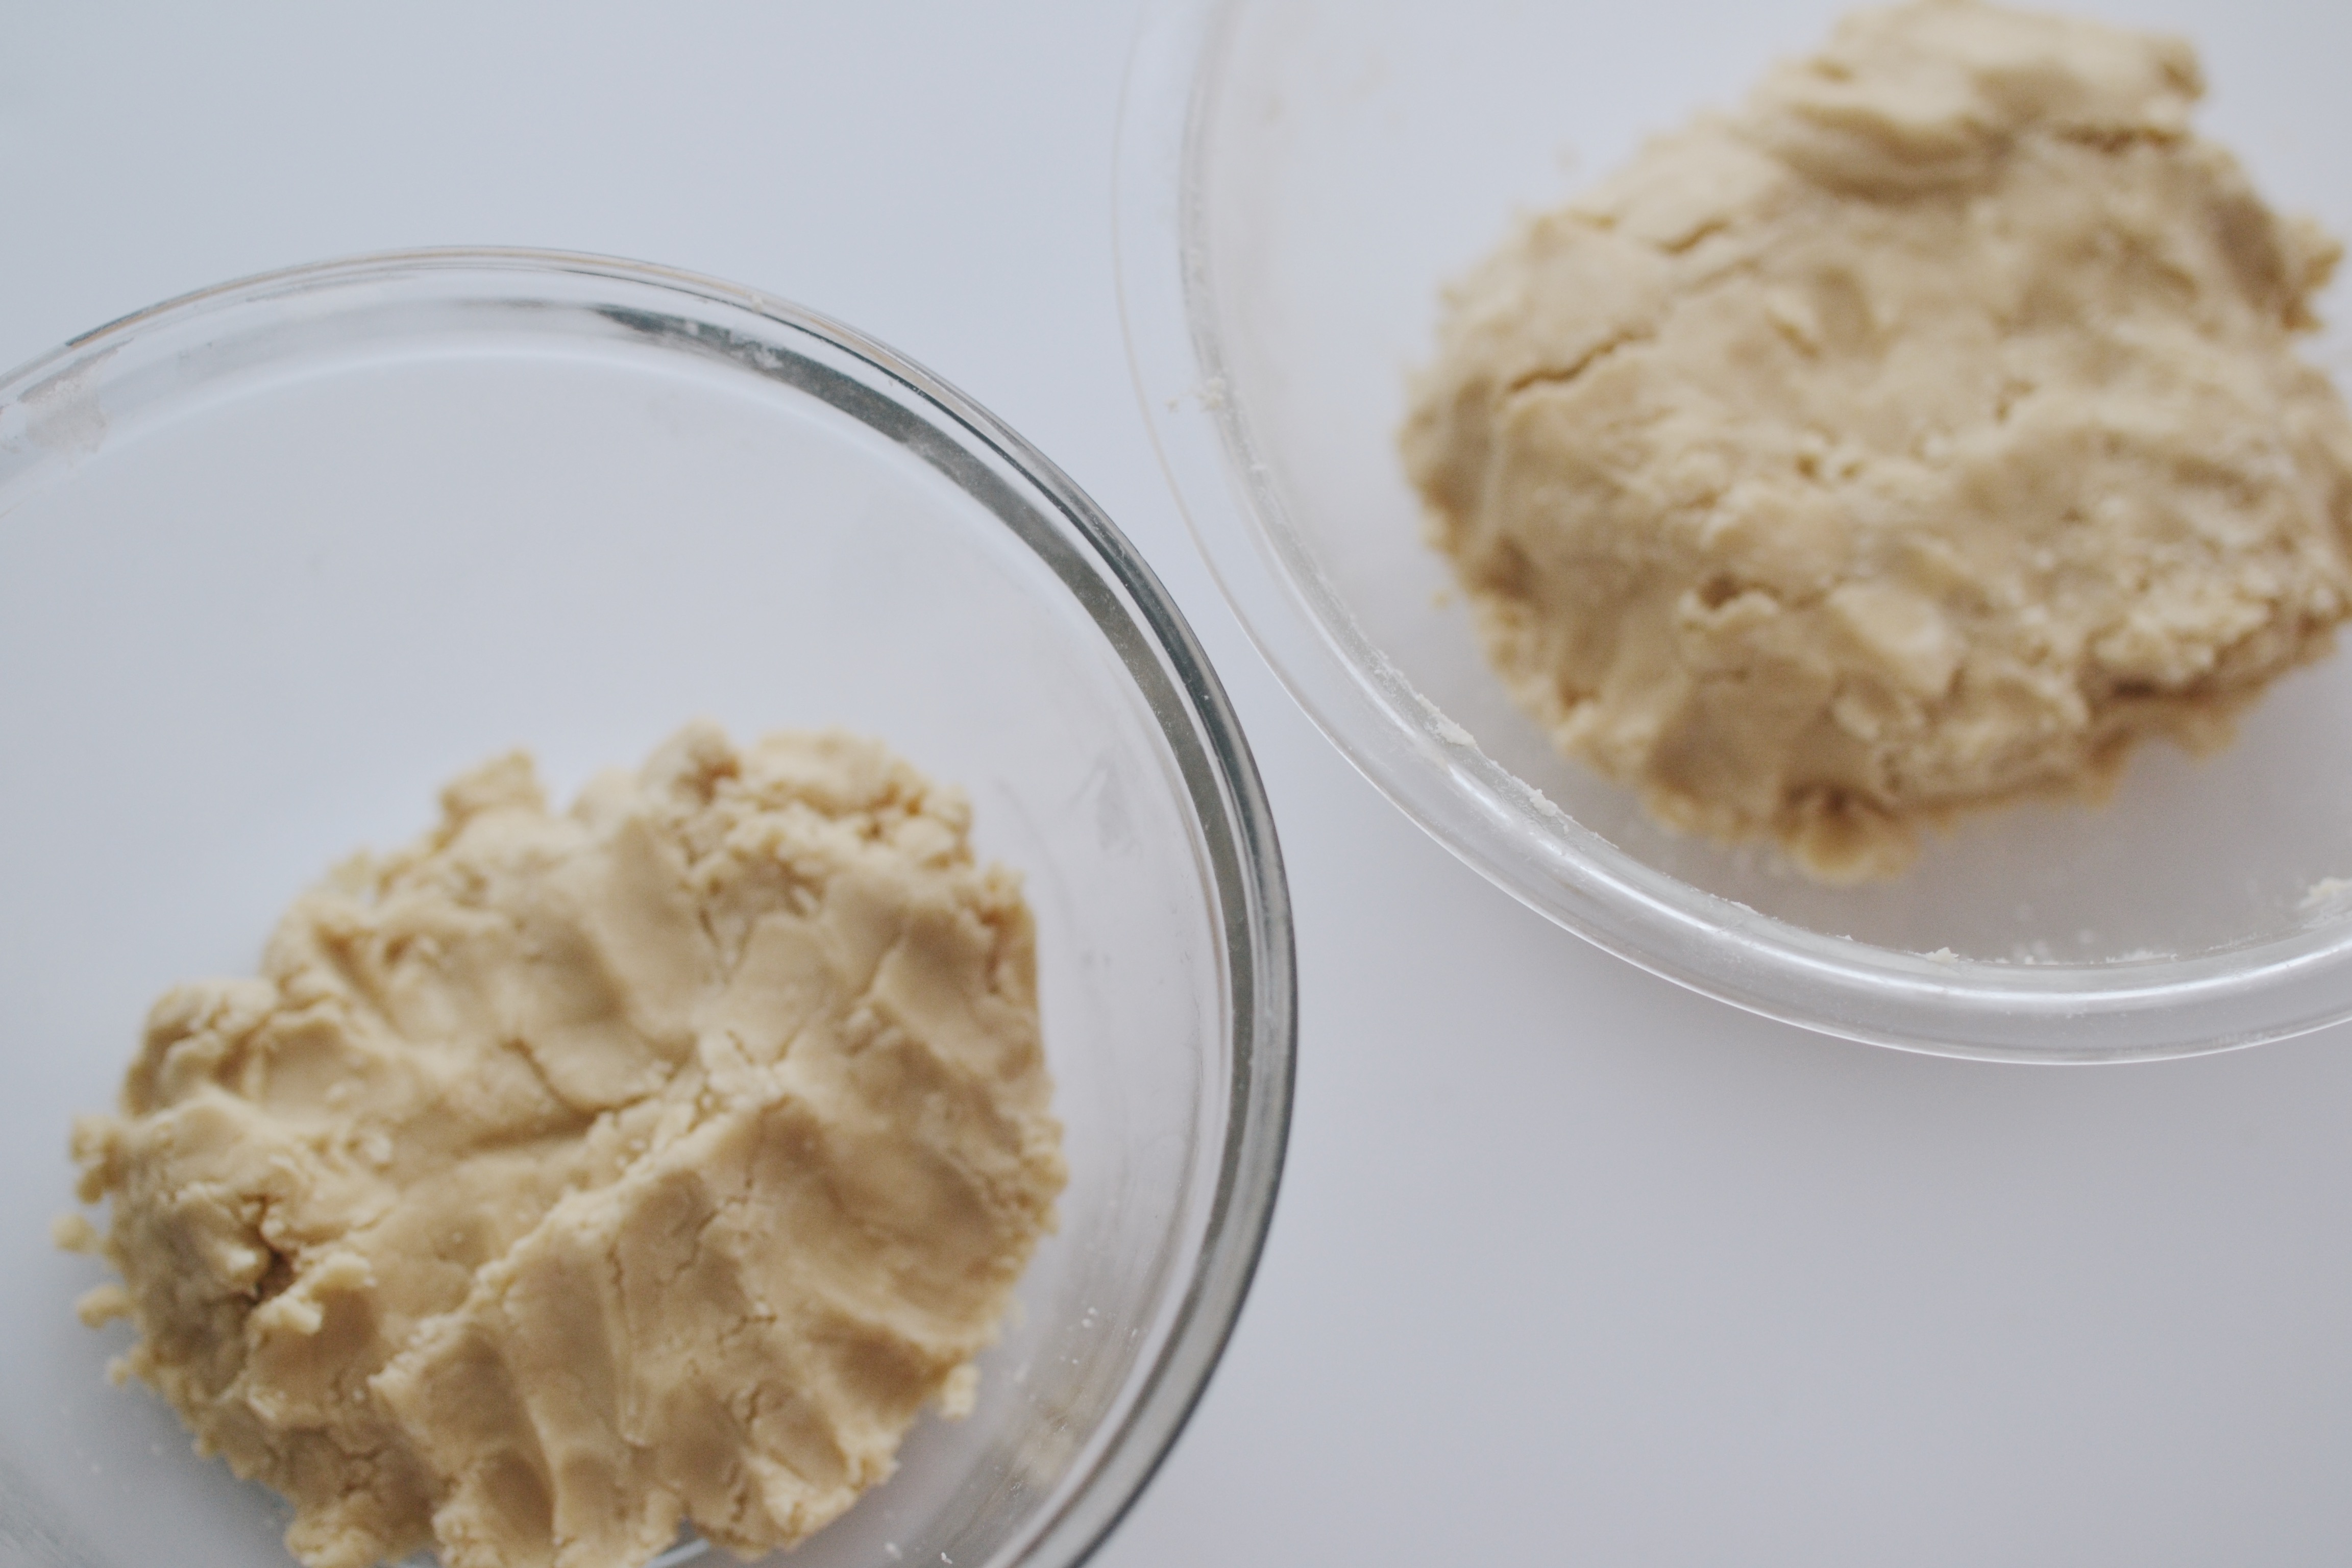
I used my go to sugar cookie recipe for these cookies but if you hace a fave recipe, feel free to use that one too!
Once you have your dough made you separate out 1/3 of that dough and place it in a separate bowl
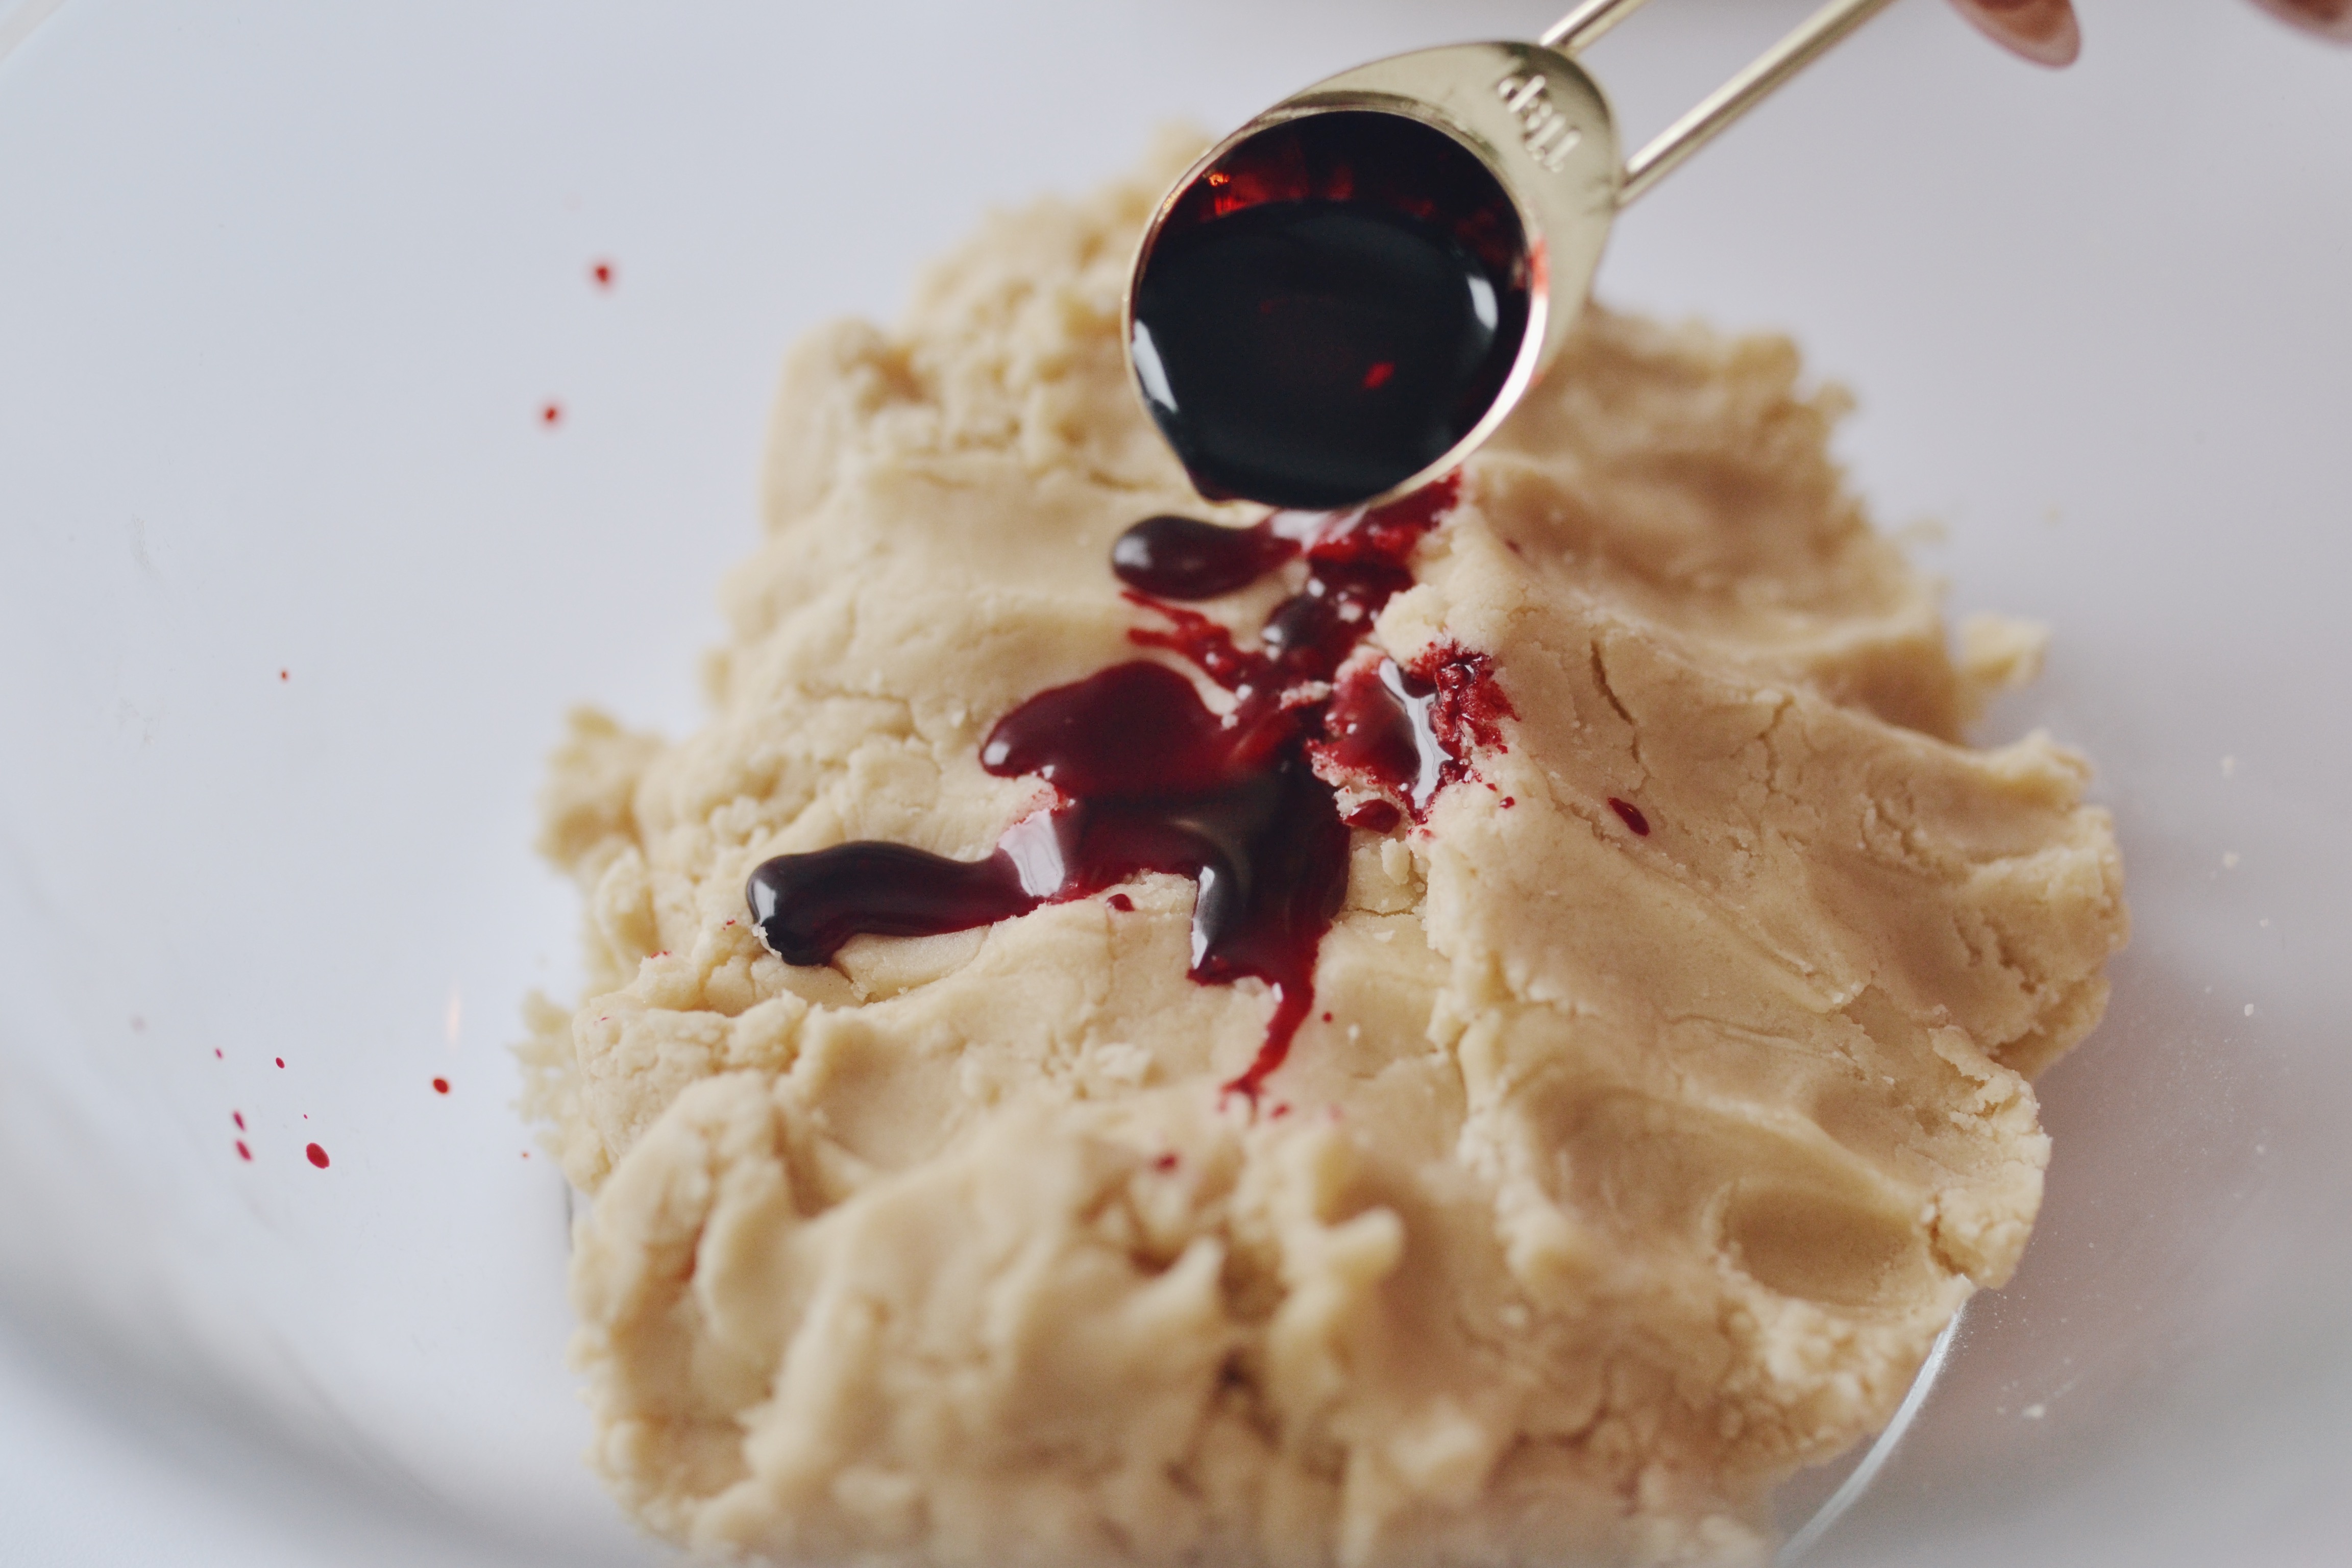
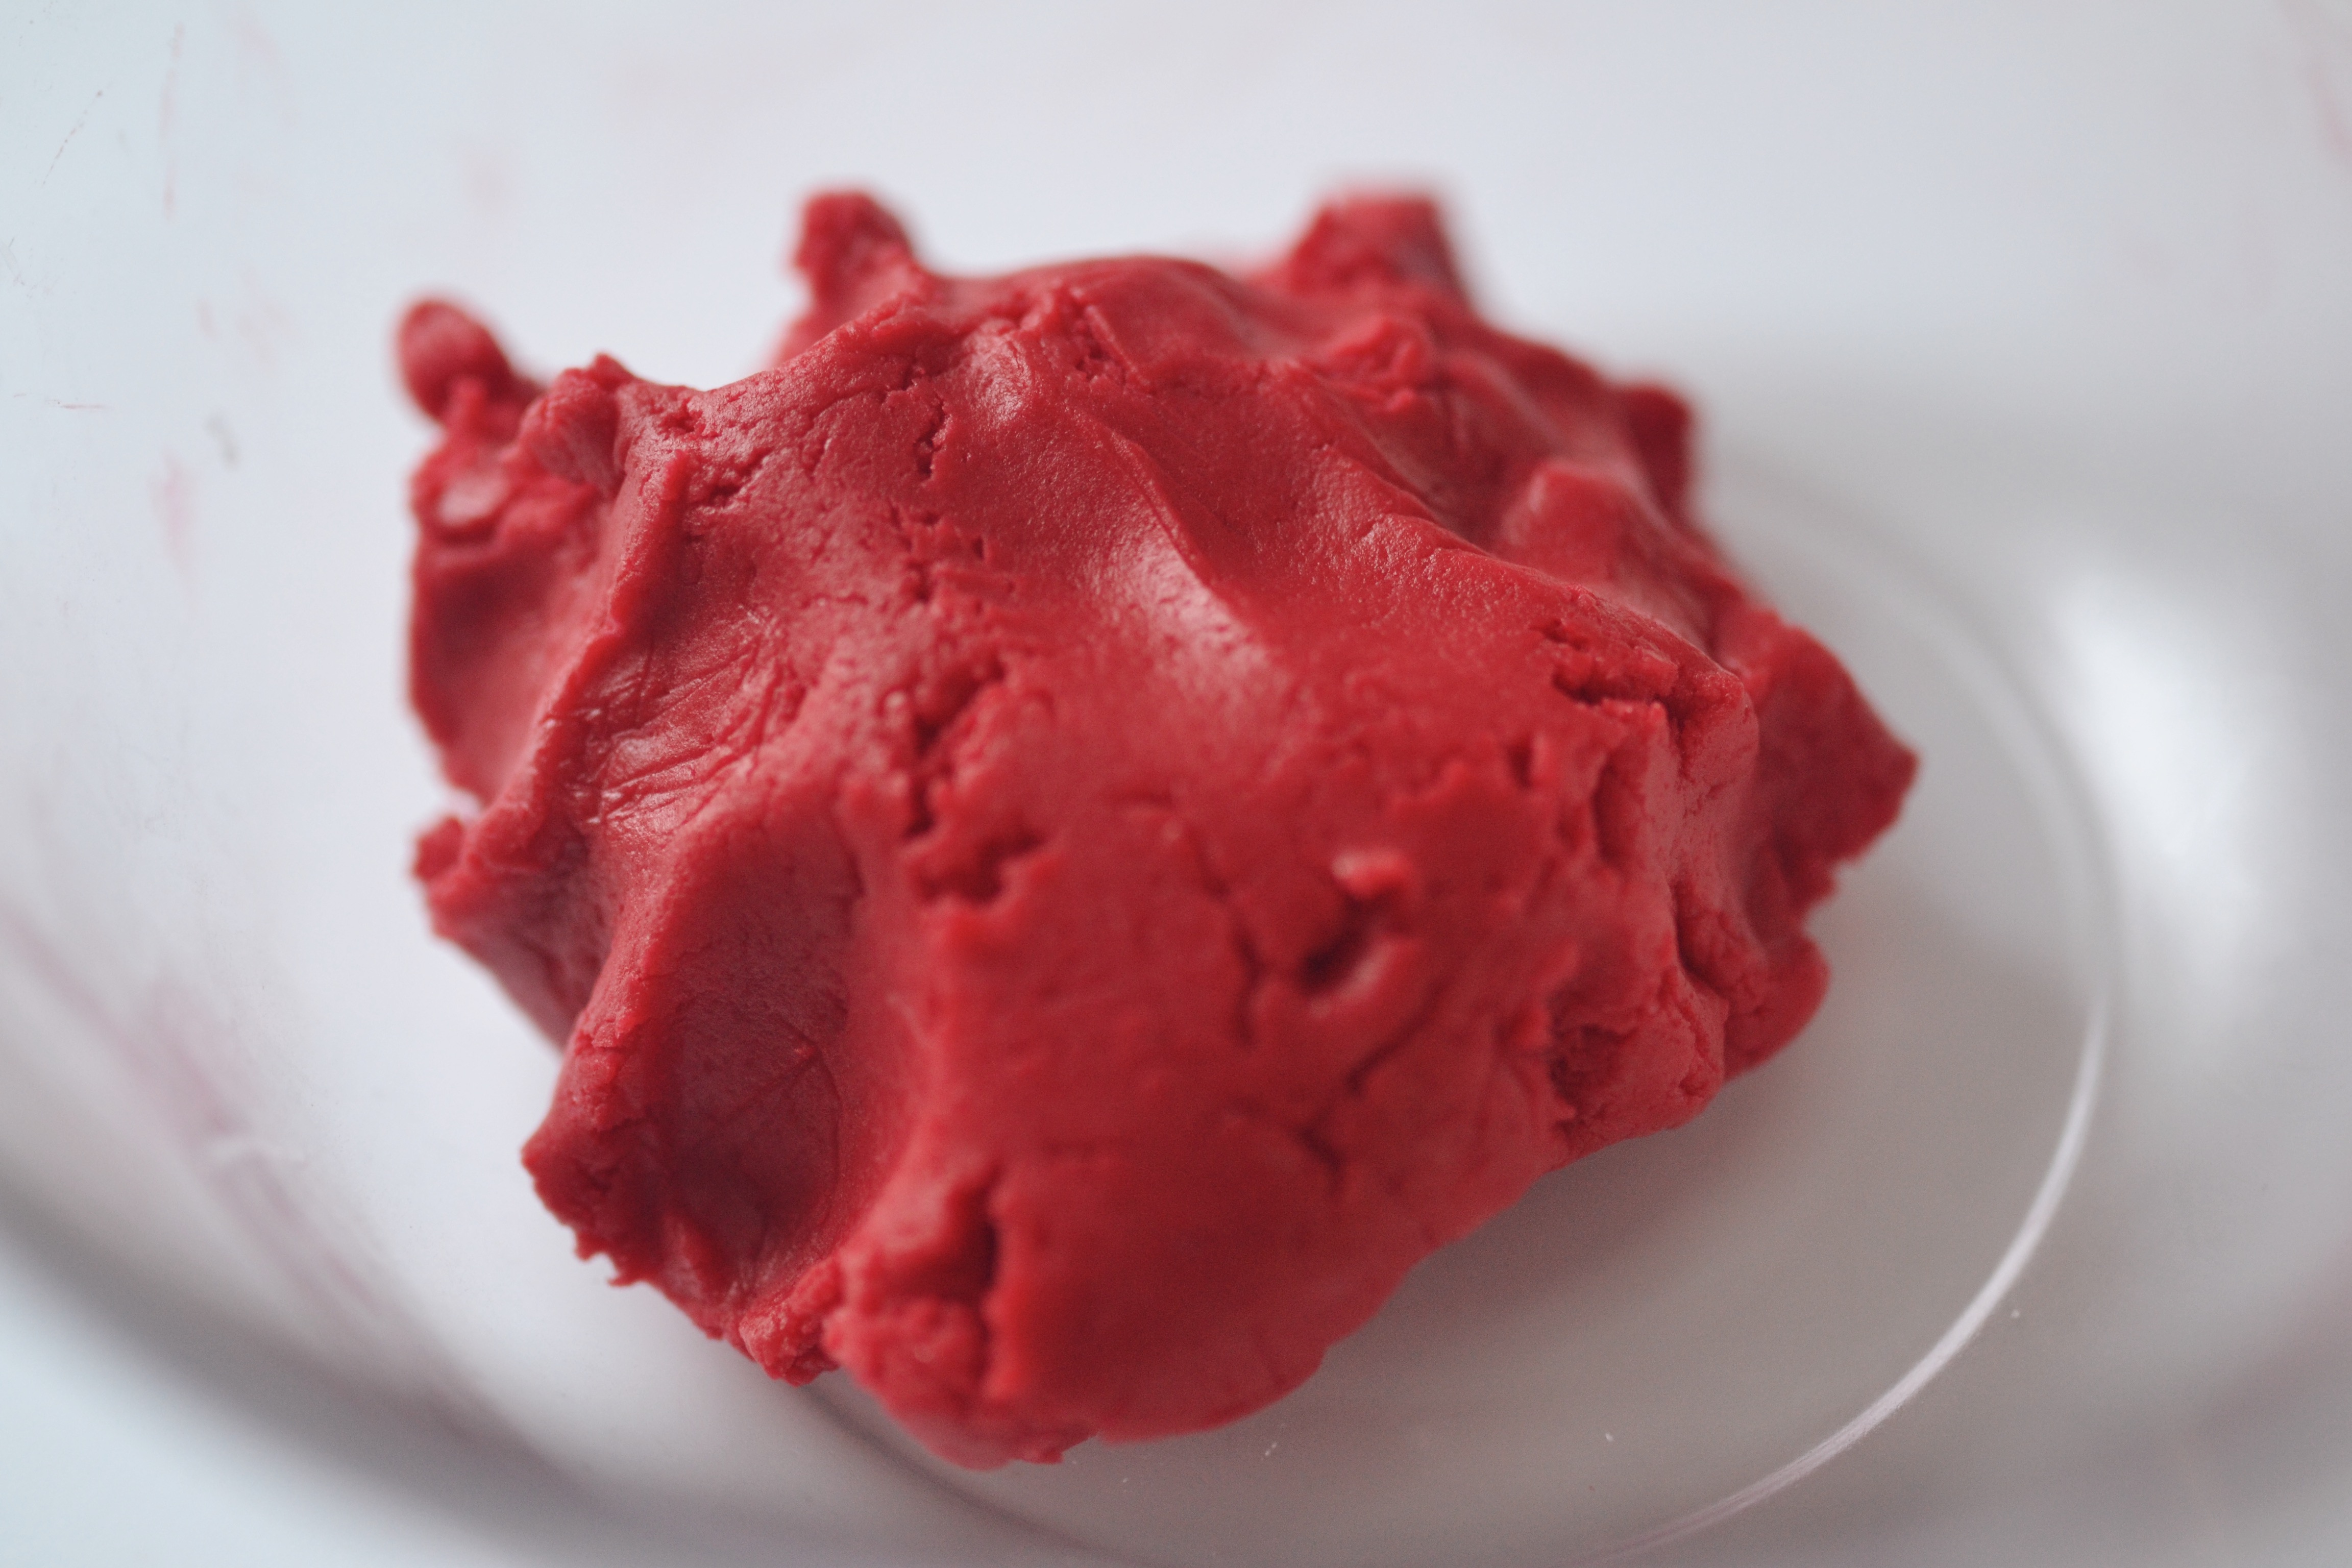
Add some food coloring to the small portion of dough and knead it well until its mixed evenly (I suggest using gloves so you don’t mess up your hands.)
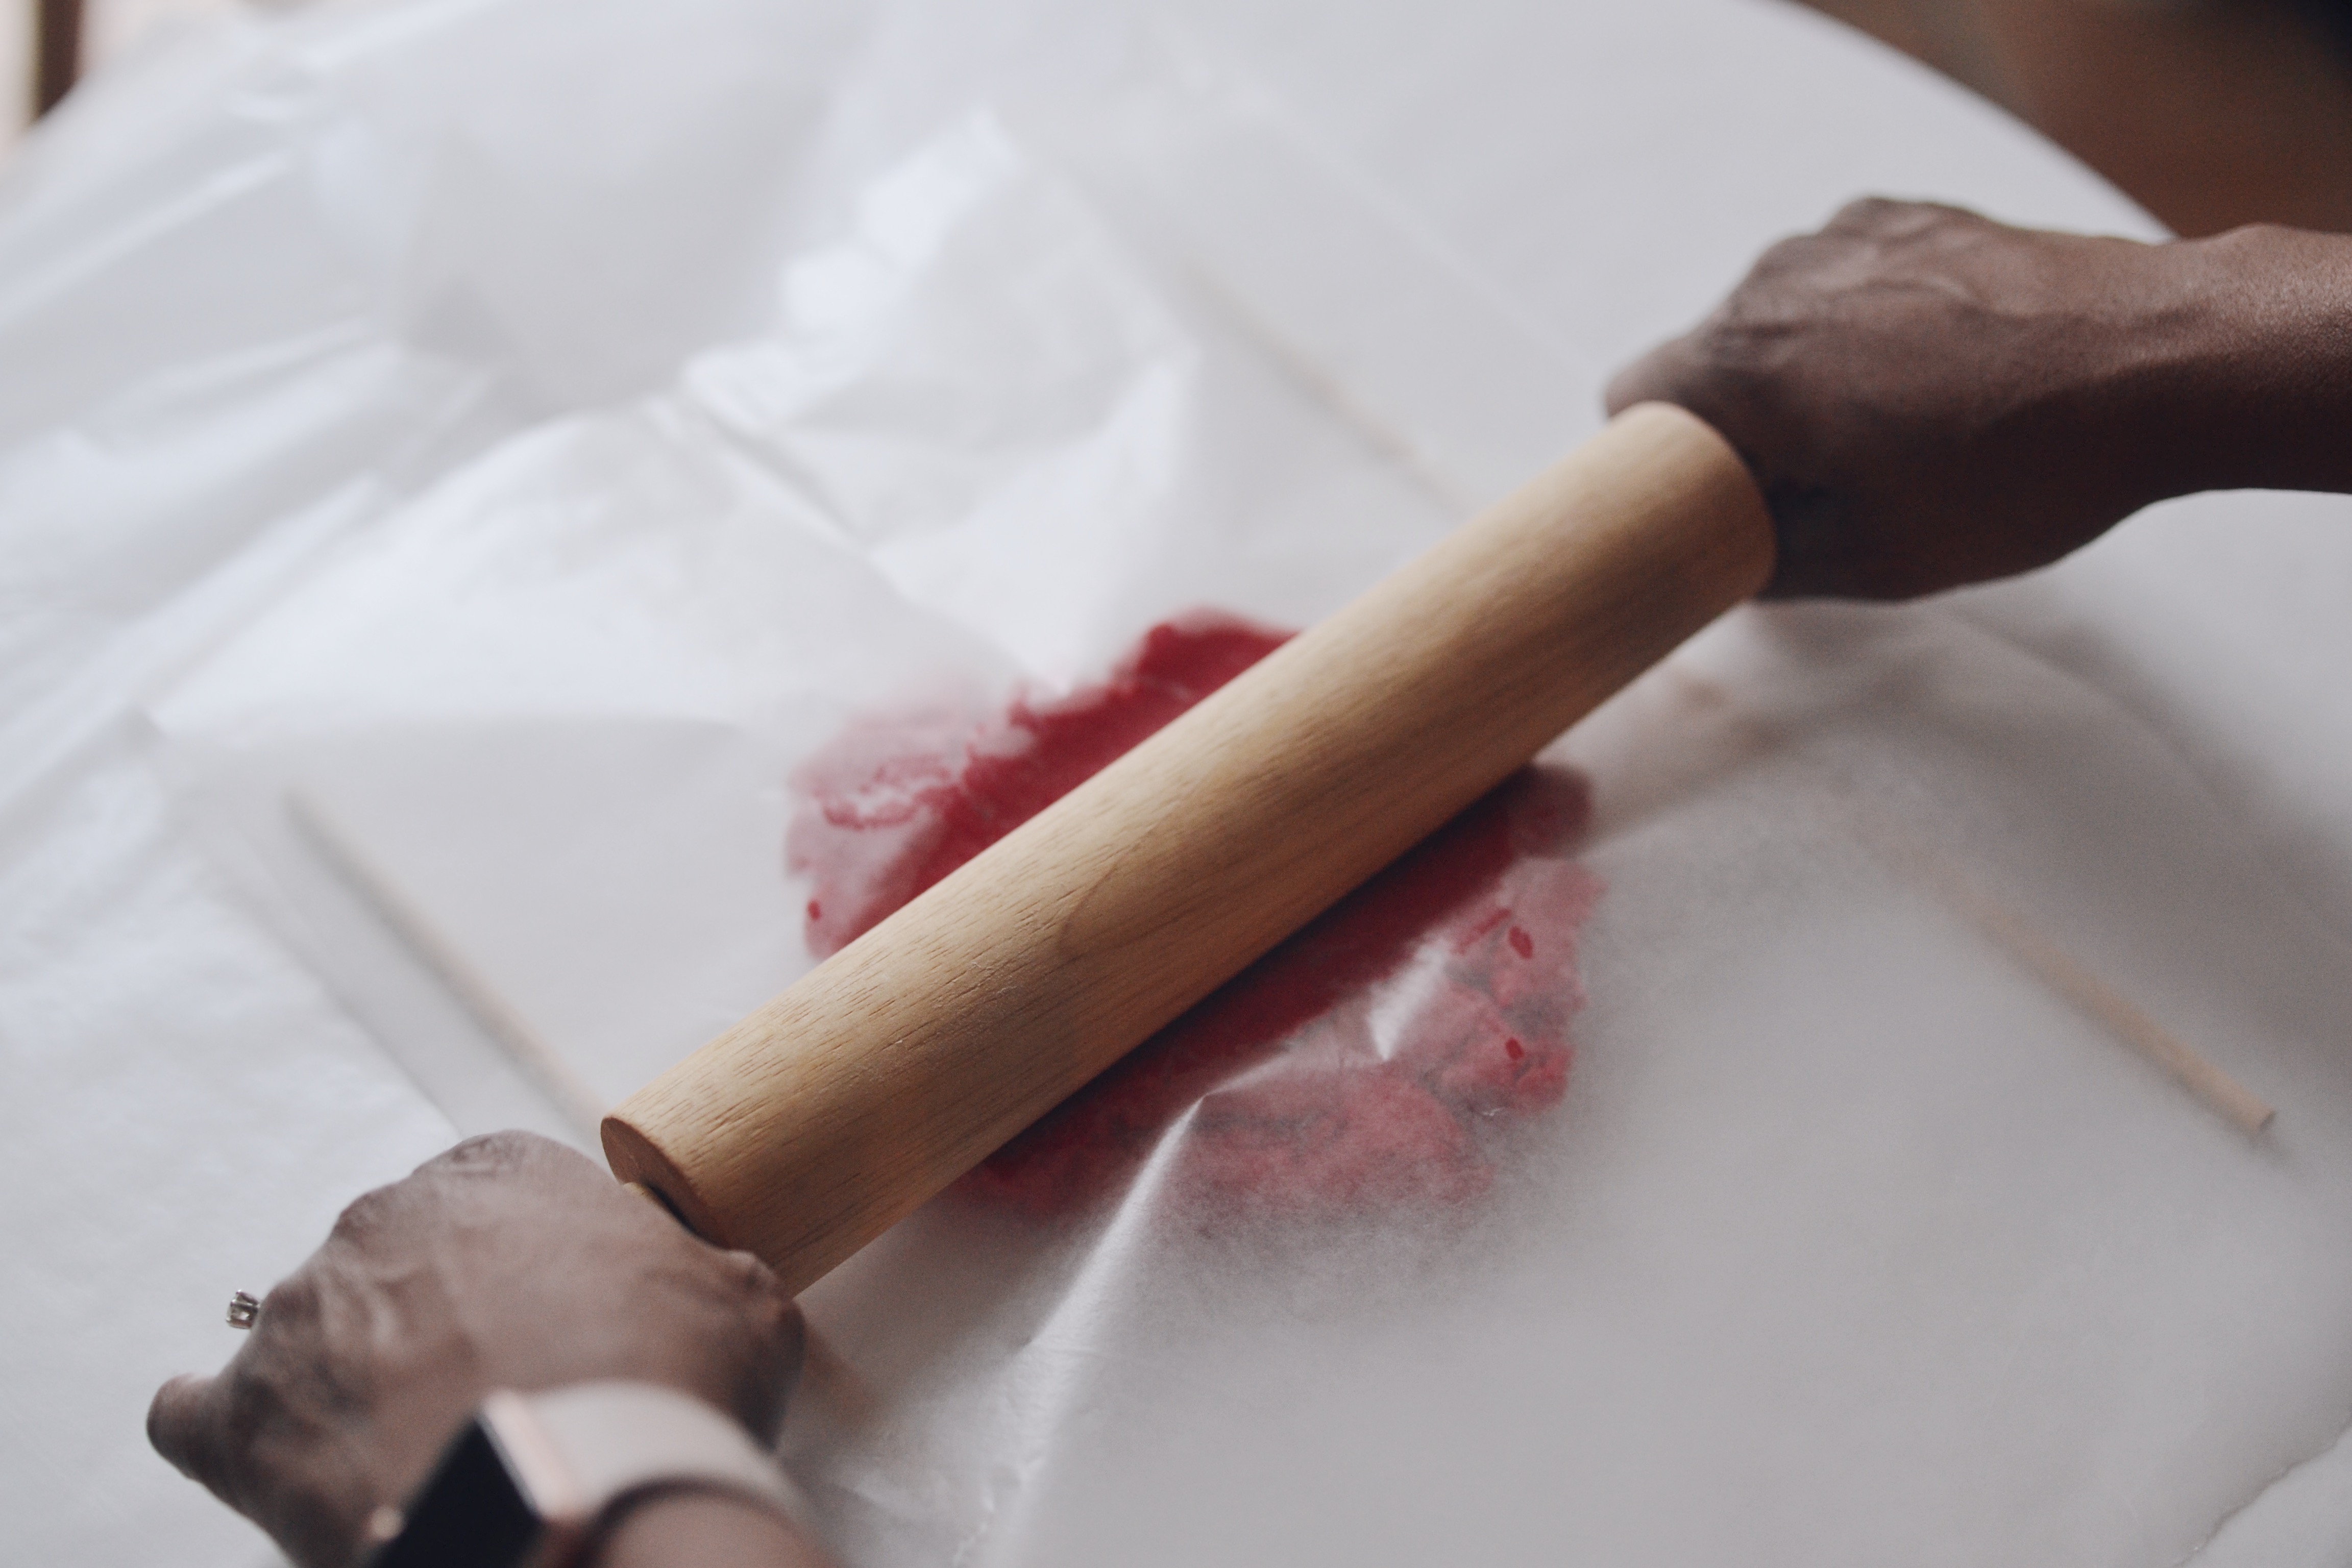
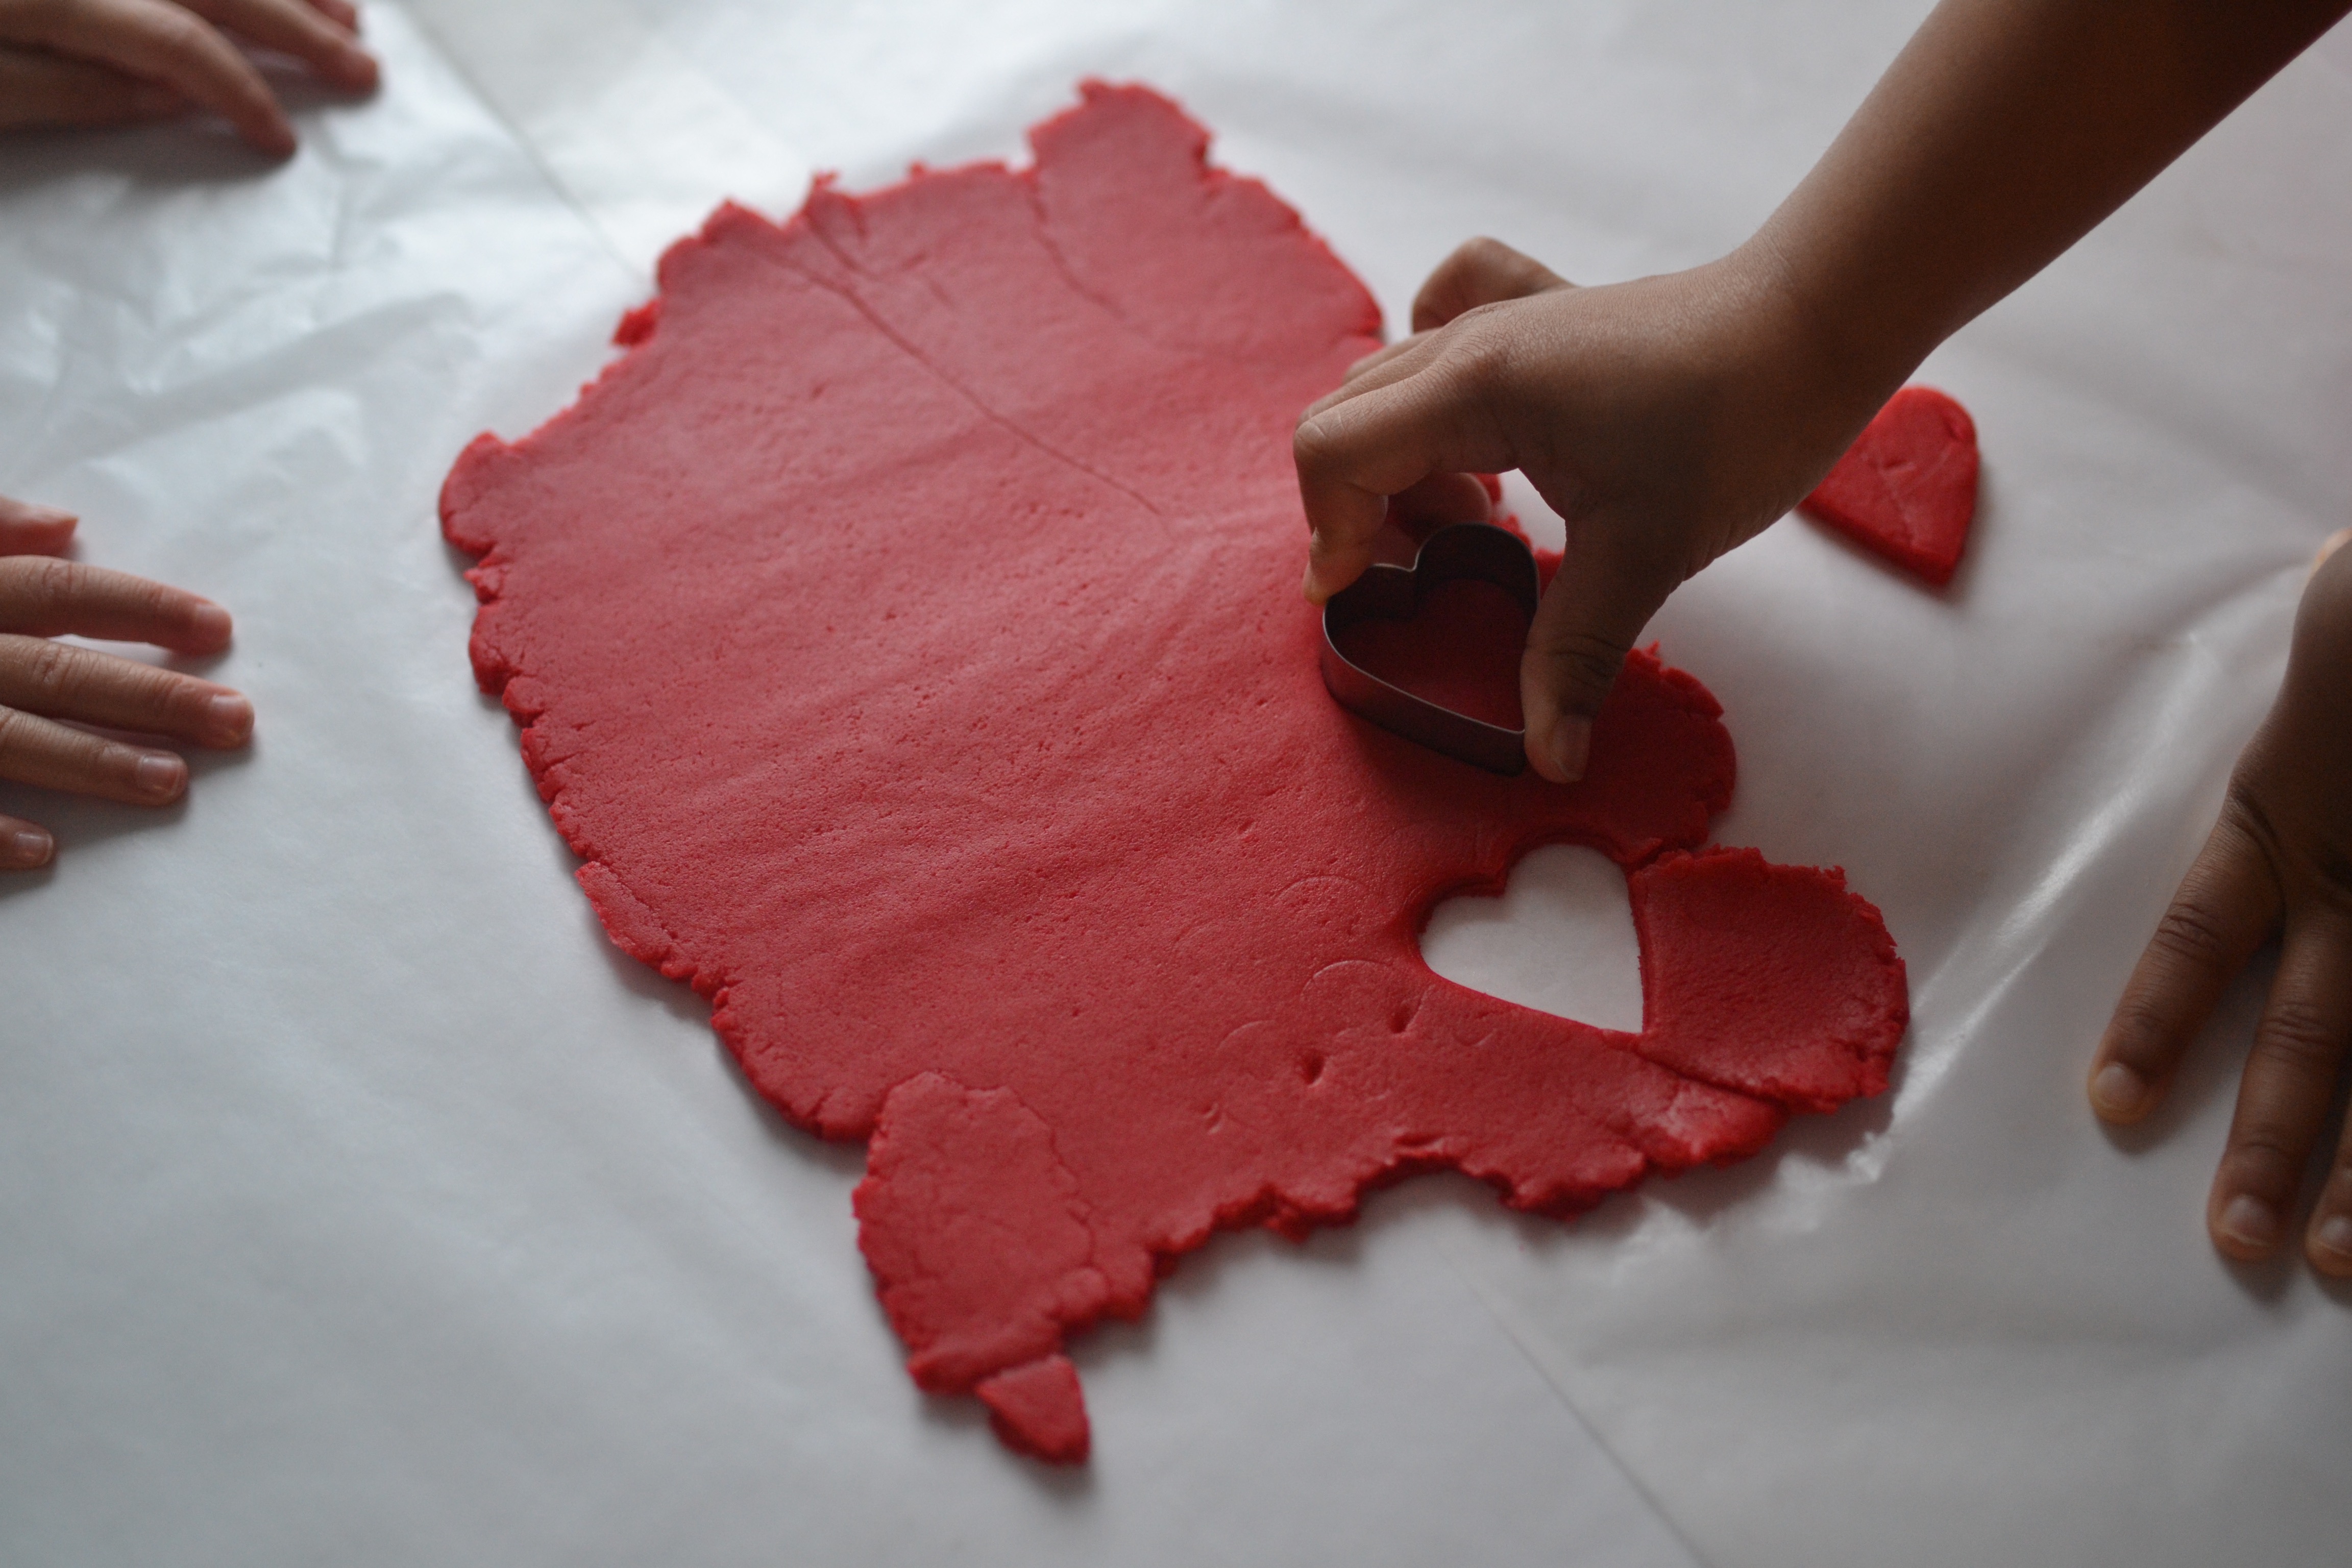
Clear your workspace and lay out a sheet of wax paper and place the coloured dough on it. Take a second sheet of wax paper and lay it on top of the dough and Roll the red dough out into a 1/4 inch slab. You can use rolling guides if you have them – I use 2 pieces of 1/4 inch wood rods which work great for rolled cookies.
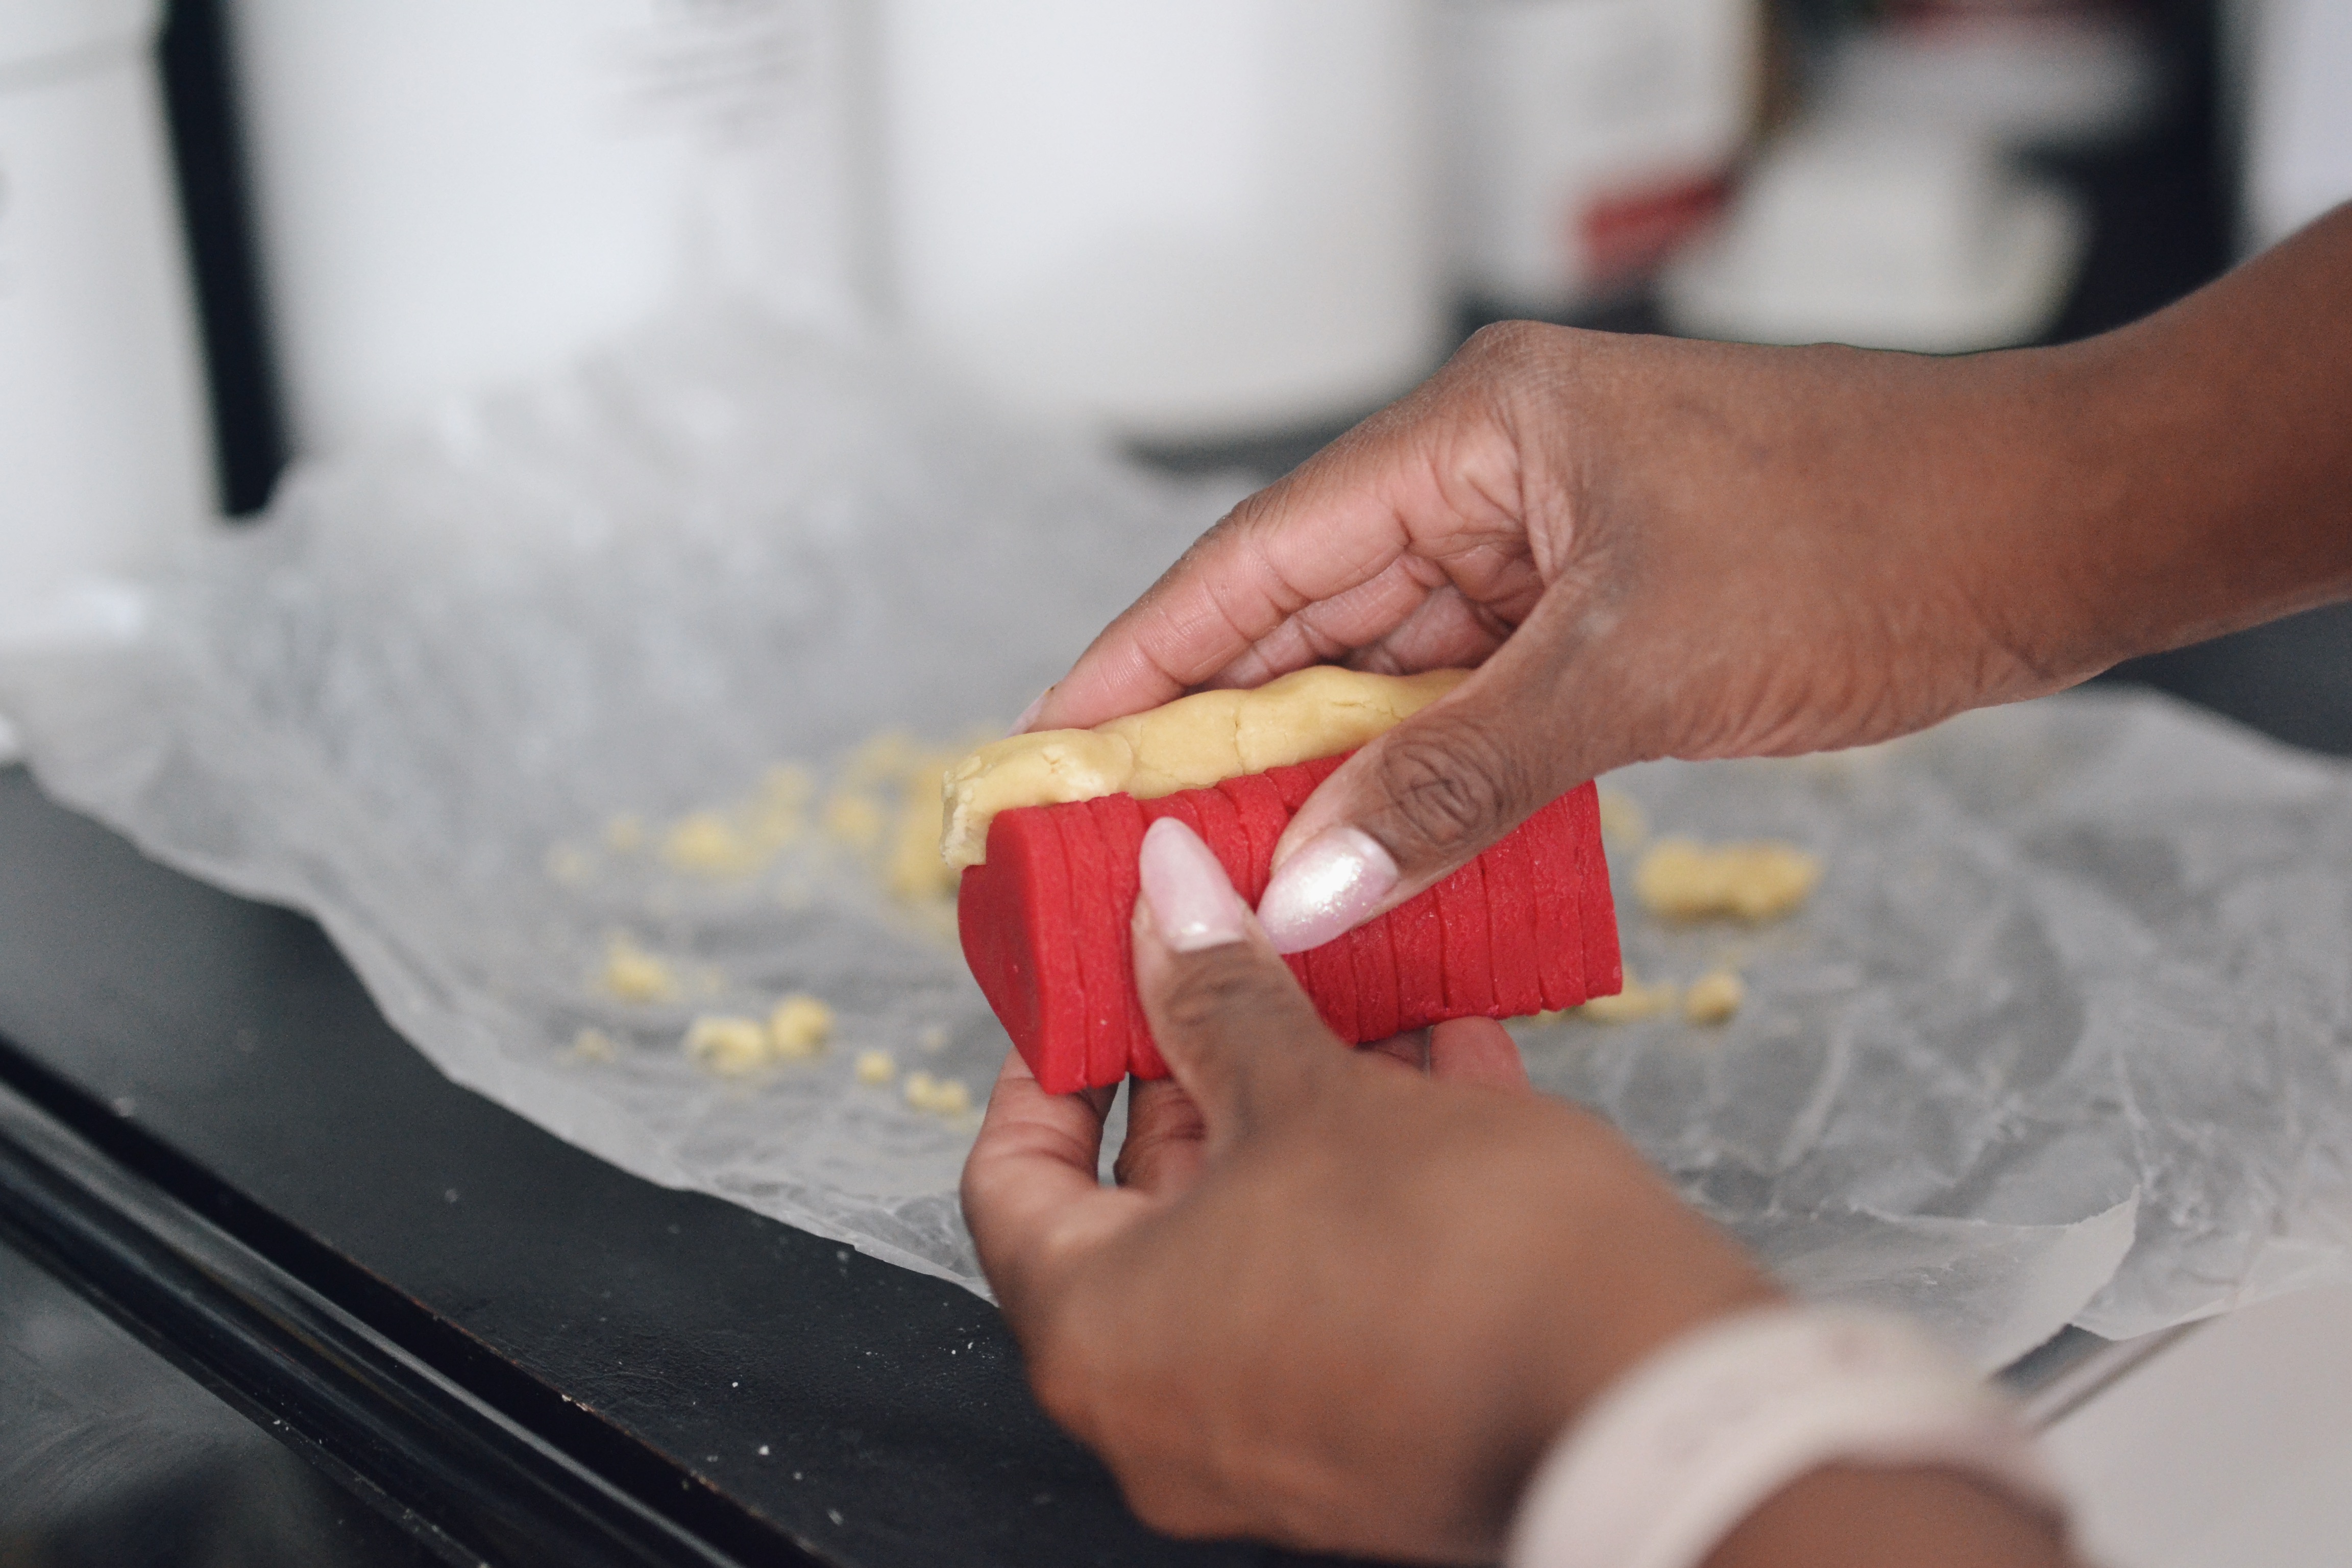
Using a heart shaped cookie cutter, cut out heart shapes and stack them together until you’ve used all of the dough – feel free to get the kids involved here!
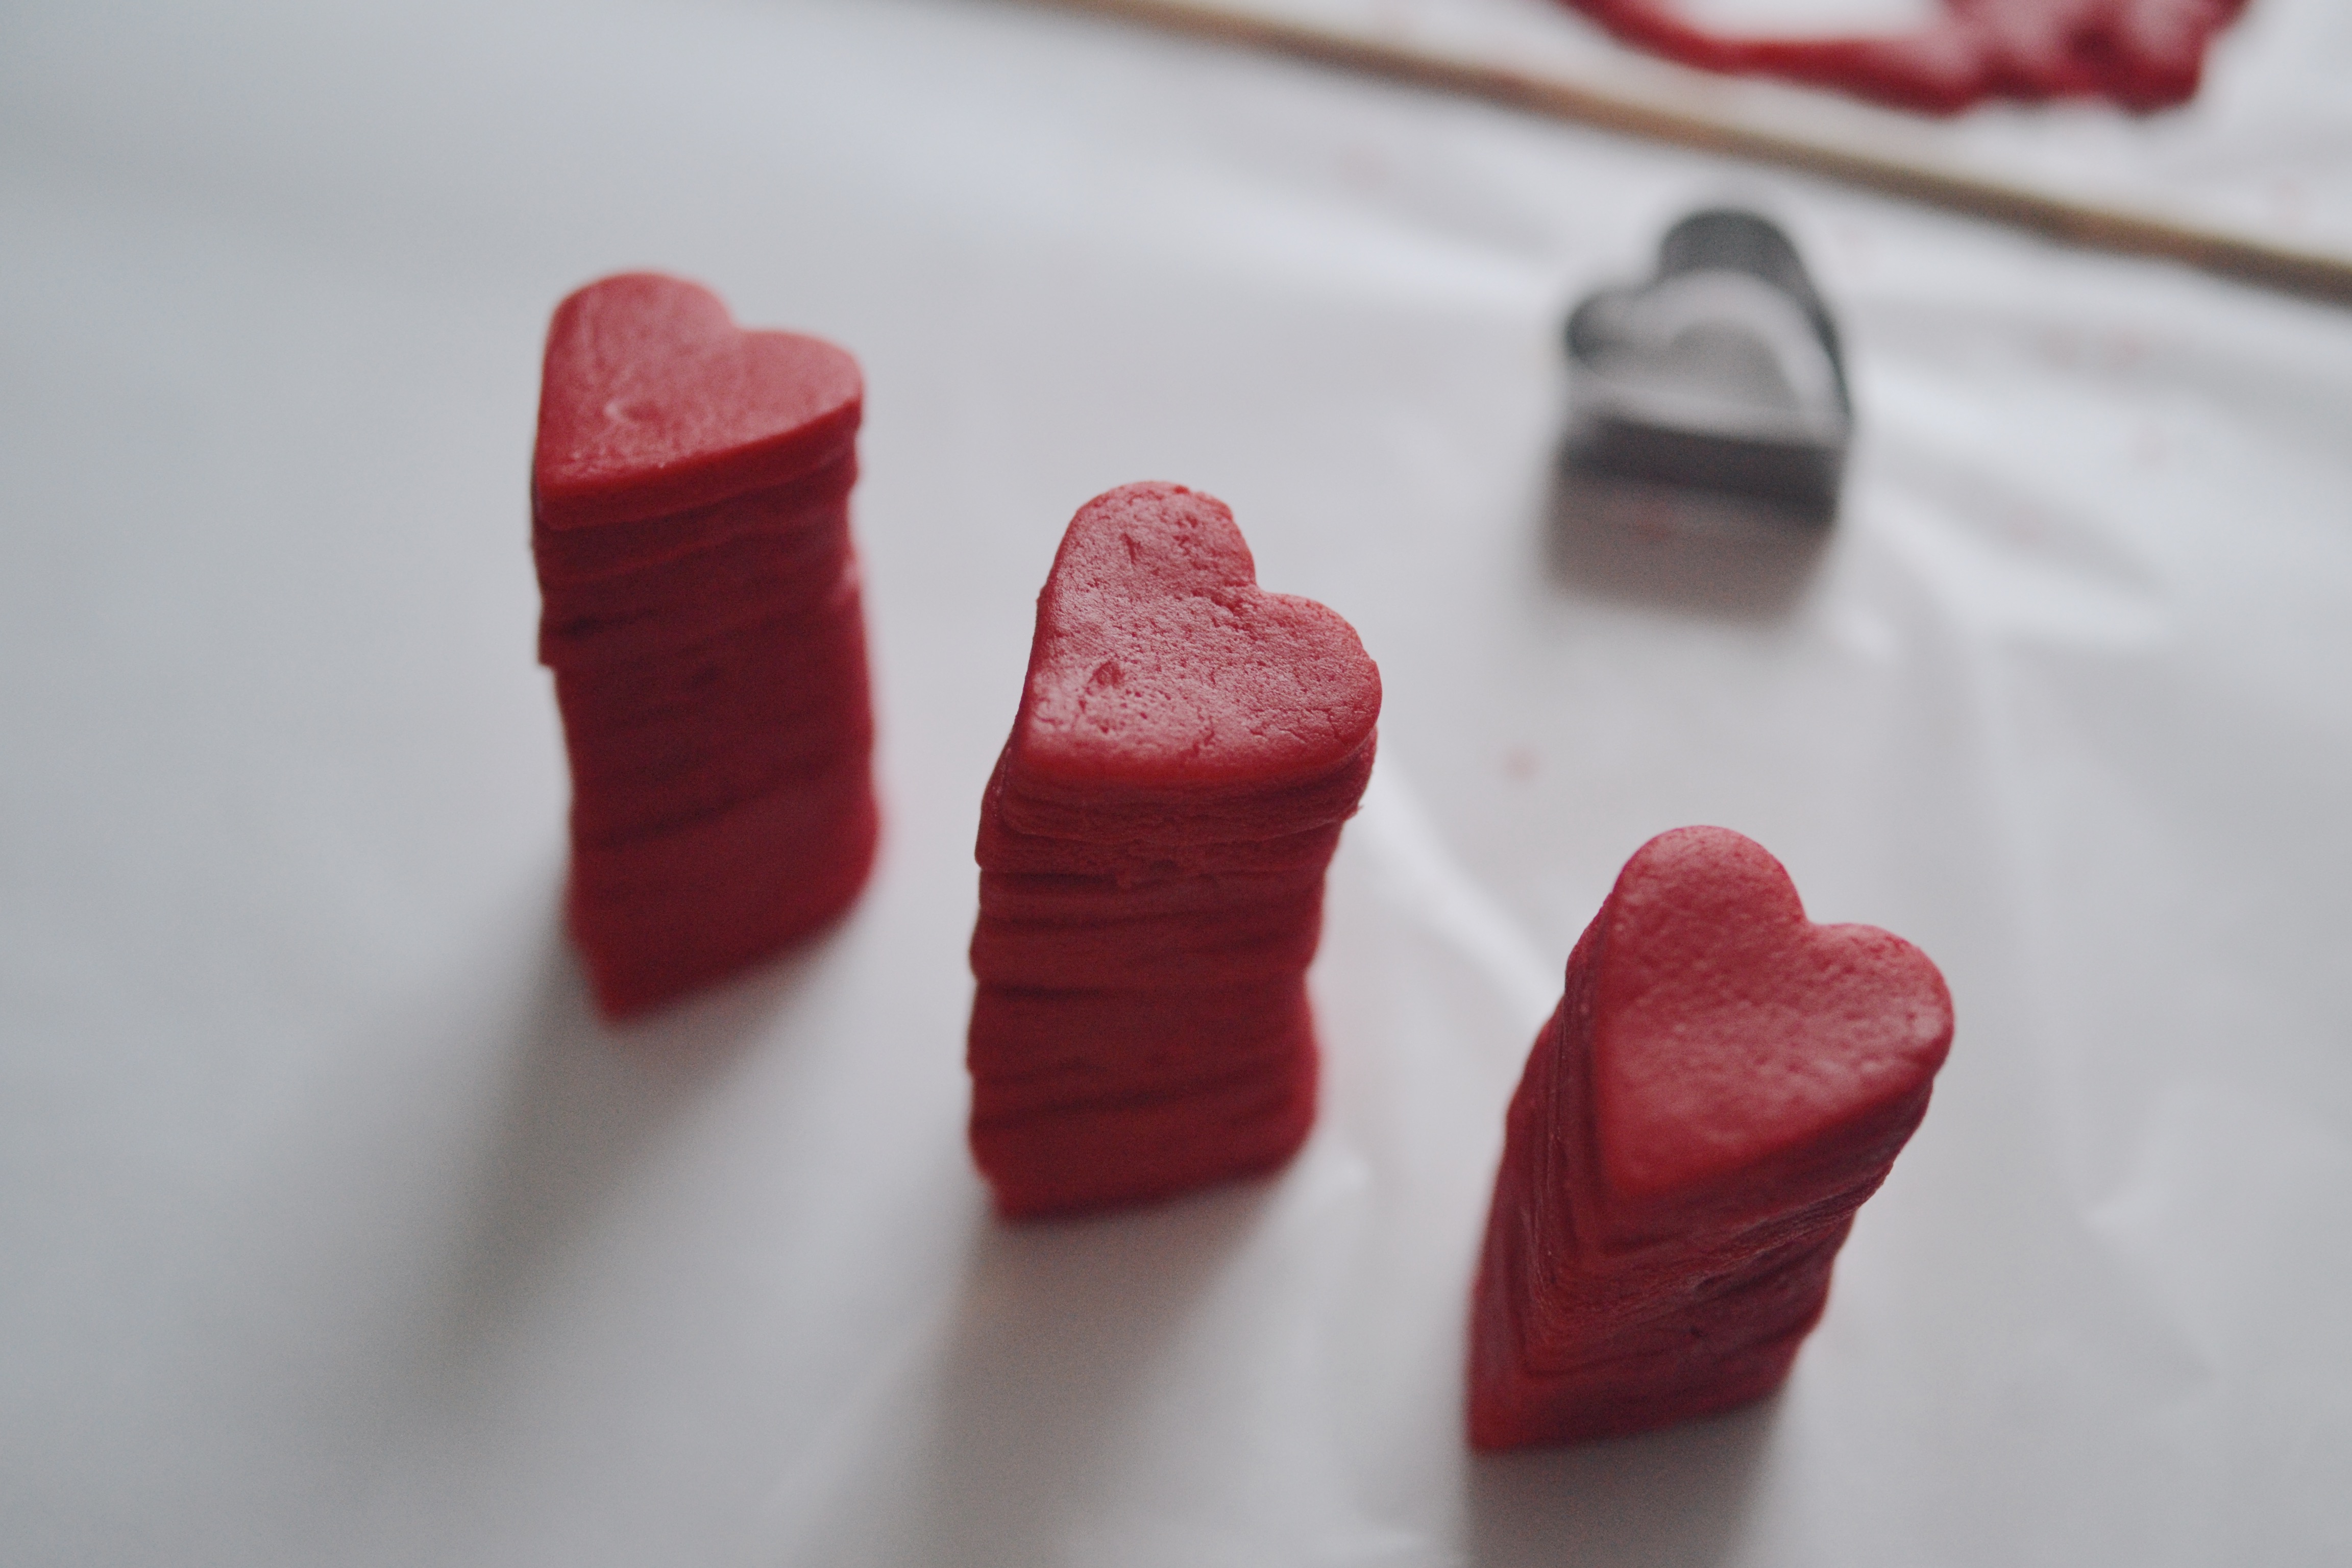
After I stacked my hearts I put them in the freezer for about 10 minutes to harden because I didn’t want them to lose their shape. After the 10 minutes were up I took them out stack by stack and using the uncoloured dough I rolled some small pieces out, kind of like little snakes
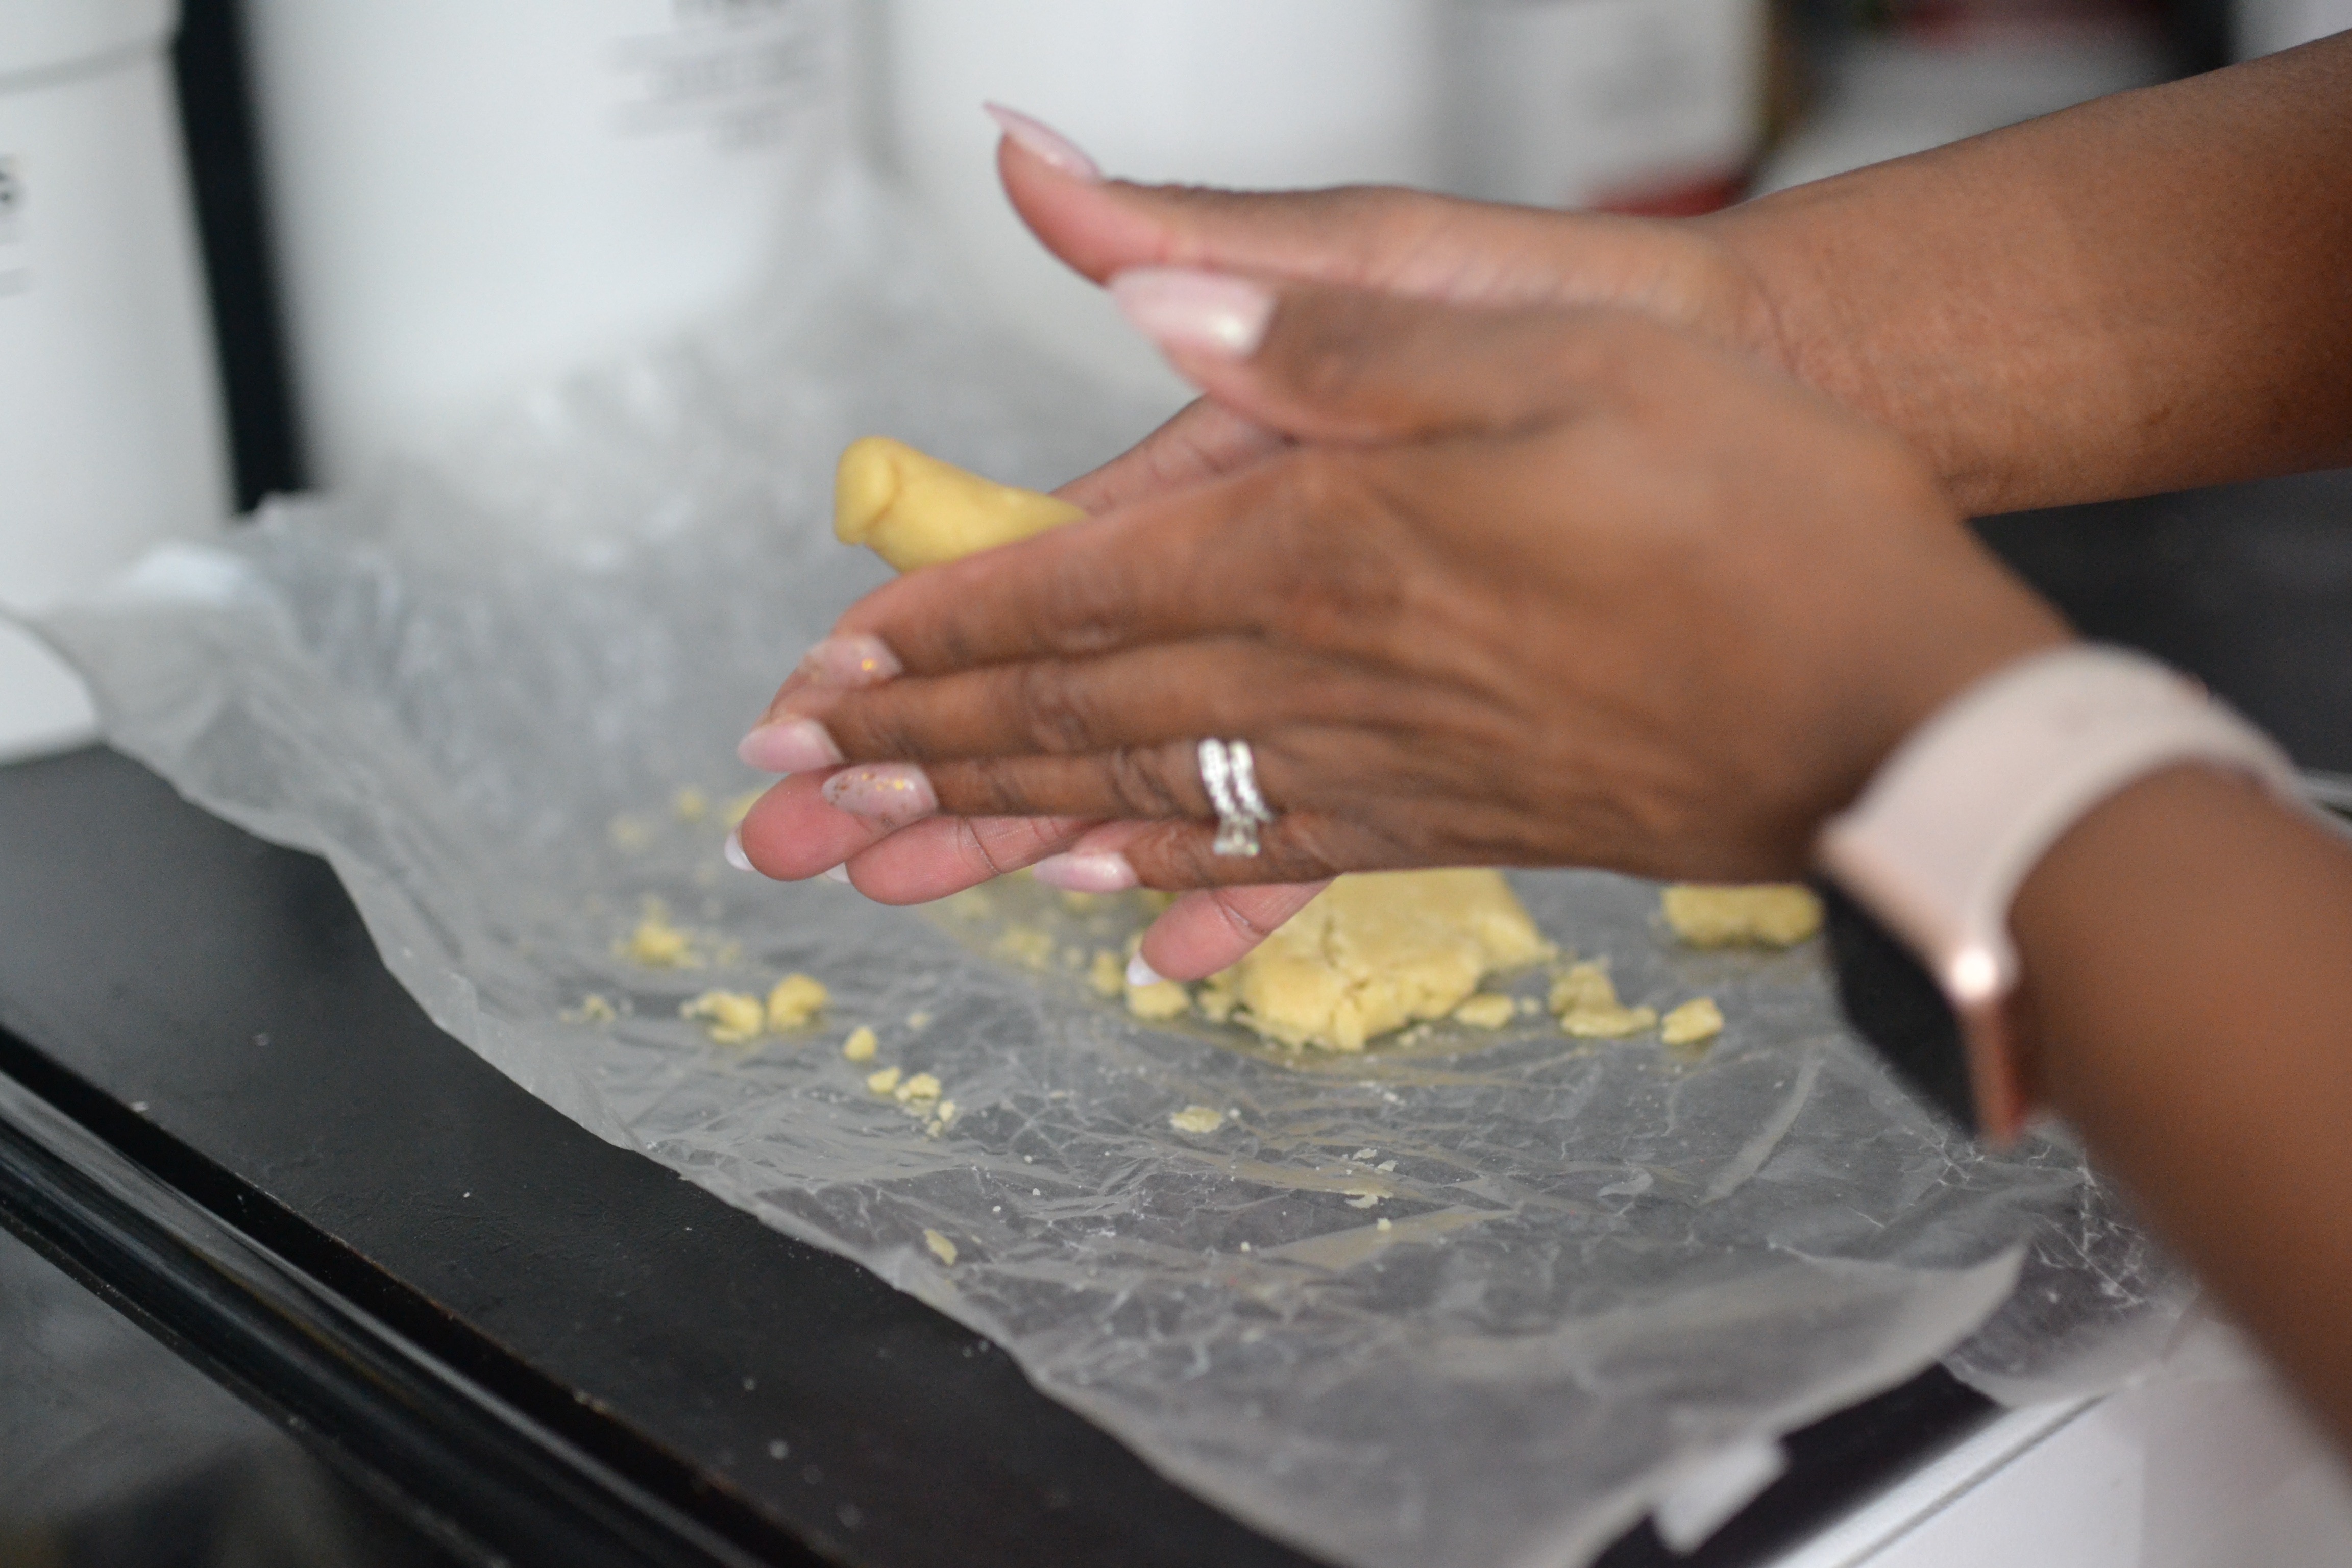
I then pressed my dough snakes onto the heart stacks
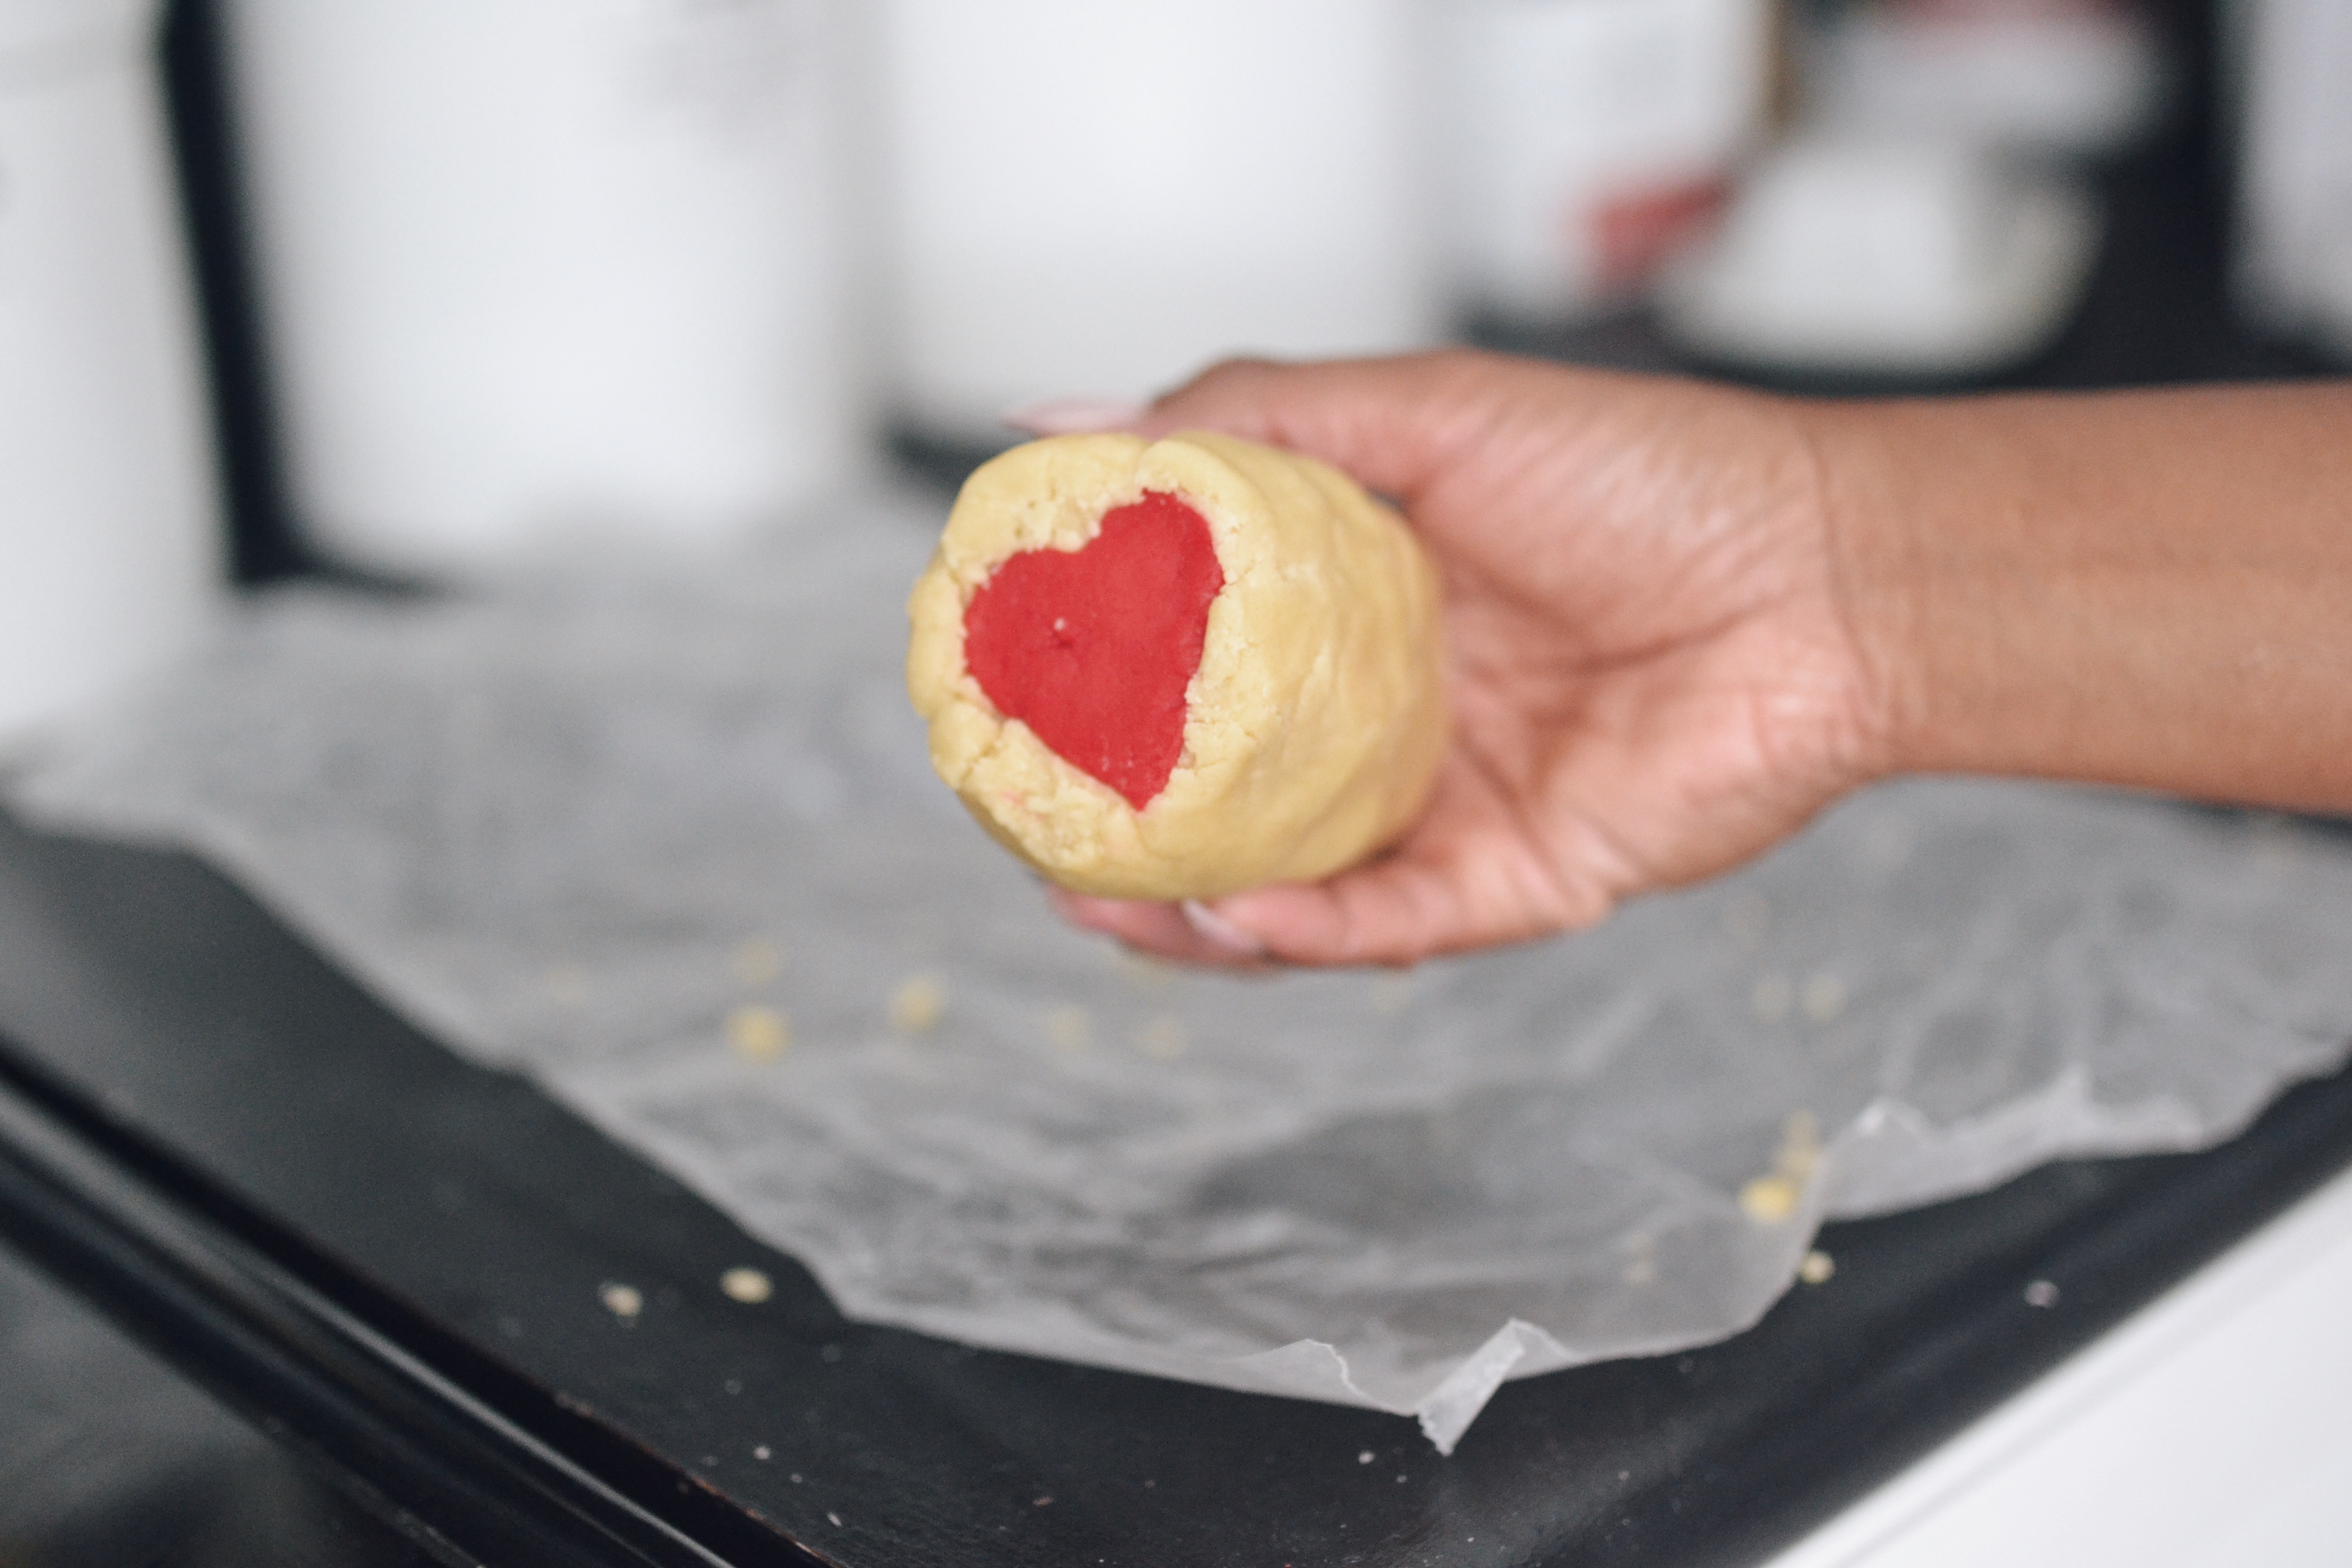
After I covered the entire heart stack, I covered the roll with another sheet of wax paper and rolled it out to smooth it and make the roll more round.
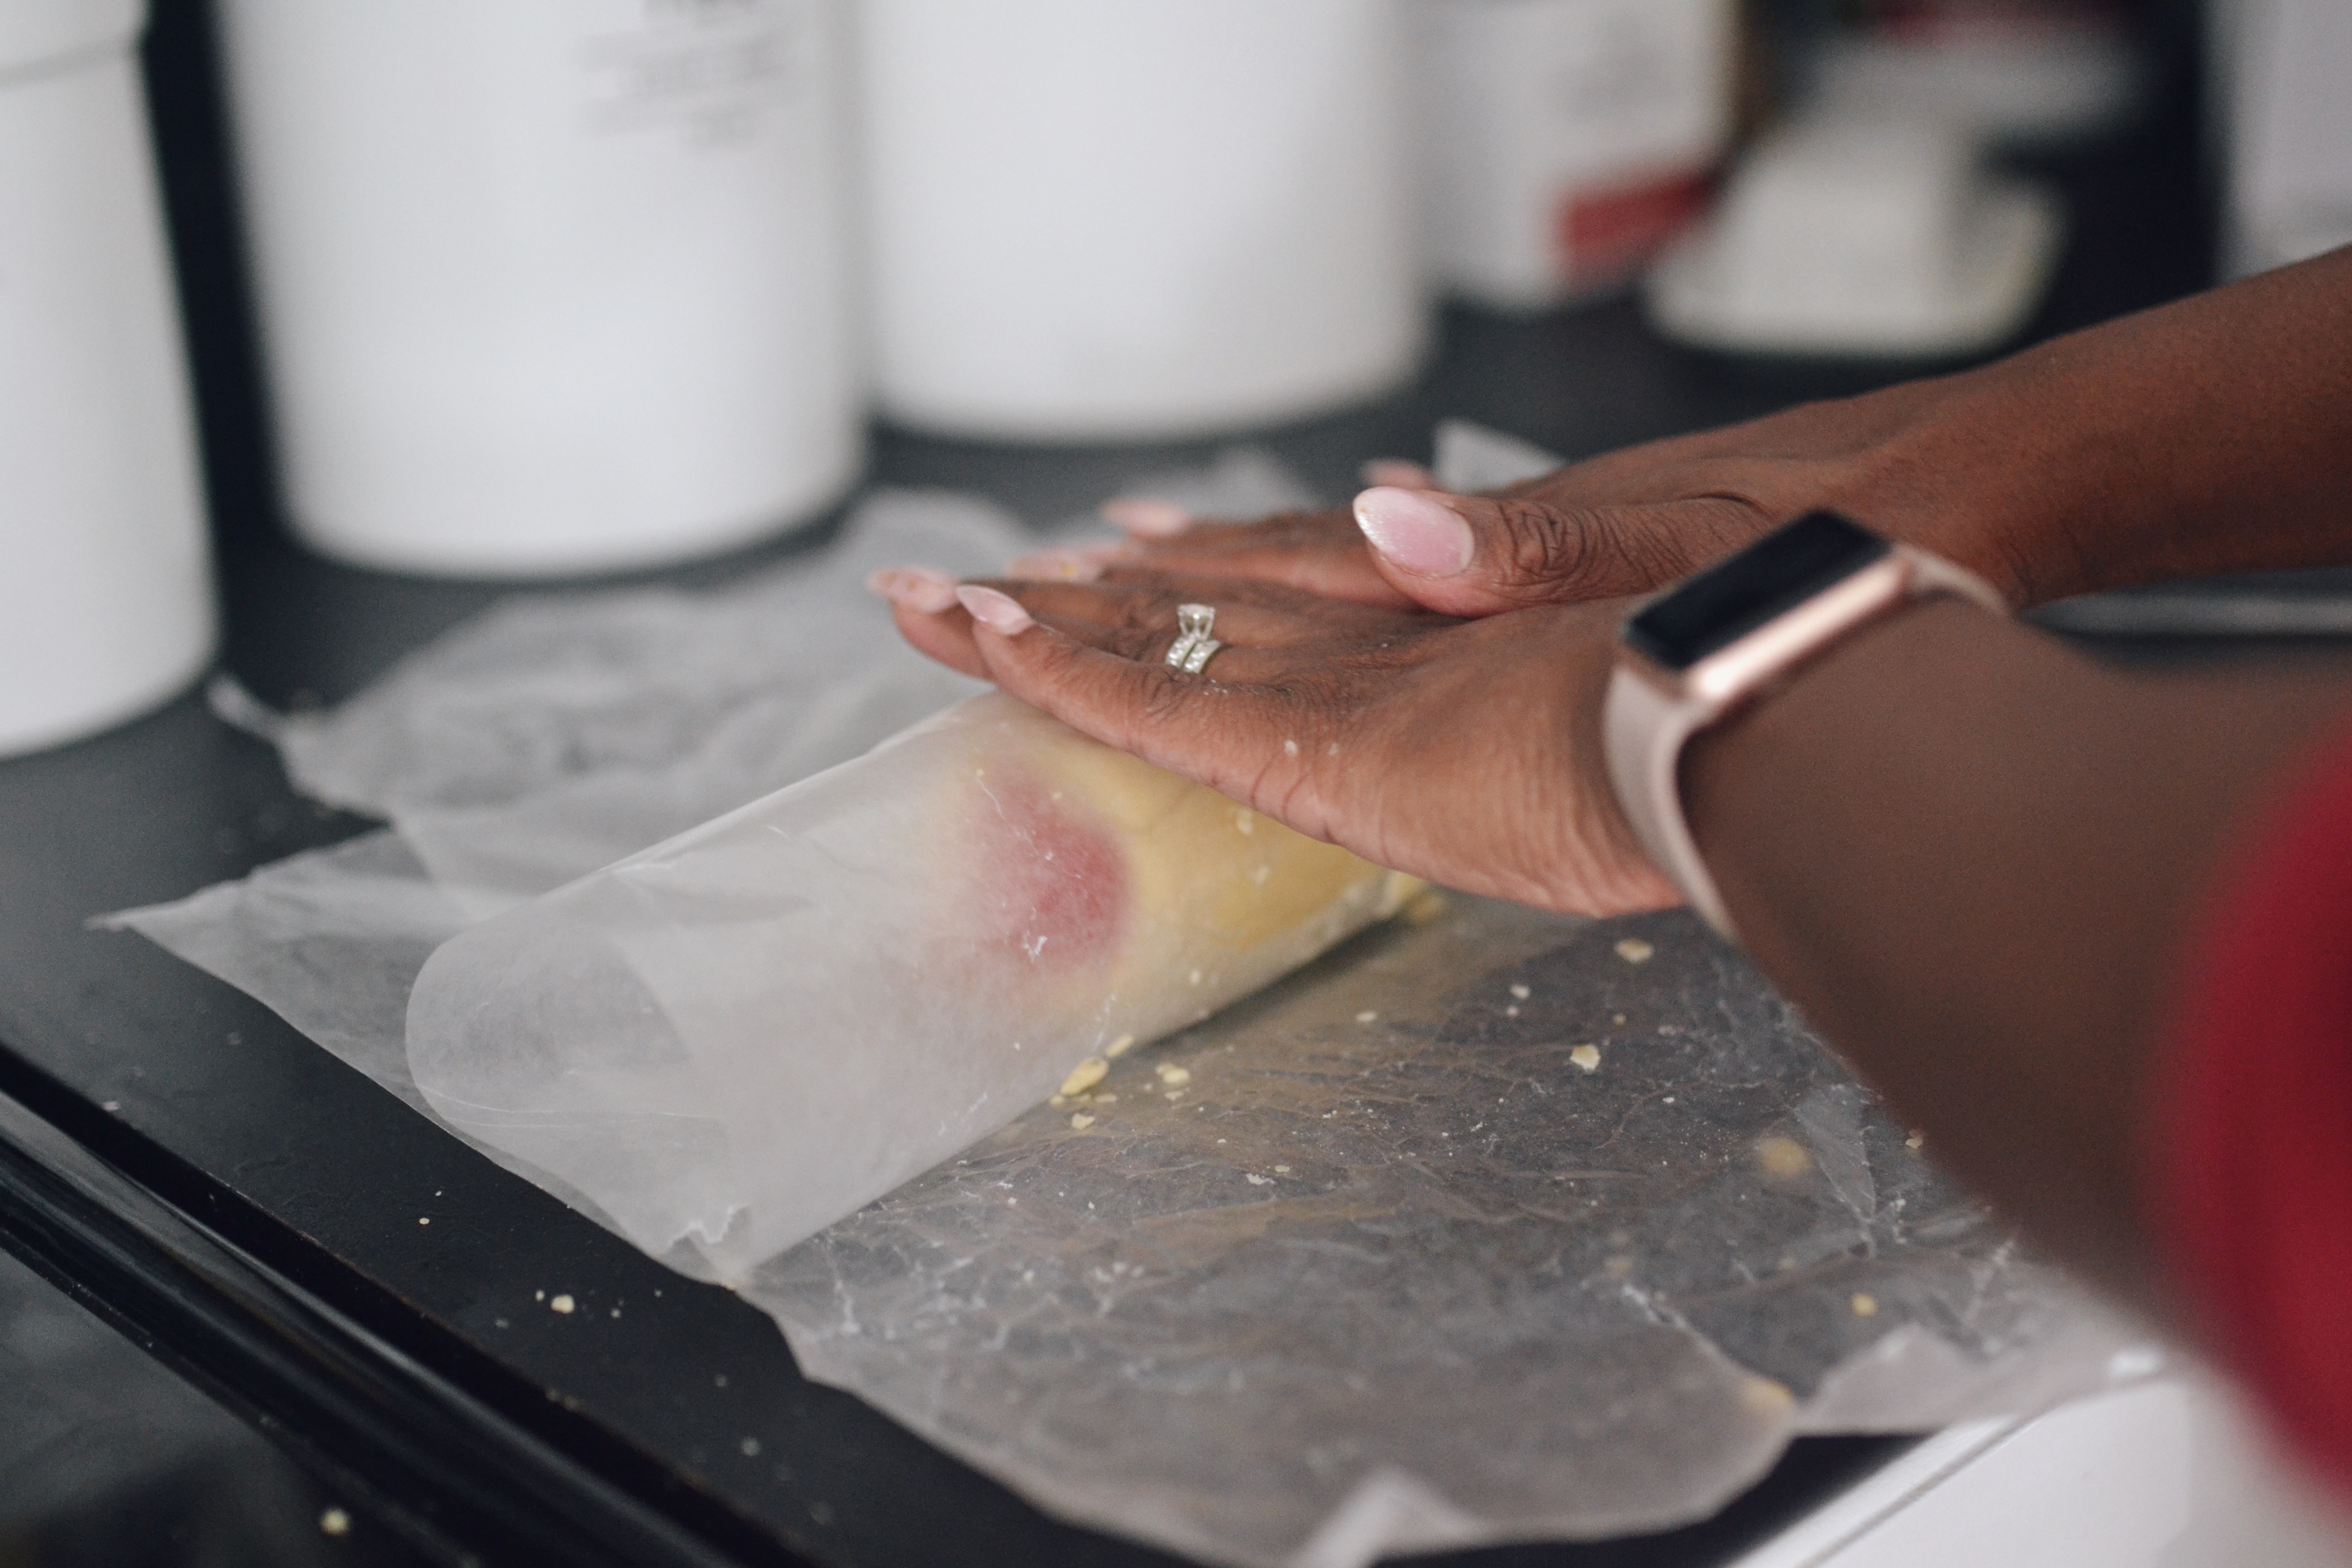
I then wrapped the roll in plastic wrap and placed it in the fridge. I repeated these steps until all my heart stacks were covered and the total time the rolls were in the fridge was 4 hours.
After the 4 hours, I toll the rolls out of the fridge and sliced them into 1 inch slices and placed them on a cookie sheet lined with parchment paper.
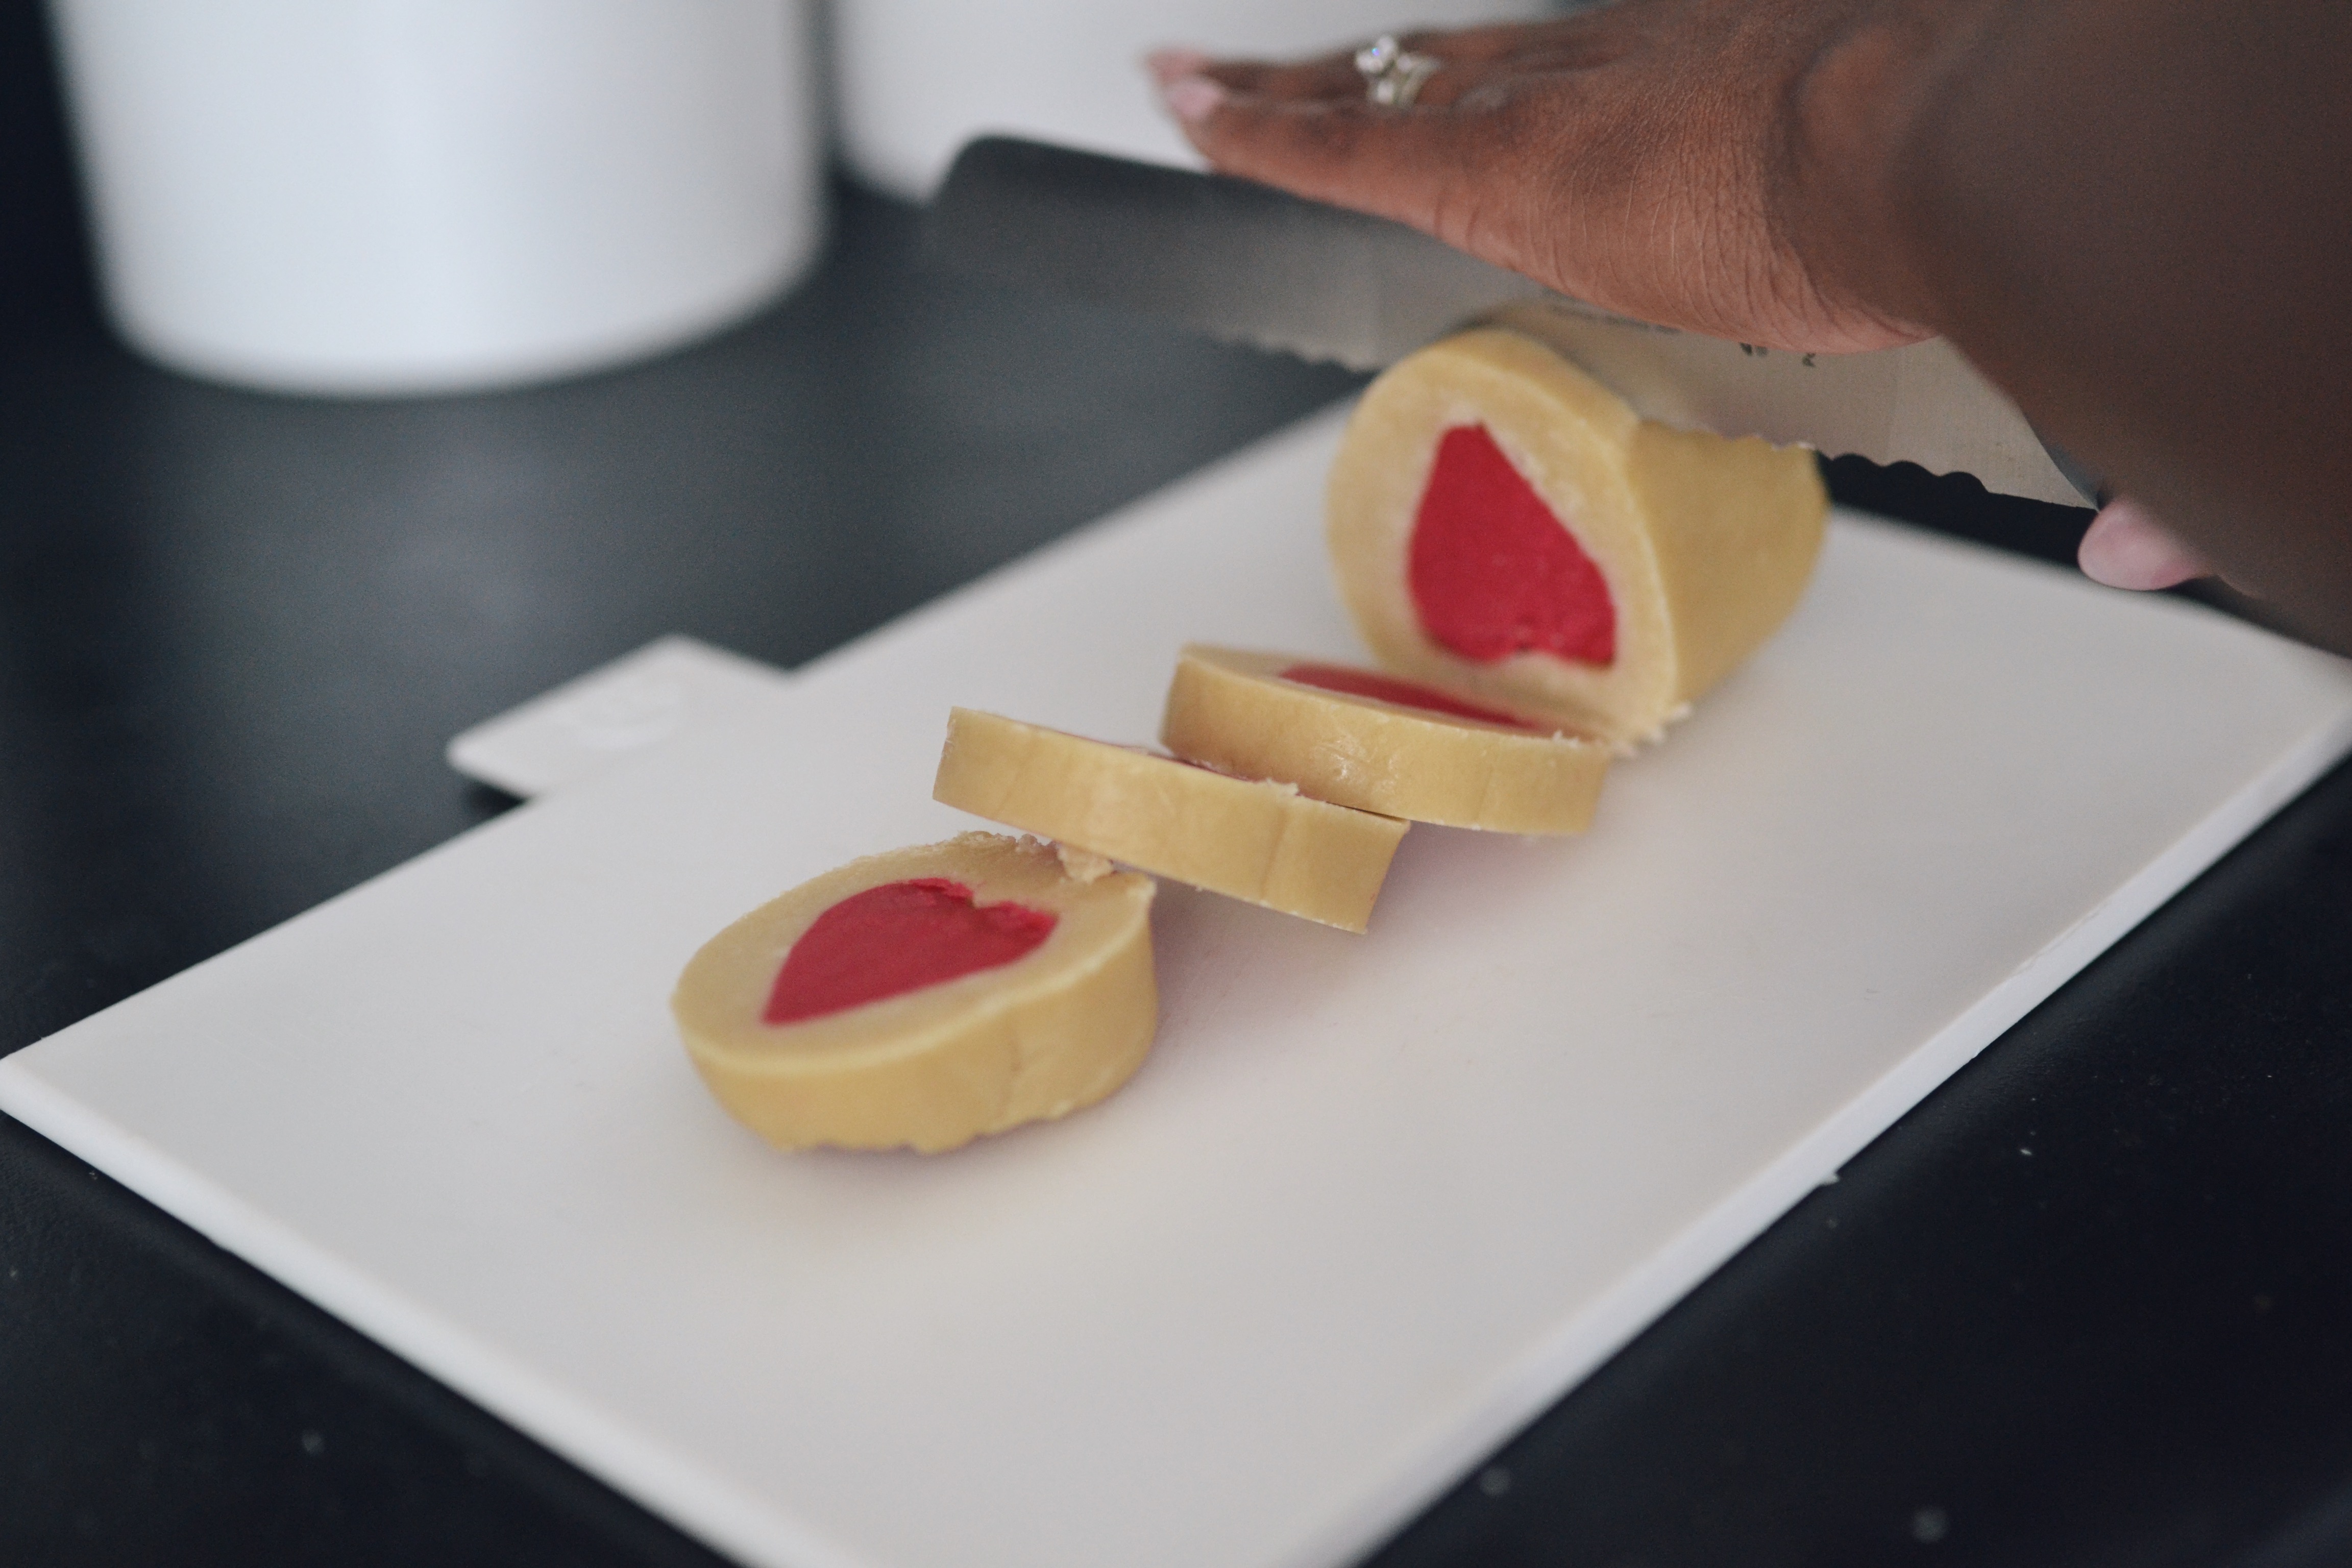
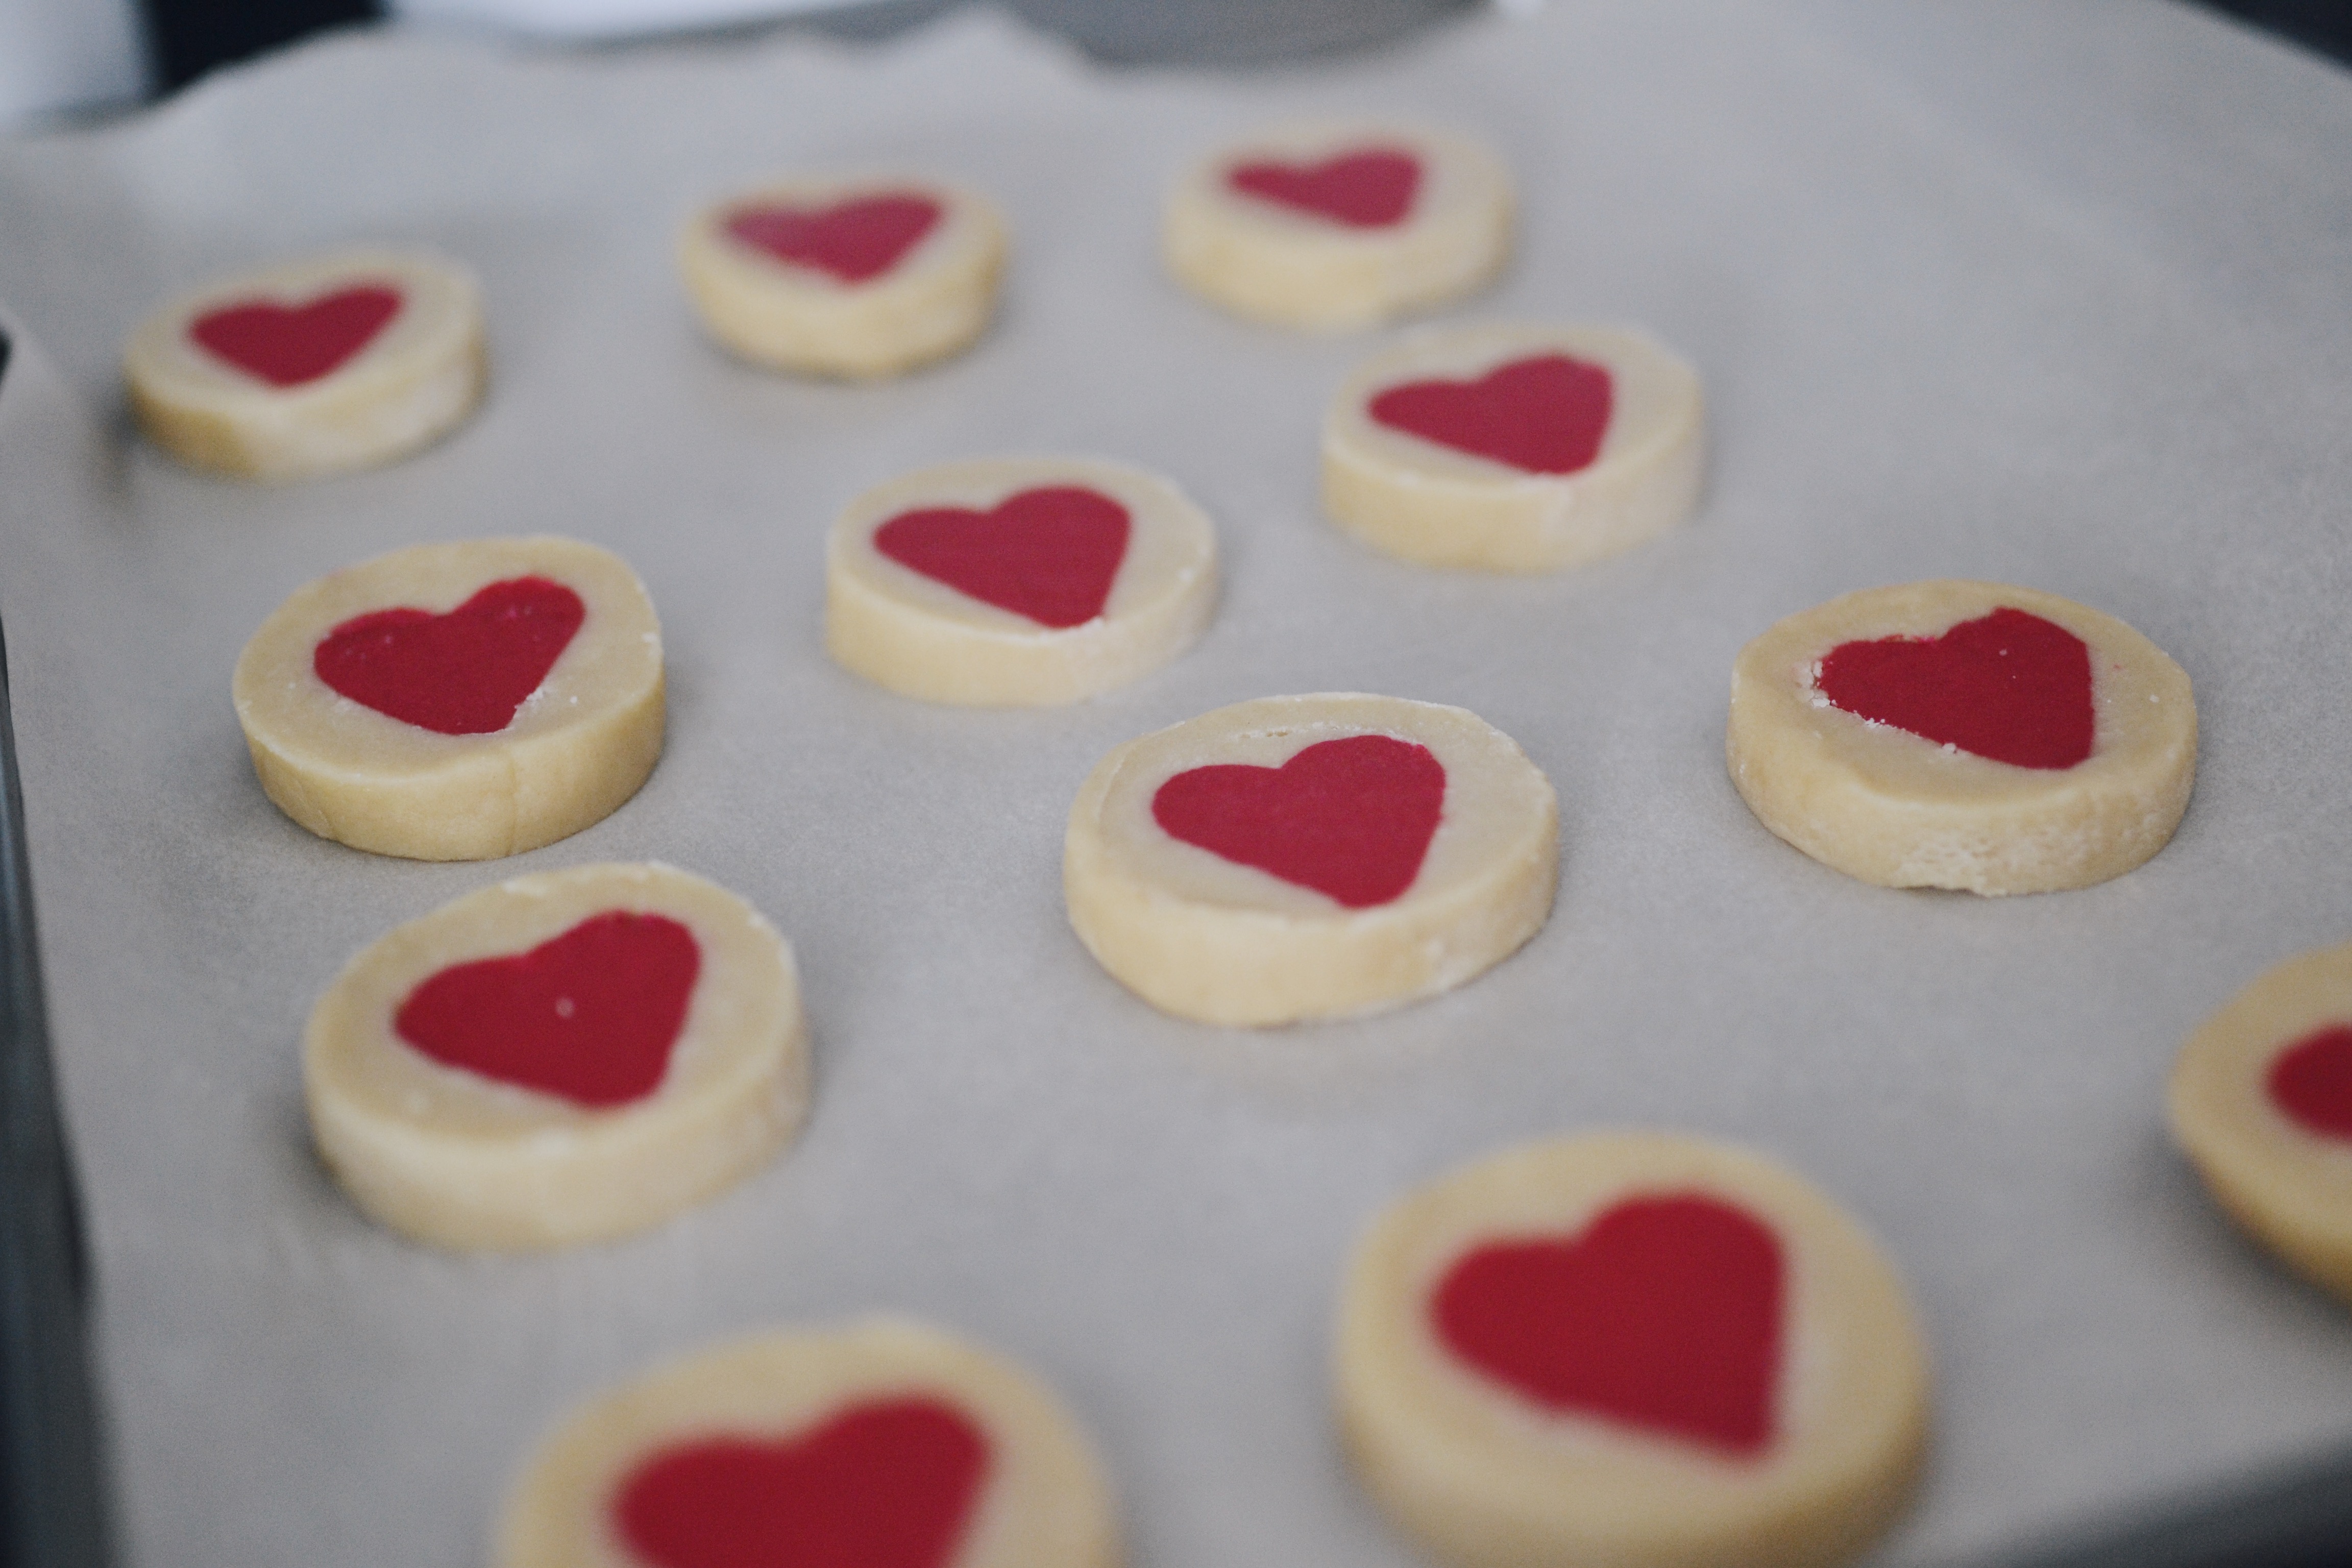
I baked the cookies for roughly for 10 minutes, turning the sheet once half way through the baking. After taking them out the oven, I let them cool for 5-7 minutes then, transferred them to my to cooling rack.
When they were fully cooled, I wrapped and boxed them!


You can make these at home too! See below for the recipe and instructions!! Enjoy!
Ingredients:
- 3 cups of flour
- 1/2 tsp salt
- 2 sticks (1 cup) room temperature butter
- 1 cup granulated sugar
- 1 large egg at room temperature
- 1 tbl vanilla extract
- 1 tsp baking powder
Tools/Utensils:
Hand mixer, measuring tools, flour sifter (a small strainer can work too), wax paper, parchment paper, roll guides or wooden rods (you can find these at the dollar store), heart shaped cookie cutters, food scale, cookie sheet
Instructions:
- Sift together flour, baking powder, add salt, set aside.
- In a small dish whisk together egg and vanilla extract, set aside.
- In a mixing bowl cream together room temperature butter and sugar, about 5 minutes, scrape the bowl twice. Butter creamed with sugar should be light creamy.
- Gradually add vanilla egg mixture, beating anywhere from 30 seconds to minute until well mixed in.
- Gradually add flour – aim to do it in three additions. Lower the speed of your mixer to low. Scrape the bowl well after the last addition and beat just until flour is combined.
- Once your dough is combined, remove 1/3 of it to a separate bowl. Add in the food coloring of choice to that dough and using your hands knead the dough for about 20-30 seconds, until dough comes together and is uniform in color.
- Lay out a sheet of wax paper and place the coloured dough on it. Take a second sheet of wax paper and lay it on top of the dough and roll the red dough out into a 1/4 inch slab. Using a heart shaped cookie cutter, cut out heart shapes and stack them together until you’ve used all of the dough. Place the stacked hearts into the freezer for 10 minutes
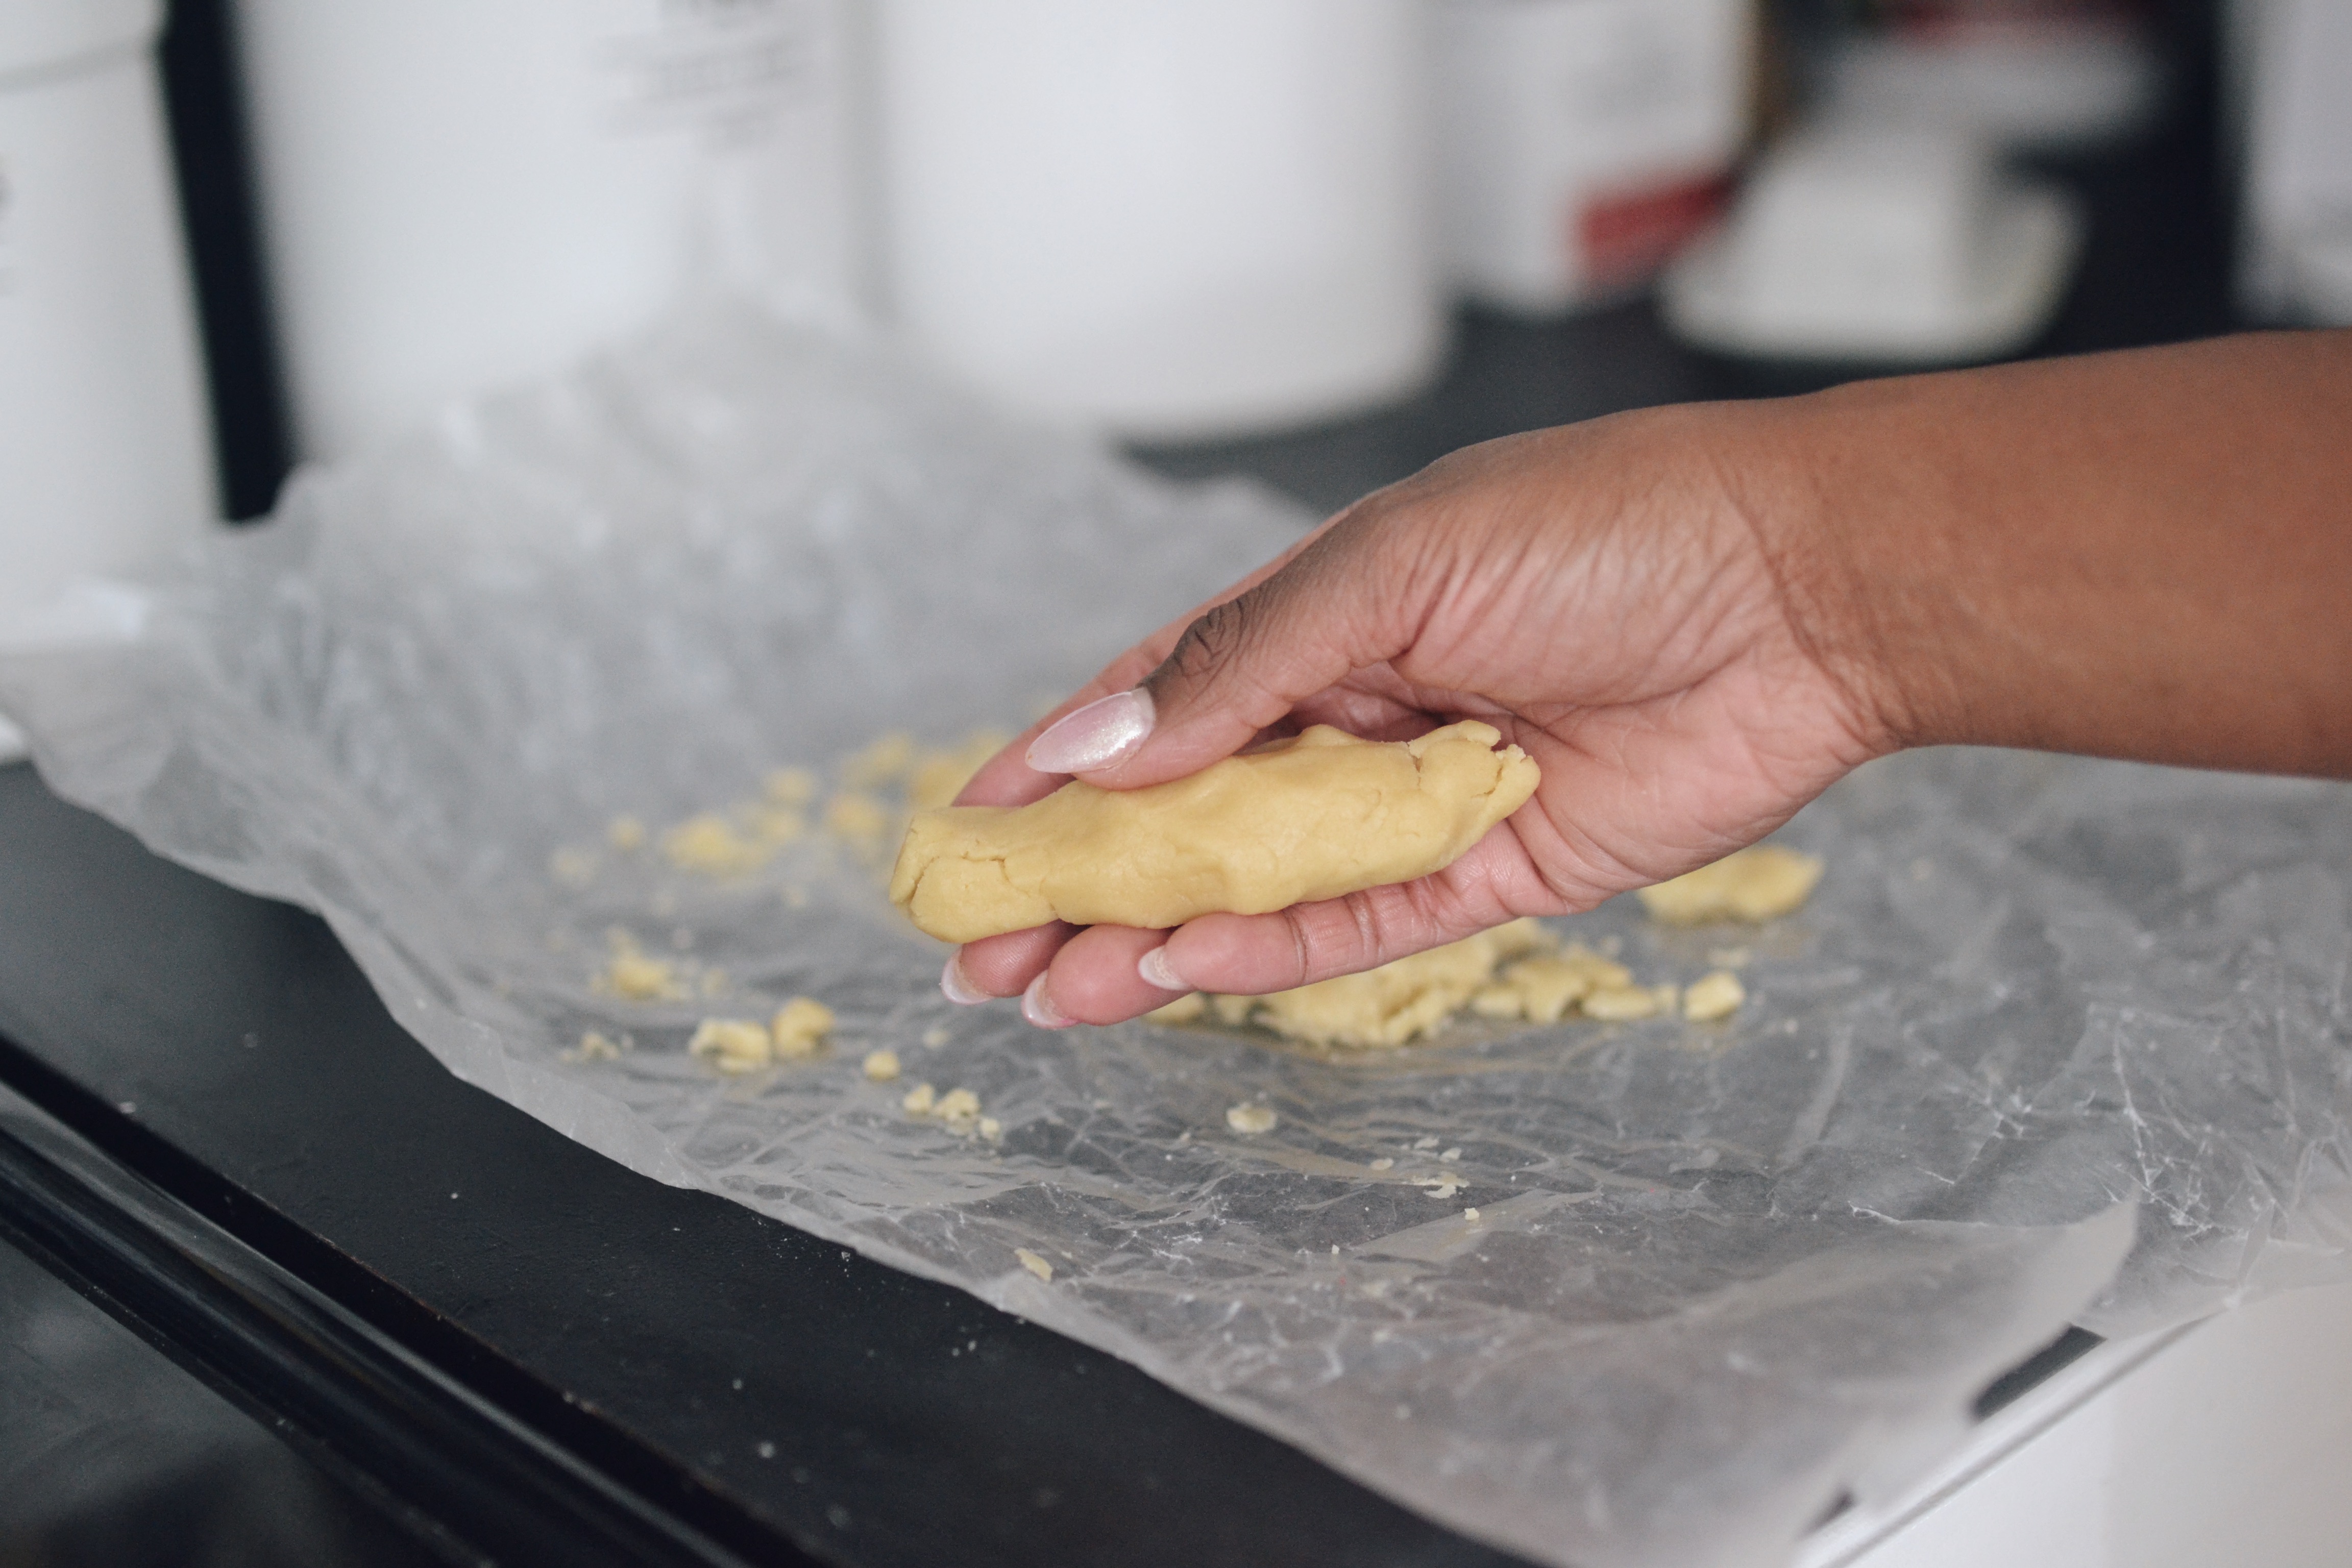
- Knead the remaining uncoloured dough, until dough comes together.
- After the 10 minutes, remove the heart shaped dough stacks.
- Take small portions of uncolored dough out and roll into a snake shape that is equal to your heart stack in length. Cover each row of stacked hearts with your dough snakes to make your dough rolls
- Cover the dough roll with another sheet of wax paper and rolled it out to smooth it out.
- Wrap the dough in a plastic wrap and refrigerate overnight or 4 hours (minimum) or if you’re short on time you can speed up the process by wrapping the dough tightly and freezing for 30 minutes.
- Preheat oven to 375F
- Bake for 10-11 minutes, depending on the oven, turn the sheet once half way through the baking.
- Let the cookies cool on the baking sheet for 5-7 minutes, transfer to cooling rack.
I suggest you store the cookies in an airtight container for up to 2 weeks or freeze between pieces of wax paper in a large freeze safe container, for up to 3 months.
There's more where this came from!
Subscribe for more mini moments, foodie fixes, DIY crafts and a touch of fashion inspiration.


No Comments